Creating and managing a new record
Adding new records
The system stores different types of information in different fields for each record. For example, an account record contains information such as the account’s name, email, mobile number, and more.
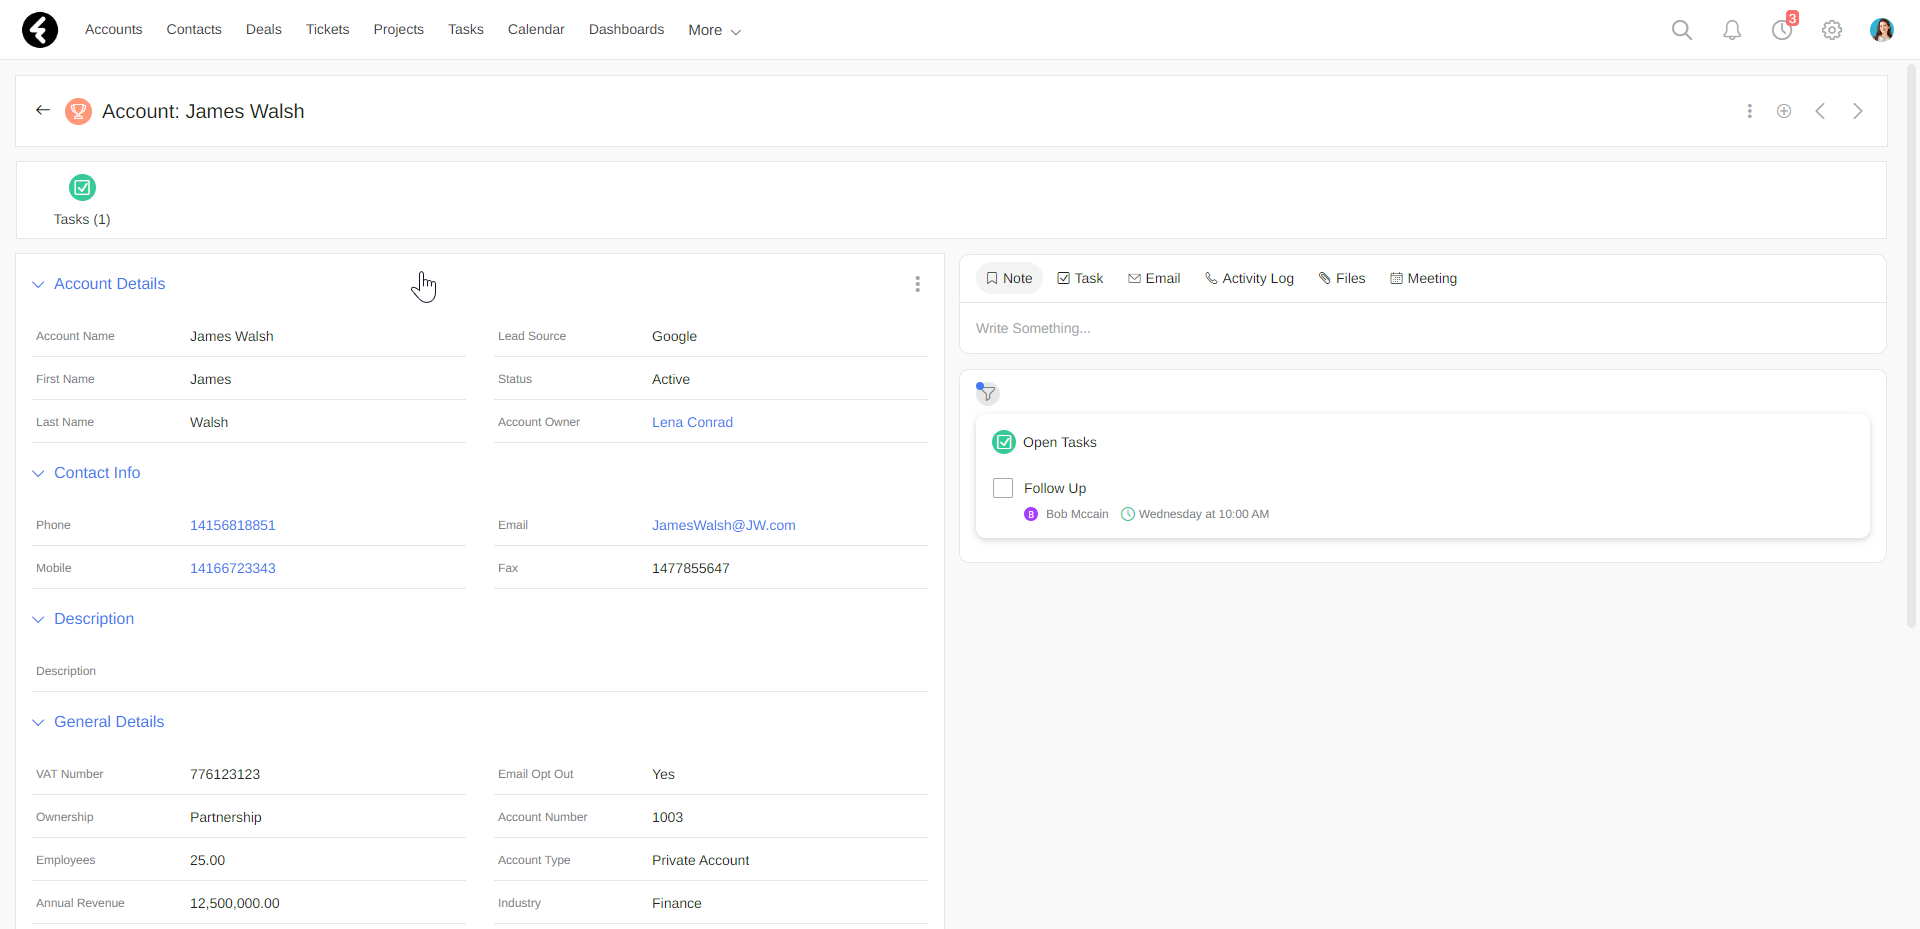
Each object in the system has its own group of records related to it. For example, you can have several different account records under the Accounts object, such as the account record "James Walsh":
To add a new record to your system follow these steps:
To create a new account record, for example, first select the Accounts object in the top bar. If the Accounts object isn't there, you can find it in the More dropdown menu in the top bar.
Next, click the Add button in the upper right corner of the page, and fill in the account data in the new pop-up record form.
For example, you can store an account's email address and telephone number in the Email and Mobile fields respectively, fill in the Lead Source field, etc.
Finally, click Save to add the new account to your system.
Other records in the system can be created similarly. For example, you can create a new meeting by selecting the Meetings object and clicking Add. In the window that opens, fill in the mandatory fields (Subject, Start Date, etc.) and any other fields you wish to include in the record, then click Save.
Each Fireberry object has its own set of default fields, which apply to all records within that object.
.png)
Manage your records data
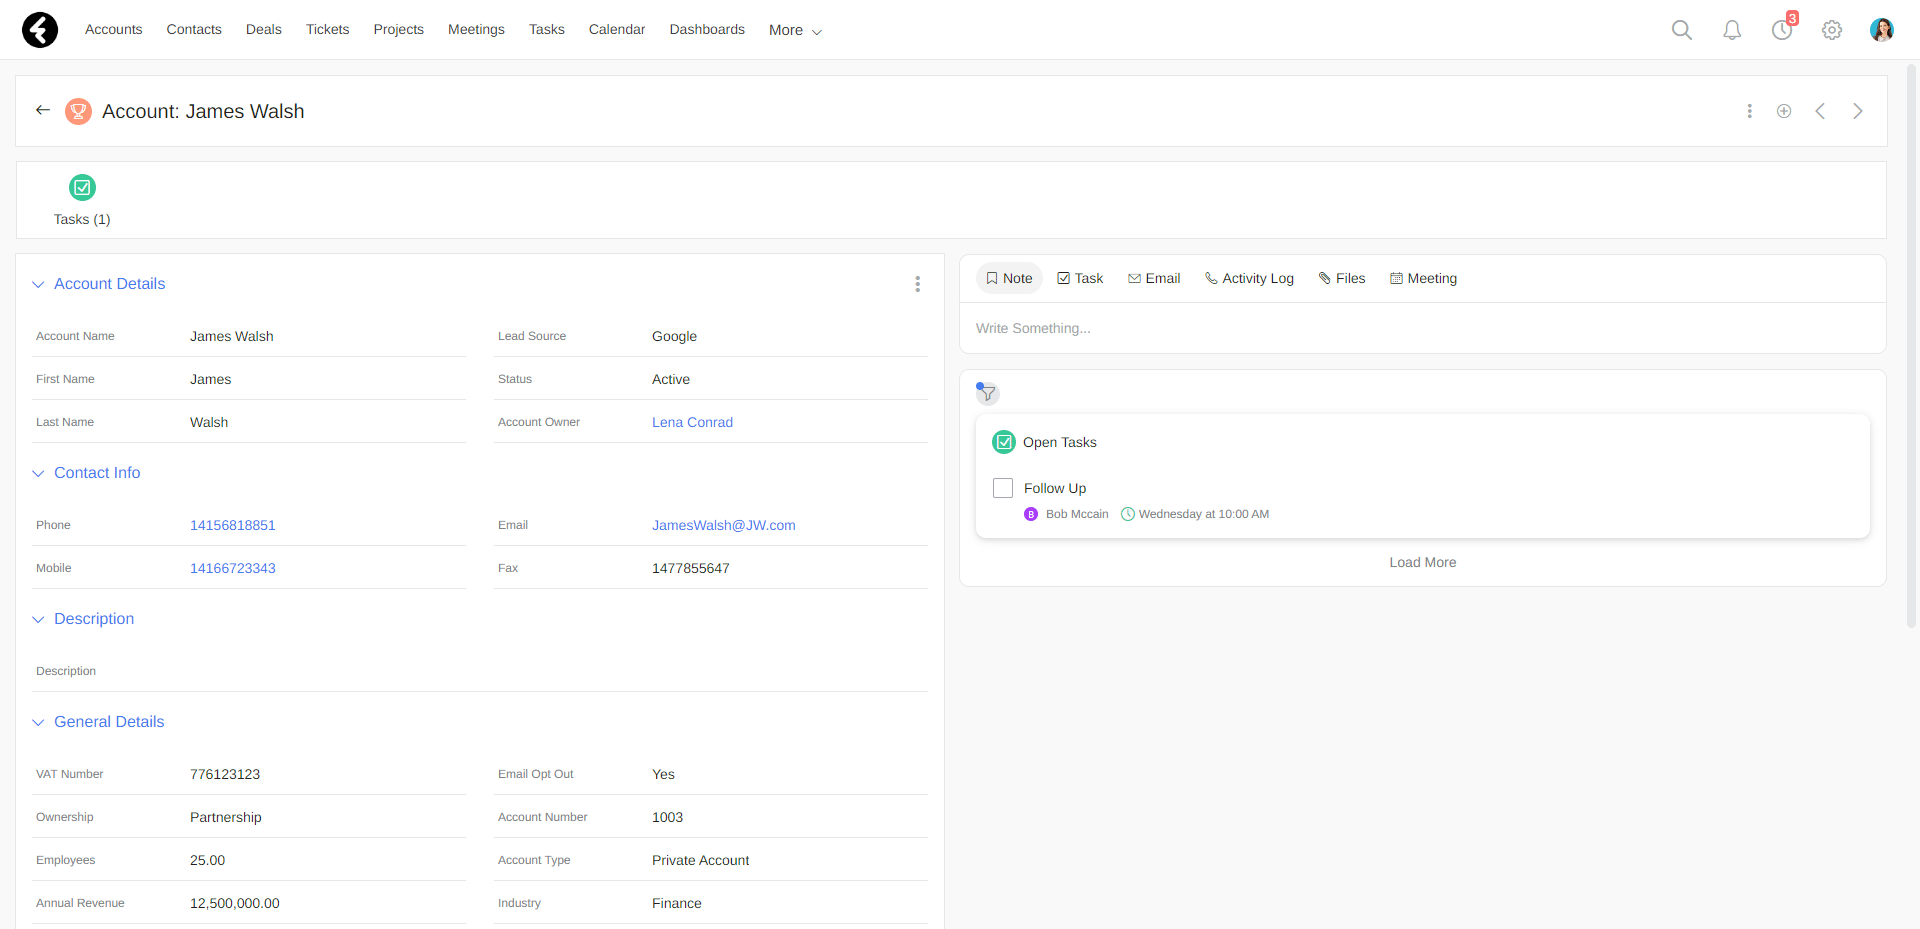
The information stored in your CRM can be tracked and managed directly from your records.
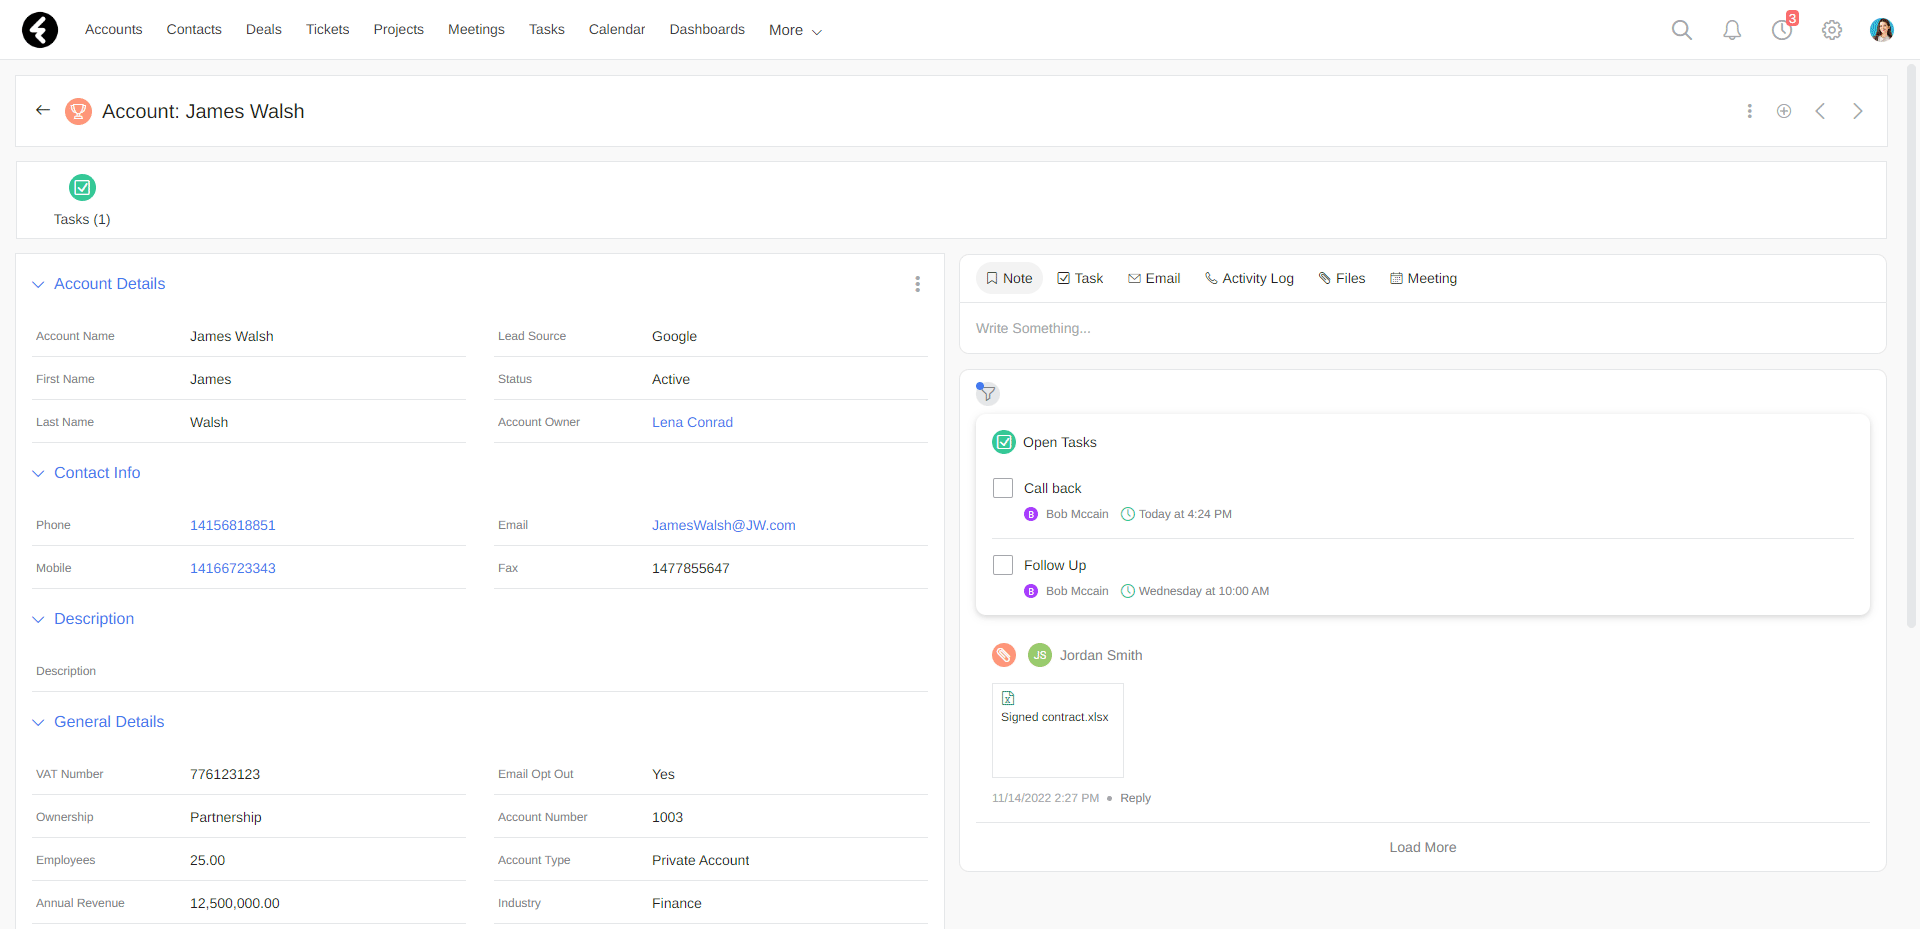
It is possible to perform different actions on each record, such as sending emails, taking notes, or creating new tasks. These activities can be performed in the activity bar of the record (the record's stream).
Let’s take a look at one of the account's records to demonstrate.
To create a new task related to the account record, click Task in the activity bar, fill in the subject, due date, and assigned user, then click Save.
If you want to upload a new file to the record, click Files and then drag and drop the file to the account.

Fireberry allows you to relate records between two different objects. For example, you can create new contacts for your account records.
Choose the account record which you would like to add your new contact to. Click the plus + icon in the top right corner of the record, and then choose Contacts. Now you can fill in relevant fields, such as the phone number, email address, and job title of the contact. To save the data, click Save.
The newly saved contact now appears in the account’s record.