Edit and delete in bulk
Bulk edit
There are many cases where it may be useful to update multiple records at once, such as the status or manager of a list of accounts. Using the bulk edit option you can easily select a set of records and then update one or more fields within them.
Selecting records
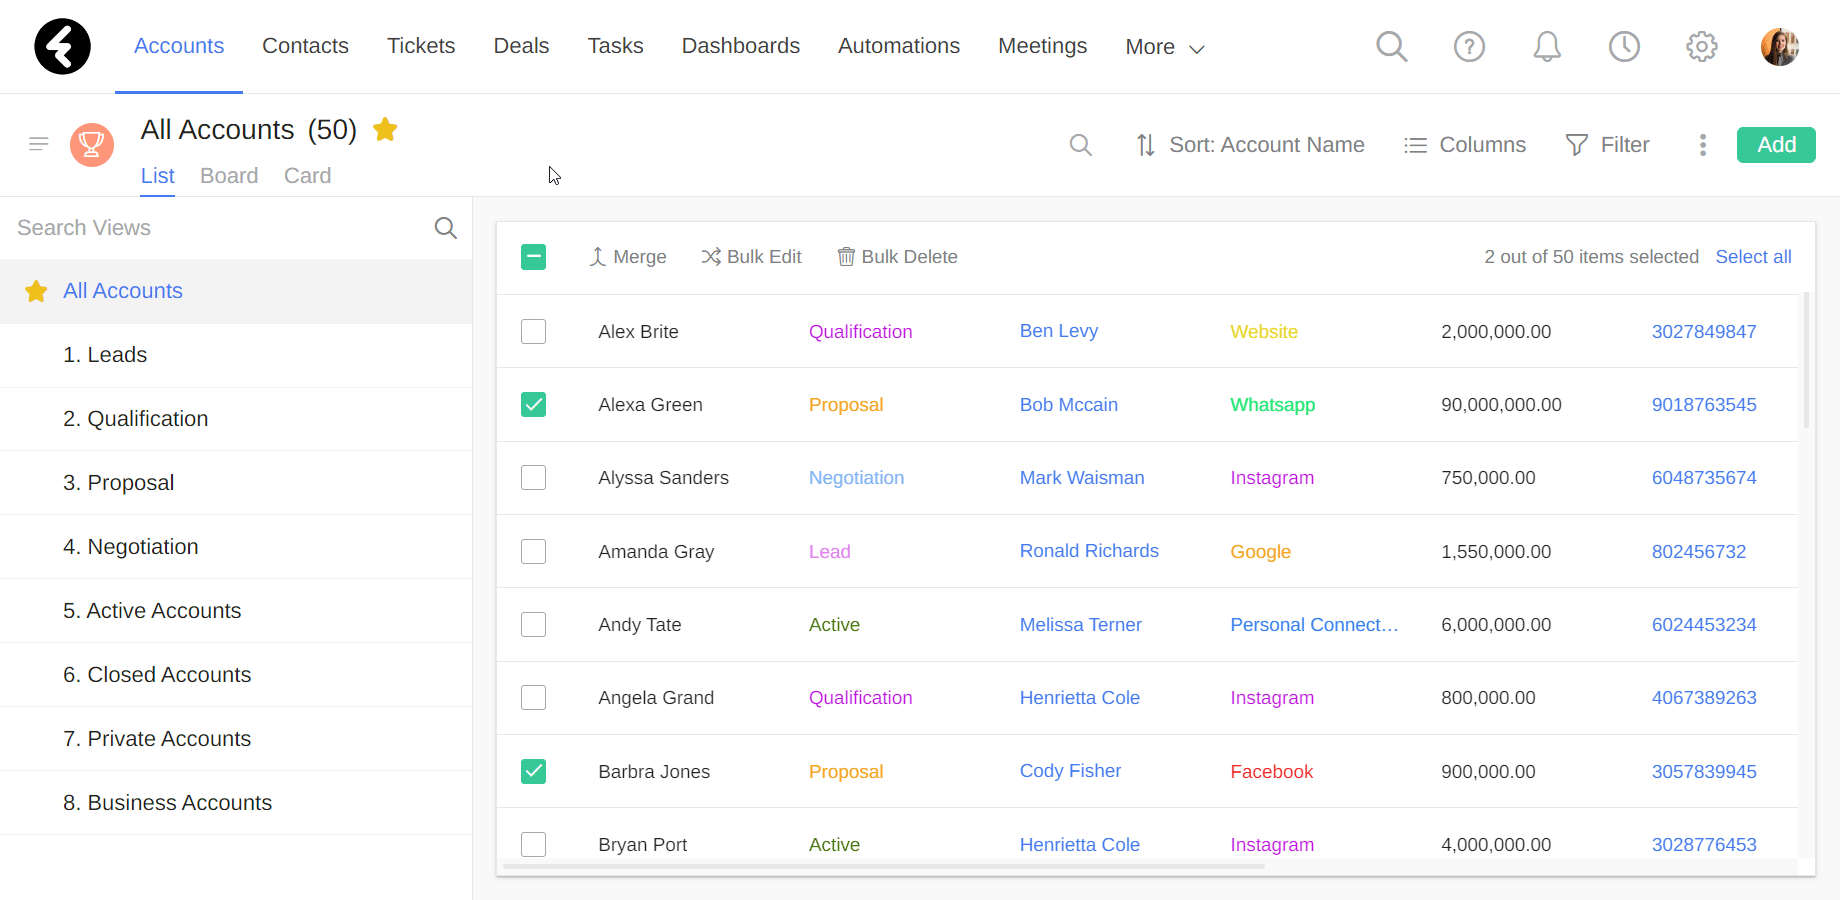
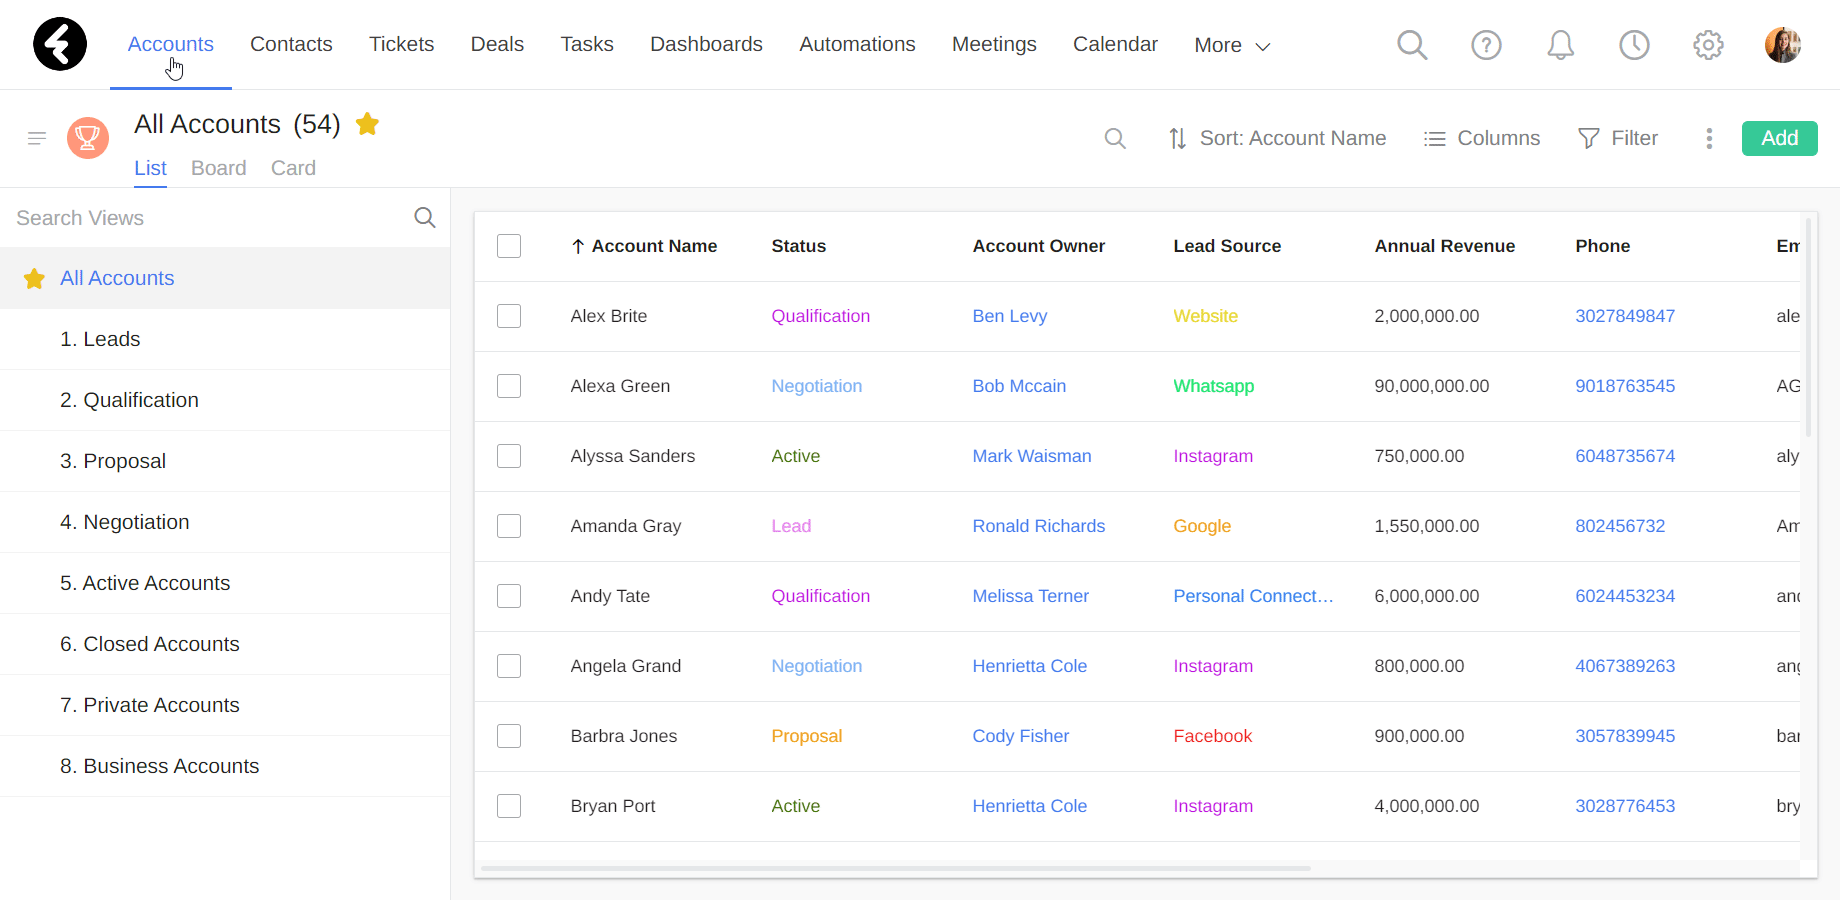
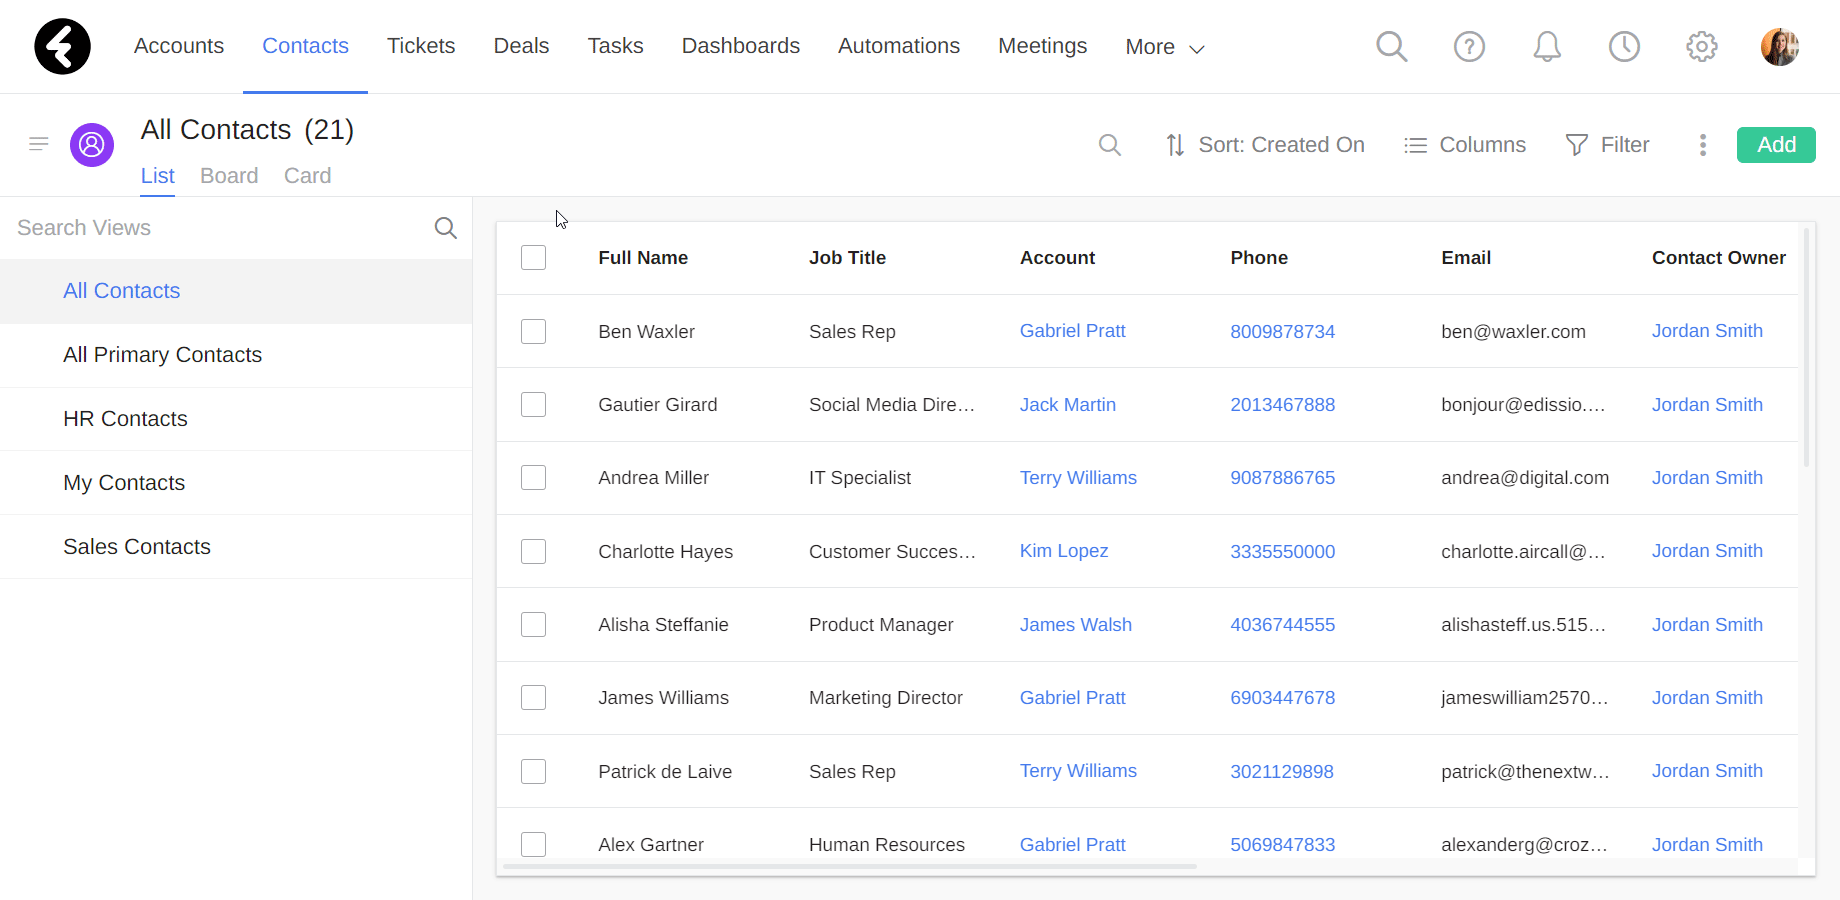
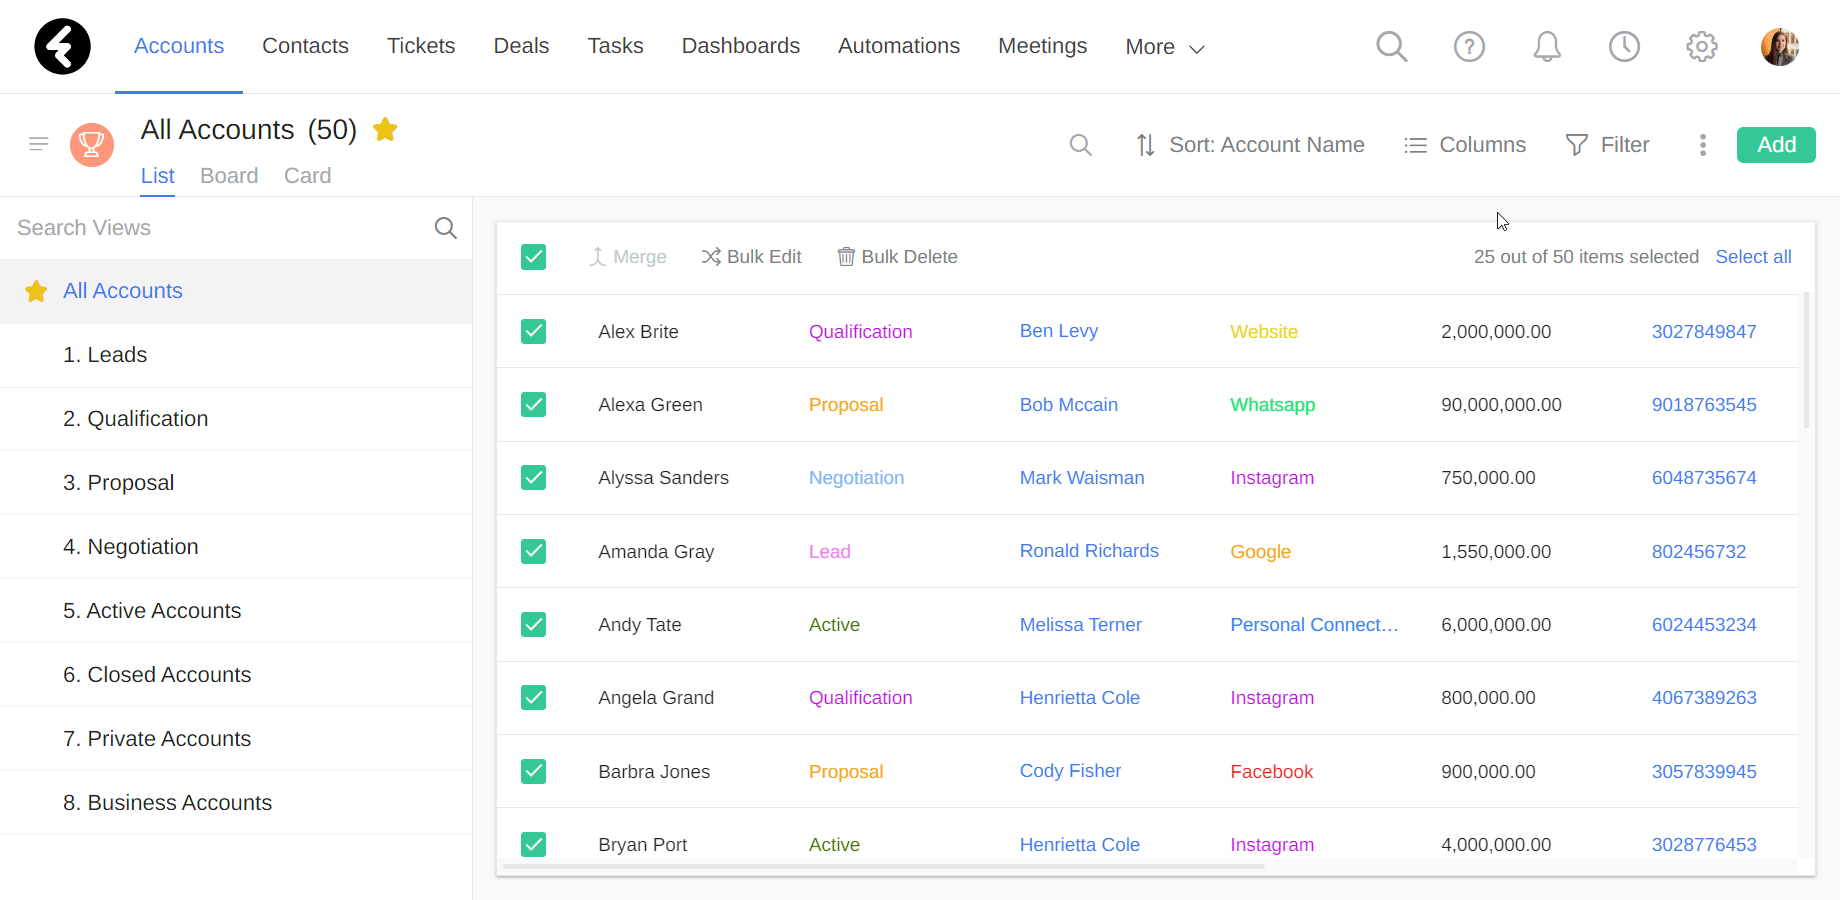
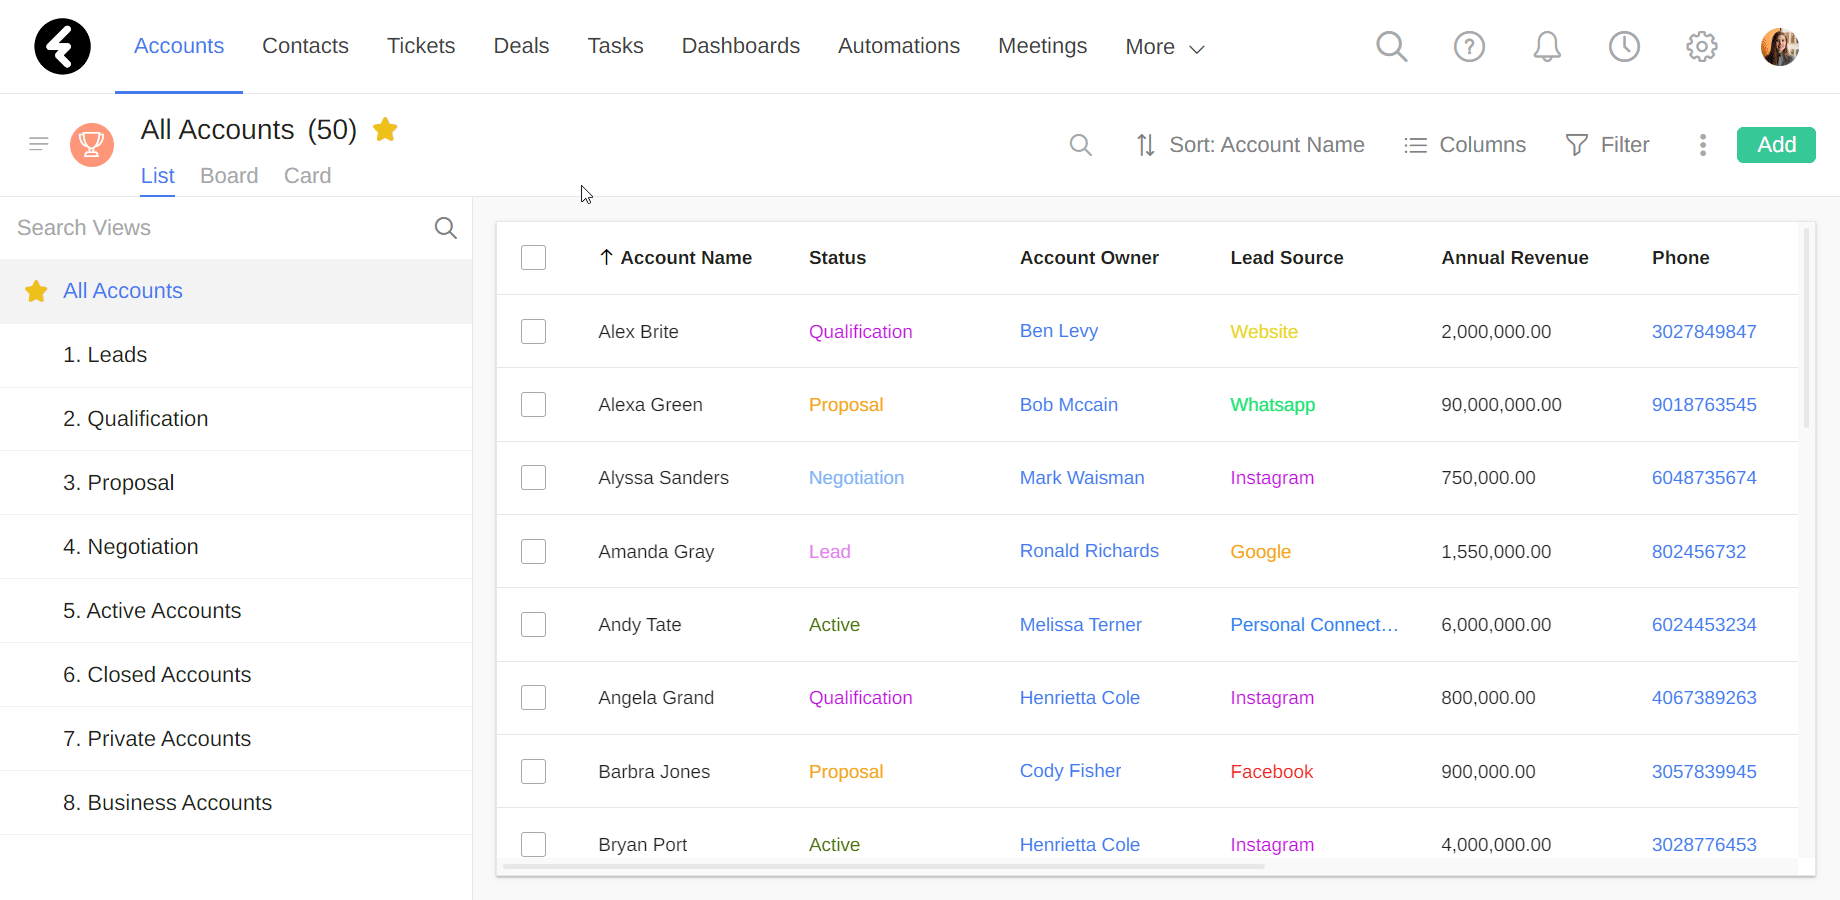
To start, open the object you’d like to edit records within, for example the Accounts object, and then go to the view which contains your records. Make sure you’re open to the List view type, which you can learn about here, as this is the only view type you can bulk edit from. Next, use the checkbox on the far left of each record to select the records you’d like to update. Once you’ve selected all the records you’d like to edit, click the Bulk Edit option at the top of the view. This option will only appear after selecting at least one record.
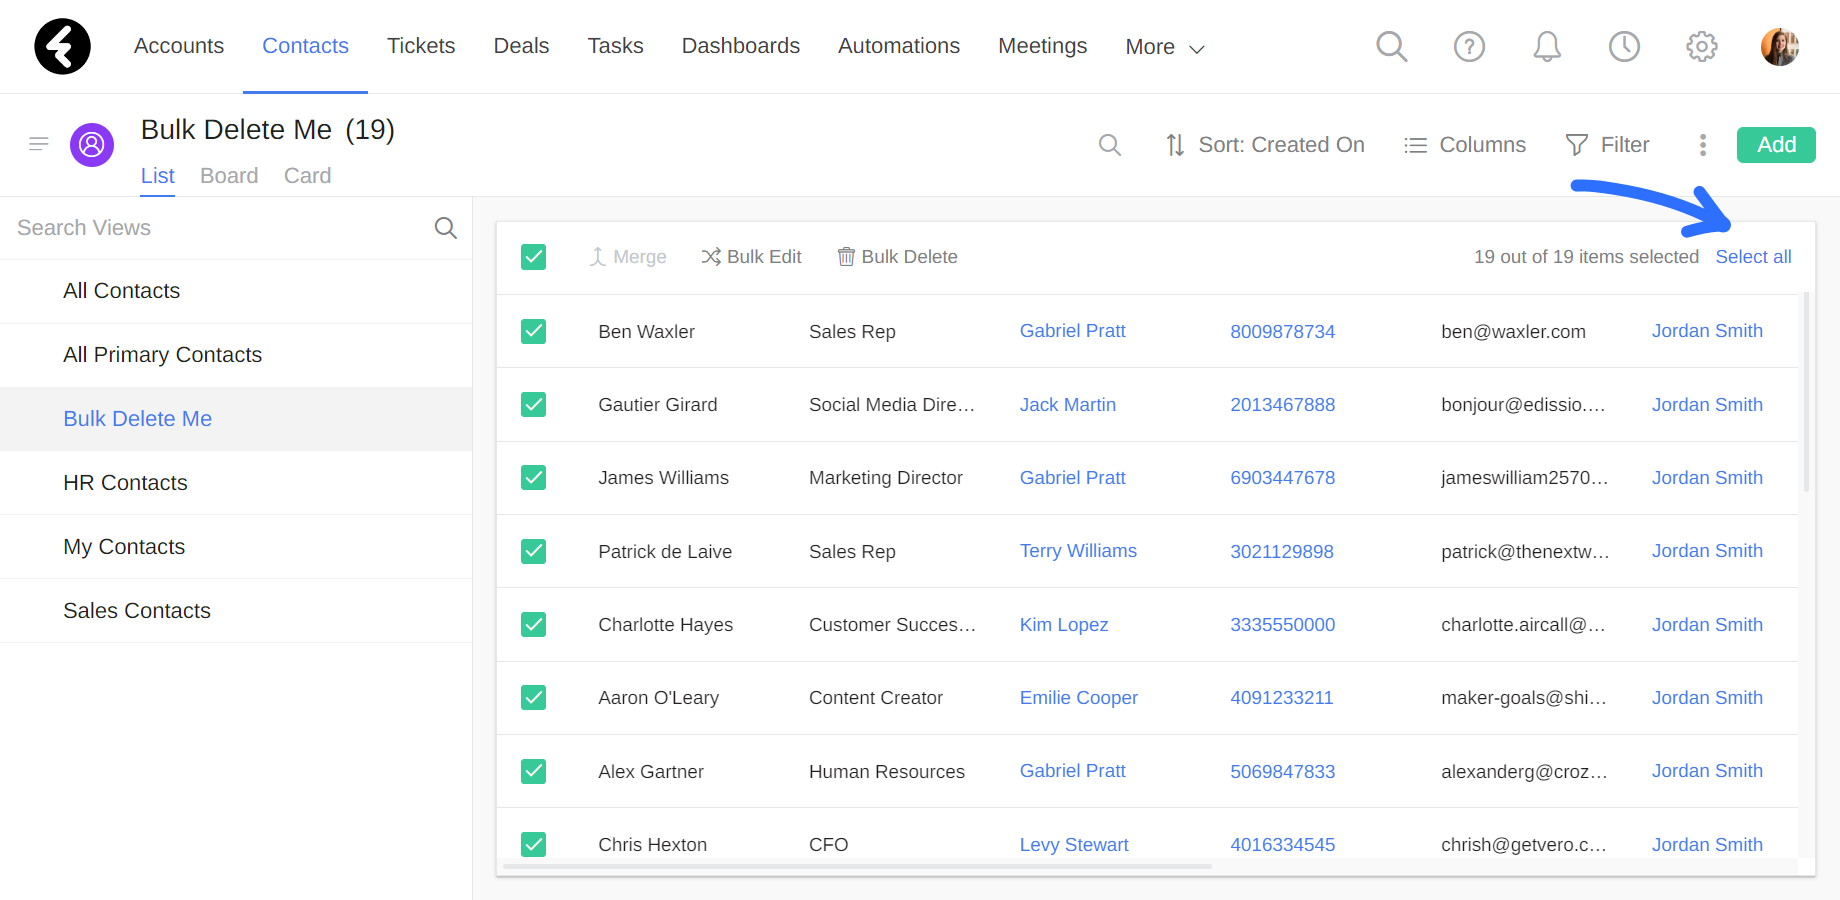
On the right you’ll see the number of records you’ve currently selected, as well as the total amount of records in the view. In this way you can confirm you’ve selected the right amount of records before updating them. See below for more selection options.
Setting fields and values
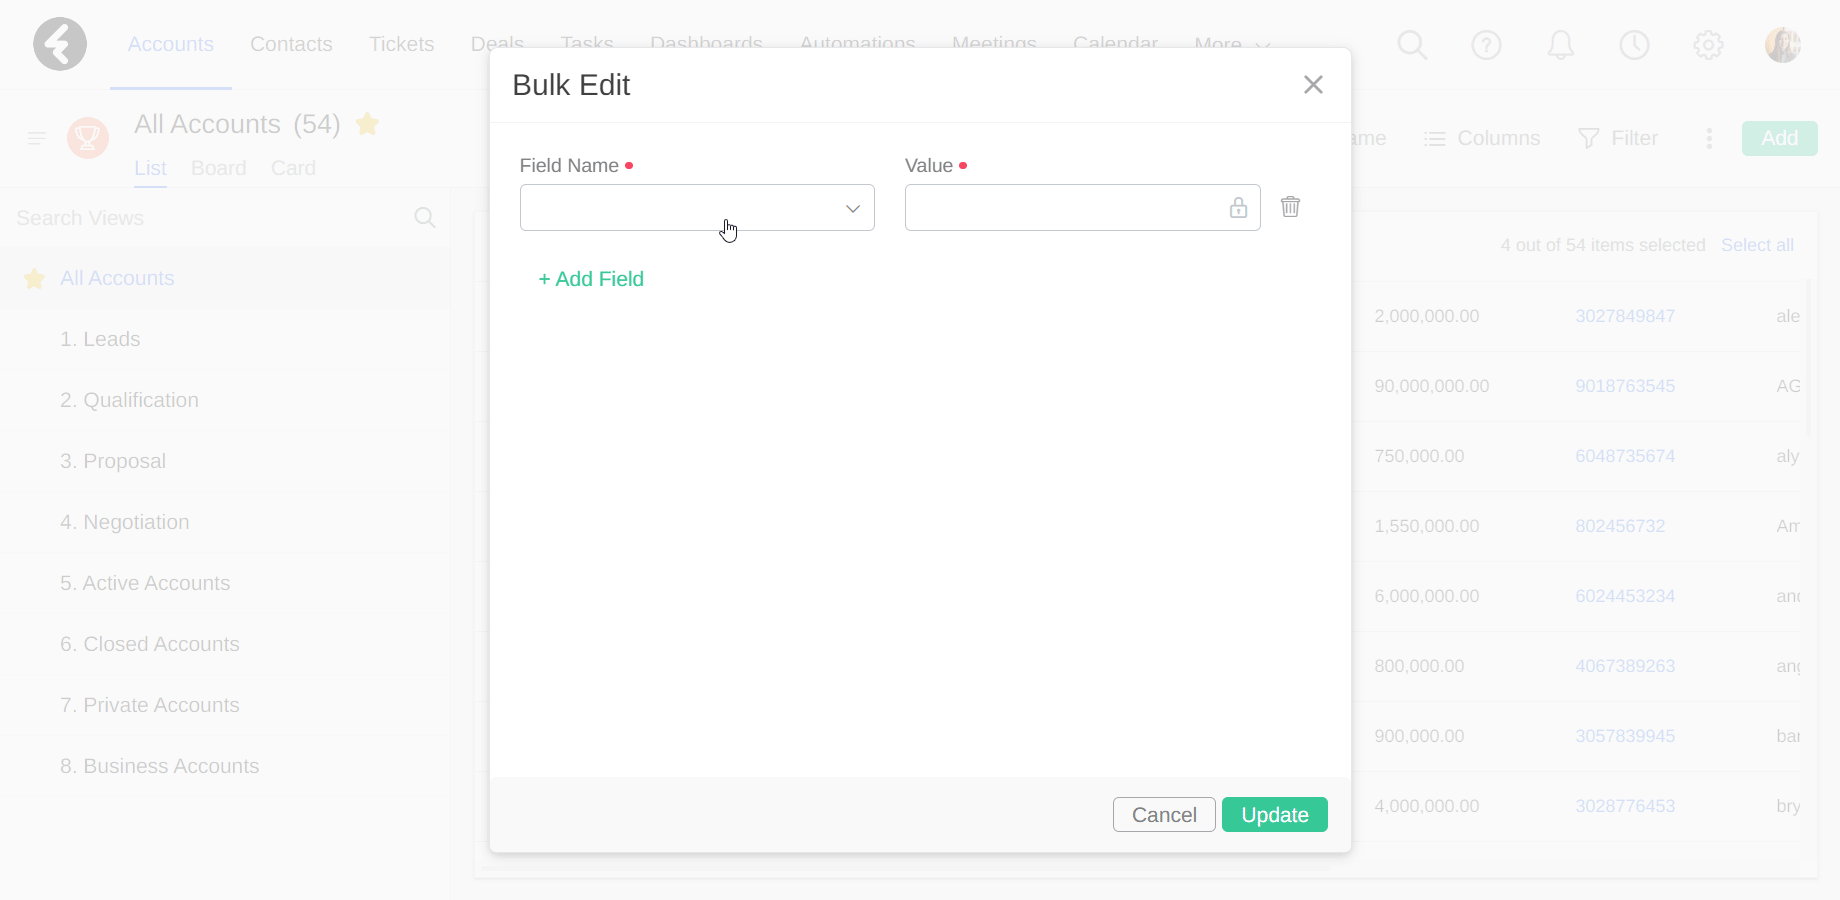
After opening the Bulk Edit box, you can set the fields you’d like to edit. There are two columns here. The first is the Field Name, where each row contains a searchable dropdown list of all the editable system fields in the current object. Click the box and then search and select the field you’d like to edit, such as the Status field.
Once you’ve selected a field, you can fill out the second column, which contains the Value and will set the new value of the selected field. This column will be locked until after you select a field, and selecting a field will change the Value title into the name of the selected field. The value set here must match the field type, so that a picklist field will let you choose from the picklist options, a date field will let you select a date, a number field will need to be a number, and so on. To learn about each field type, click here. If you have not set a valid value, you will not be able to update the selected records. Additionally, if you select a required field it will be indicated by a red dot next to the field name in the value column.
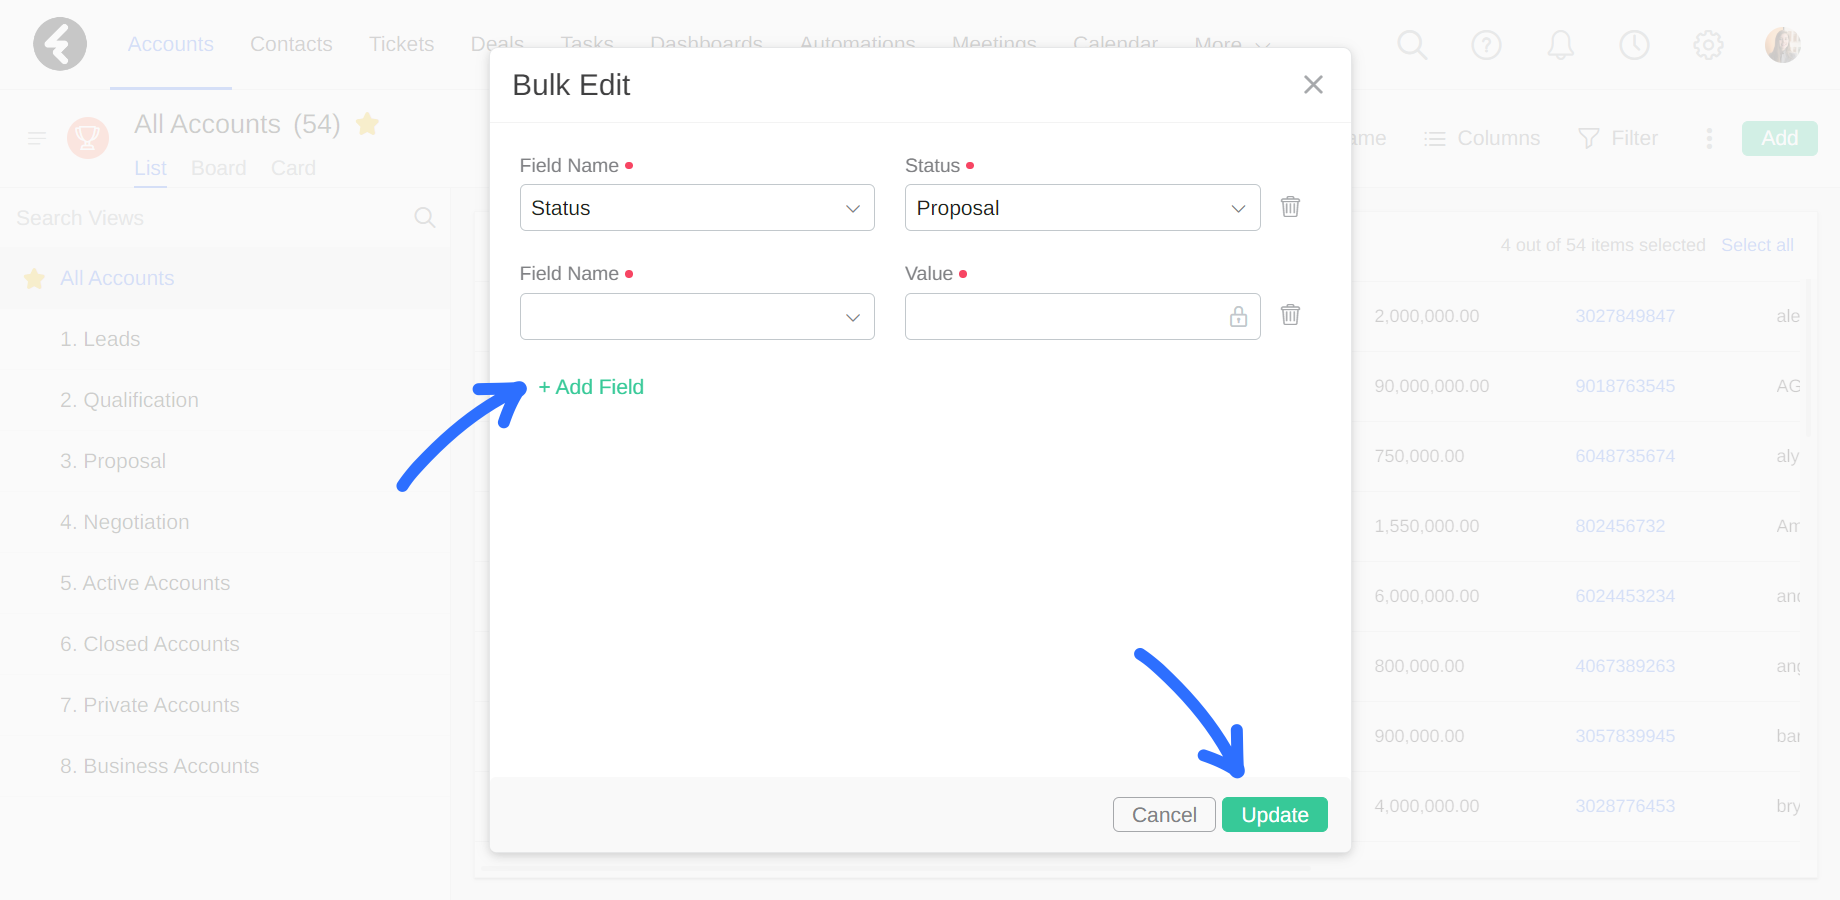
If you’d like to update multiple fields at once, simply click the + Add Field option and set the field and value. You can update as many fields as you like. To remove a field you’ve already added, click the trash icon to its right. Once you’ve set all the fields you’d like to update with valid values, click the Update button on the bottom right. You can also click the Cancel button at any time. After clicking Update, a purple indicator will appear at the bottom right of your page to let you know the bulk edit is processing. This message will also include a link to the bulk edit log, which you can click on to check the status and other details as is explained below.
Bulk edit a view’s records
In addition to selecting specific records to update, you can also choose to bulk edit an entire view. One instance where this is quite useful is when you’d like to delete one of the options in a picklist. If a picklist option is set as the value for any records in the system, you won't be able to delete it. To delete the option, you’ll need to remove all places where it's used as a value in the system. You can do this easily by creating a view of all the records which use this value, and then bulk editing the value.
For example, you may wish to remove the Finance option from the Industry picklist. To start, create or open a view which includes all the records with their industry field set to Finance, which you can learn about here. Next, select a single record and then use the Select all option in the top right, which you can find a detailed explanation for below. You can now use the Bulk Edit option to change the Industry field in all the selected records to any other value, or use the blank option for no value.

Once you’ve updated these records, you can remove the Finance option from the picklist. To learn more about picklists, click here.
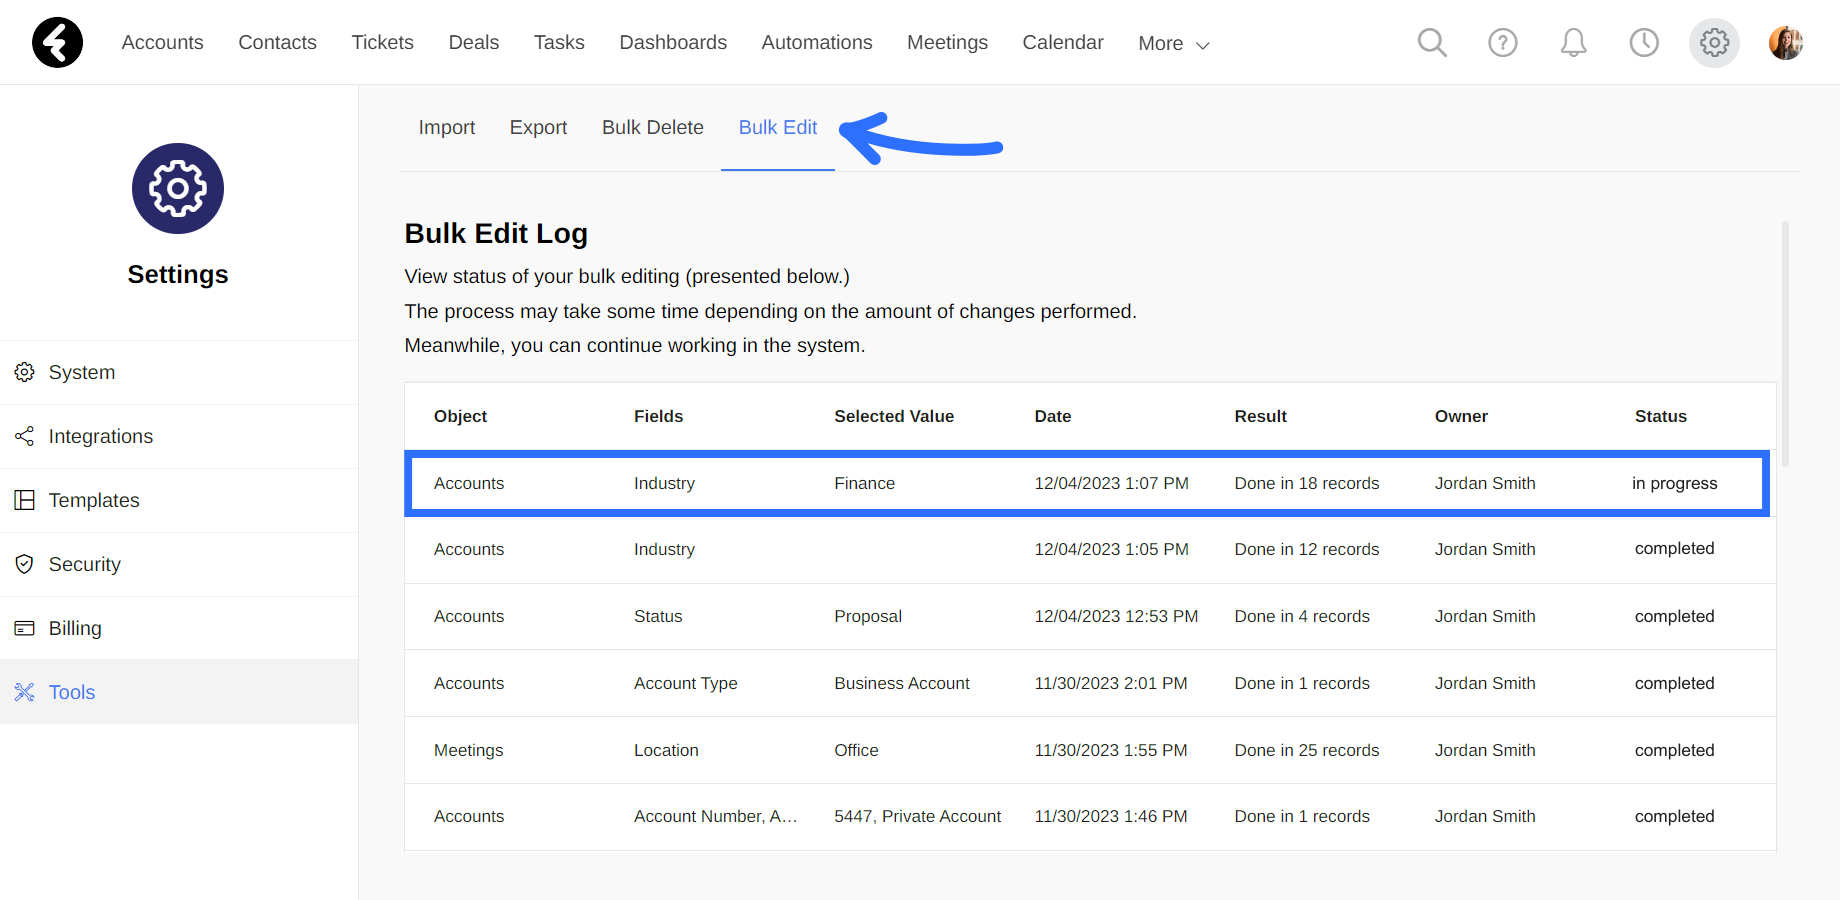
Bulk edit log
You can use the bulk edit log to view any bulk edits which were done in your system. This is a great way to see where changes were made, when, and by who.
To open the log, first click the settings gear. Next, select the Tools tab from the left sidebar and then click on the Bulk Edit option on the top. This will open the Bulk Edit Log page. The log includes a row for each time a bulk edit was done in the system. Each row has the following details:
- Object: The object that the records which were edited belong to.
- Fields: The fields which were edited in the records. If multiple fields were edited, each field will be separated by a comma and correspond to the order used in the Selected Value column.
- Selected Value: The new values which the fields were changed to. If multiple fields were edited, each value will be separated by a comma and correspond with the order used in the Fields column.
- Date: The exact date and time when the bulk edit started.
- Result: The amount of records which the bulk edit was completed in. You can use the result column to check in real time how many records have been updated while a bulk edit is still in progress. Refresh the page for the most accurate number.
- Owner: The system user who performed the bulk edit.
- Status: The current status of the edit process. This will display in progress if the bulk edit is still taking place and completed if the bulk edit has finished.
Bulk delete
You can use the bulk delete tool to delete multiple records at once. This is very useful when you need to delete multiple records at once, such as contacts which are no longer relevant. If you'd like to delete all the records in a single view, see below.
To start, open the object and then the view which contains the records you’d like to delete. Make sure you’re open to a list view type, which you can learn about here, as this is the only view type which includes the bulk options. Next, use the boxes to the left of each record to select the records you’d like to delete. For details on how to quickly select multiple records, see below.
Once you’ve selected at least one record, the Bulk Delete option will appear at the top of the list view. By clicking it, you’ll open a pop up where you can type in DELETE and then click the red Bulk Delete button to permanently delete the selected records. A purple indicator will appear at the bottom right of your page to let you know the deletion process has started. This message will also include a link to the delete log, which you can click on to check the status and other details as is explained below.
Bulk delete a view’s records
You may wish to delete all the records in a specific view. This can be useful at times where a group of records were created which need to be deleted, or when you have old records you’d like to delete in order to clear up storage space. Before starting this process, make sure that the view you’d like to delete is clearly labeled, and that you’d like to delete every single record displayed in the view. For example, you can label the view “Bulk Delete Me” for easy finding and to avoid accidentally deleting the wrong view. Once you’ve ensured you’d like to delete all the records in a specific view, you can use one of the two methods explained below to delete the view.
From a list view
The first is to open the view, click the box on the top left of the list view, and then click the blue Select all button on the right, which you can learn more about below. Then follow the Bulk Delete instructions detailed above to delete all the records in the view.
From the bulk delete tool
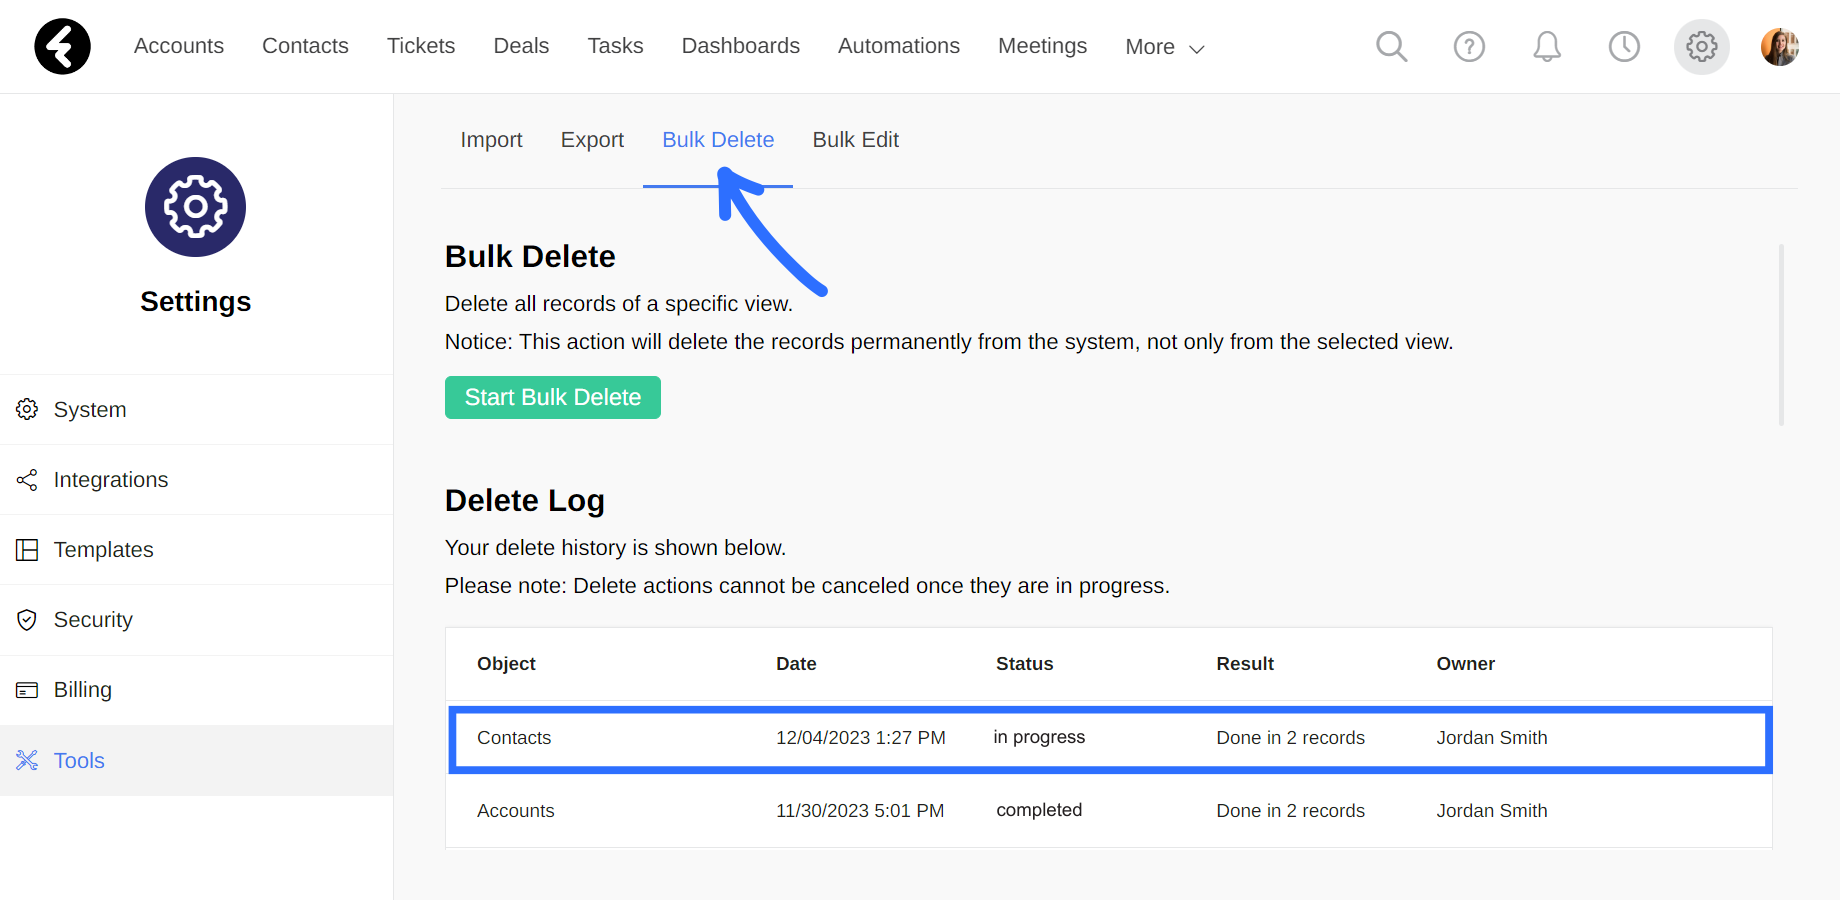
The second method is to use the bulk delete tool. To do so, open the settings using the gear icon on the top right of any system page, click the Tools tab from the left sidebar, and select the Bulk Delete option from the top menu. Here you’ll find the Bulk Delete option, which allows you to delete all the records in a specified view.
Click the green Start Bulk Delete button. This will open the Select object to delete dropdown. Here you’ll find a searchable dropdown list of all the editable system objects which you can bulk delete records from. Click on the box and then search and select for the object which the view you’d like to delete belongs to. Once you’ve selected an object, search for and select the view you’d like to delete from the Select view to delete dropdown. After selecting a view, a message will appear alerting you to how many records will be deleted. Confirm this is the correct amount of records, and then click the red Delete button. This will open a pop up where you can confirm you’d like to delete the records by typing in DELETE and clicking Bulk Delete. A purple indicator will appear below letting you know the deletion process has started, and a row will be added to the Delete Log, as is explained below.

The view itself will not be deleted, and you can ensure that all the records within it were deleted by opening the view and checking for the No records found message.
Delete log
Within the Bulk Delete page, which you can access through the Tools tab in the Settings, you’ll find the Delete Log section. The log includes a row for each time that data is bulk deleted from your system, and displays the following information for each deletion:
- Object: The object which the records which were deleted belonged to.
- Date: The exact date and time when the deletion process started.
- Status: The current status of the deletion. This will start off as initializing when the process begins, switch to in progress once the deletion starts, and then switch to completed once the deletion has finished.
- Result: The current amount of records which have been deleted. Refresh the page to display the most accurate number. Once the deletion process has finished, this will display the total number of records deleted.
- Owner: The system user who performed the bulk delete action.
Quick select options
There are different ways you can select multiple records from a view at once, which can help you work efficiently.
Top checkbox
The checkbox on the top left of the list view can be used to select multiple records. By clicking it the first time, you’ll select the first 25 records. If you've scrolled past the 25th record in the list, even if you’ve scrolled back up, you’ll select the first 50 records. This pattern will continue so that you’ll select all the records up to the next increment of 25 which you’ve scrolled past, and will only reset once you refresh your page. For example, if you’ve scrolled up to the 108th record you’ll select the first 125 records, even if you’ve scrolled back up to the 50th record.

Clicking the checkbox will follow the selection process detailed above, and include any previously selected records. If only a portion of the records in the current increment of 25 is selected, the checkbox will be colored green and will have a - dash icon in it. This means that not all of the records in the current increment of 25 are selected. Clicking the checkbox in this state will select all the records in the current increment of 25. If all the records in the current increment of 25 are selected, the checkbox will be colored green and display a checkmark. By clicking the checkbox in this state, you’ll deselect all the currently selected records.
Select all
Once you’ve selected at least one record, the blue Select all option will appear at the top of your view. You can click on this option to select all the records in the current view. This will change the text at the top right of the view to state All records in list selected and the blue text will now be the Clear selection option. Clicking this option will deselect all the records in the view.

The Select all option will not appear when the current view has a temporary filter, which is a filter where you have clicked Apply but not Save. You can learn about filters here. This ensures that you do not accidentally select records which are currently hidden by the filter.
Shift key
You can quickly select a group of records in a list by using the shift key. By holding the shift key and then selecting a record, you’ll select not only the current record, but also all the records above and below the current record up until the first and last selected record. For example, if the third record in a list is selected, and then you hold shift and select the sixth record, all the records starting from the third record up until and including the sixth record will be selected.
If in this example the tenth record was also selected, selecting the sixth record will select all the records between the third and tenth record. If the seventh record was also selected, it would not change the selected records as only the topmost and bottommost records are used. Additionally, if only one record is selected in a list, you can hold shift and then click on the checkbox of the selected record to select all the records above it.