HTML fields
Use the HTML field type to create a field which can be customized with fonts, colors, pictures, links, and more. As these fields use an HTML editor, anyone with a technical background can open the source code and edit it however they’d like.
To create an HTML field, simply choose the HTML option when you create a new field and then set a name. For a detailed explanation on adding and editing fields, see the following article. Below you’ll find explanations on the various options available when editing the content of an HTML field.
Text customization
You can choose whether you’d like to customize your text by hard coding in HTML or by using the comprehensive top bar menu. If you’d like to use HTML, simply click the three dots in the top bar menu and then select the < > icon. This will open a dialog box where you can input any custom HTML code you’d like.
If you’d like to use the top bar menu, simply type text into the value box and customize it using the icons on the menu, such as font, size, bullet points, alignment, and more. You can also manually add in links, pictures, videos, and tables which is explained in detail below.
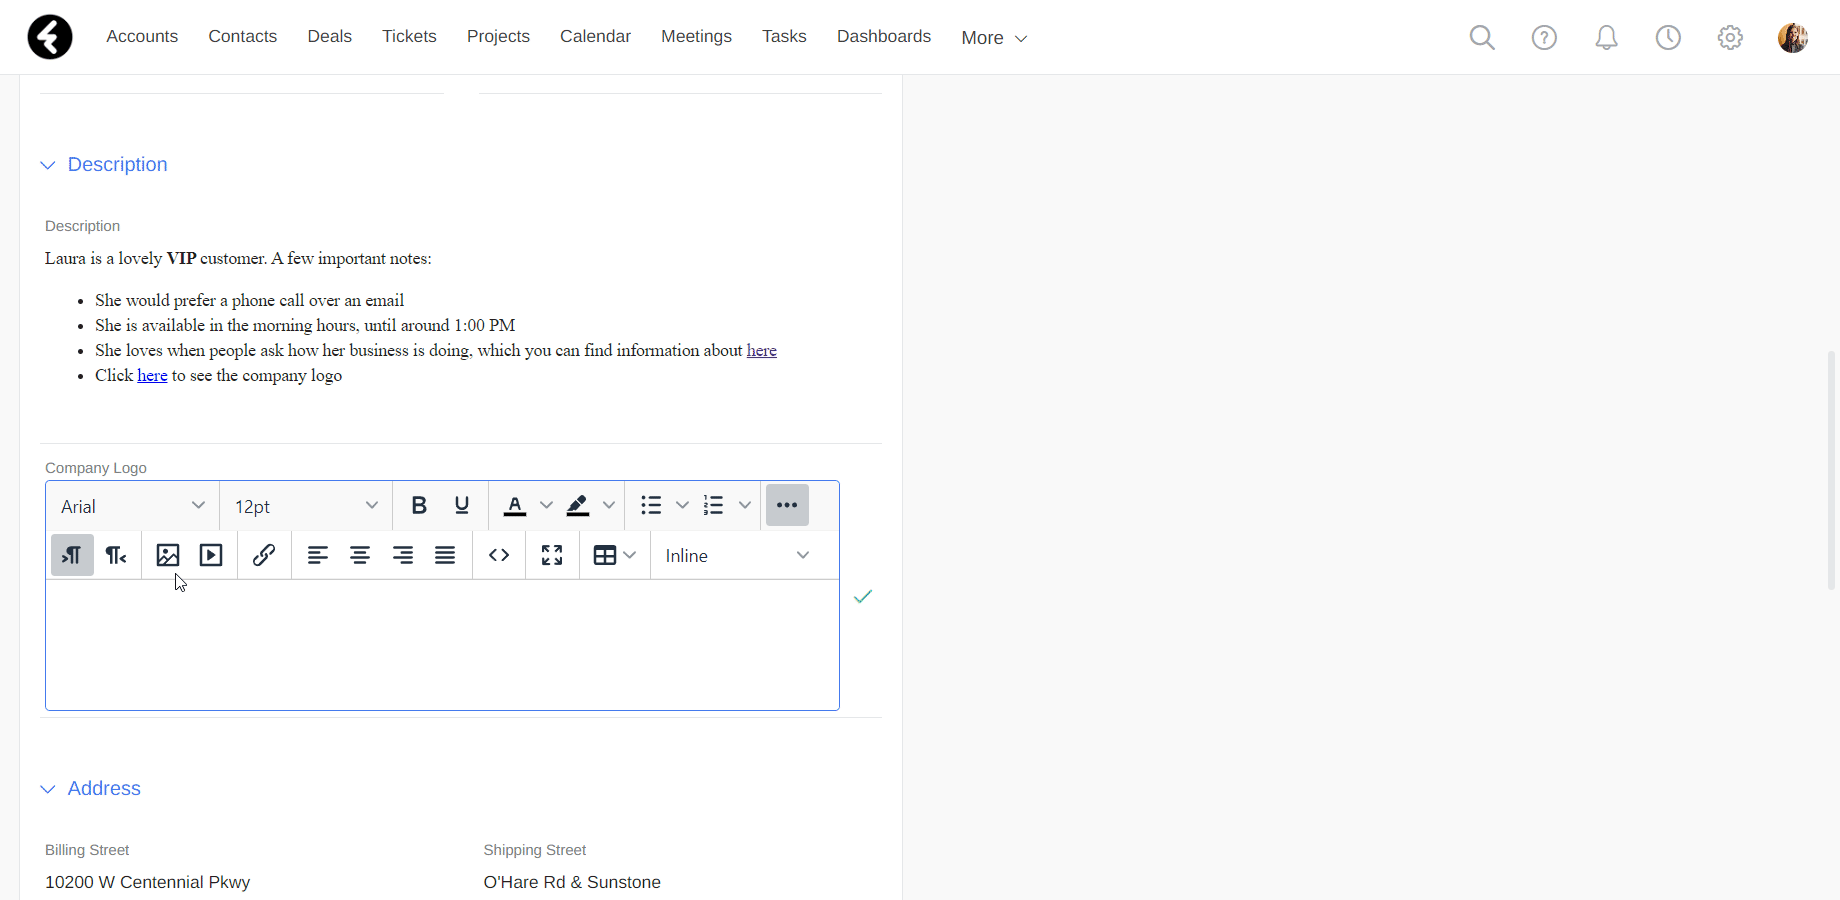
Links
Click on the link icon to open a dialog box where you can add and customize your link. Use the URL field to enter the link you would like to use. You can also upload files as links by using the upload icon next to the URL field. The Text to display field allows you to choose which clickable text will be displayed in your field. The Title field will be displayed when your mouse hovers over the link text, and you can choose if you’d like your link to open in the same window or a new window. Click Save to add your new link.


Pictures
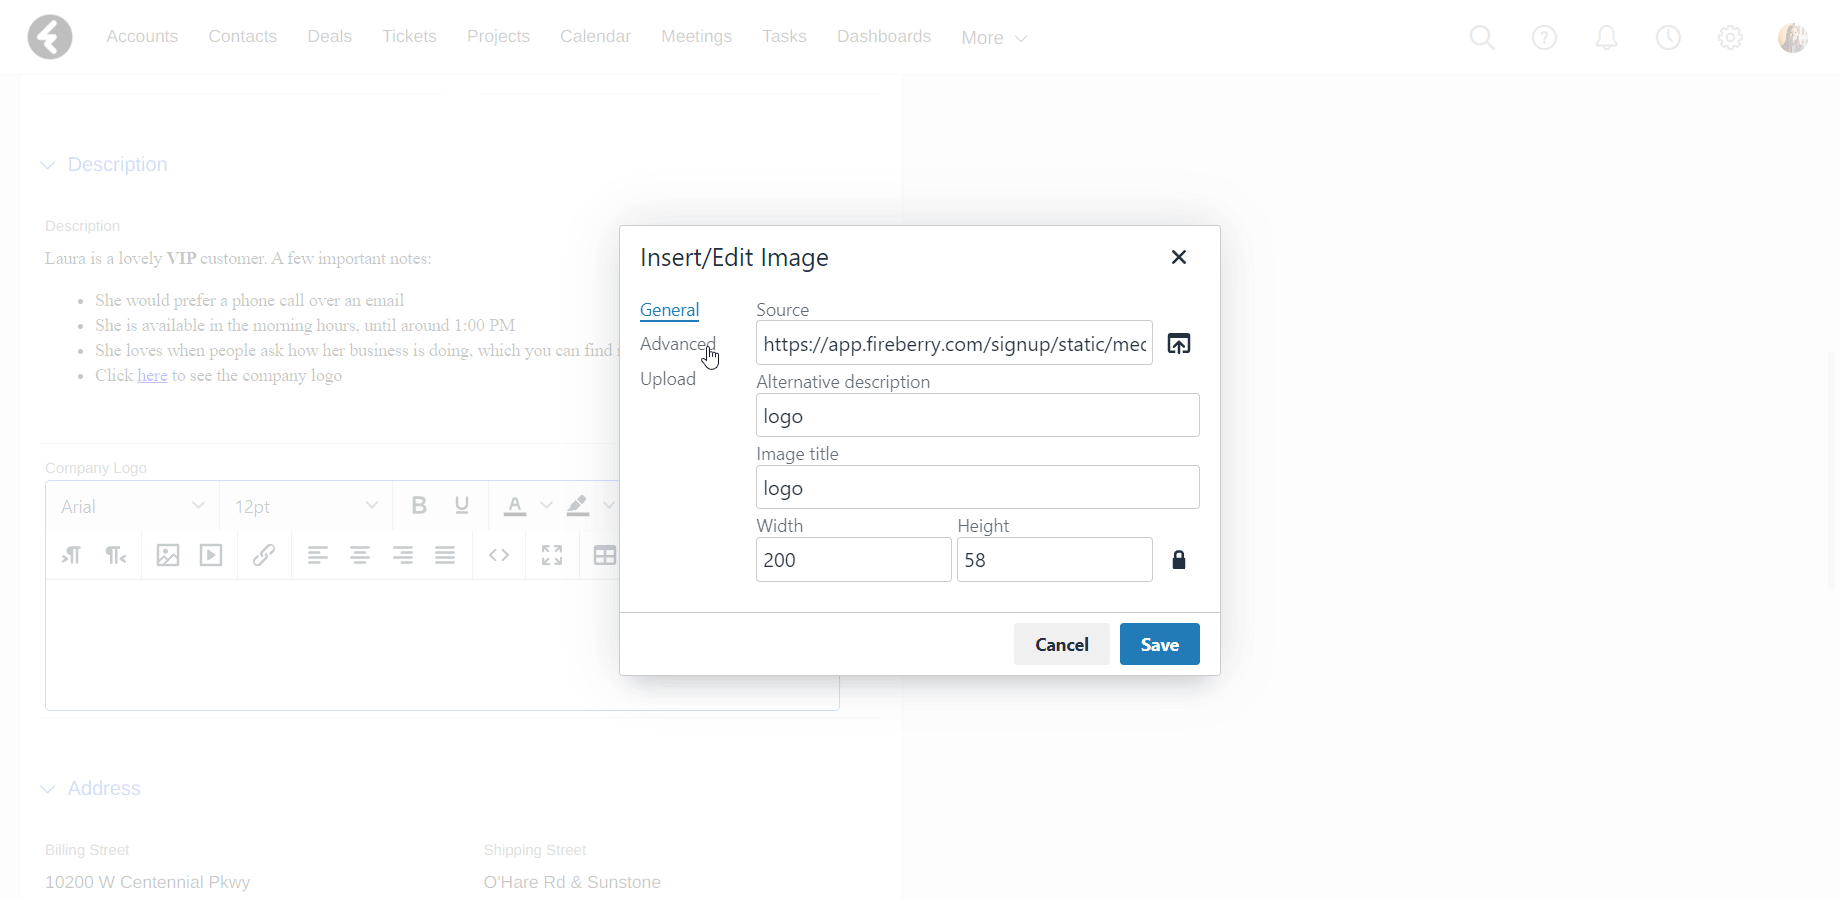
Click on the picture icon to open a dialog box where you can add a picture and set its description, title, and size. To upload a picture you can paste a link into the Source field, or click the upload icon next to it and choose a file from your computer. Once you save your image the Alternative description field will show if for some reason the image is unable to be displayed, and the Image title will be displayed when you hover over the image with your mouse. The Width and Height fields are customizable, and will dynamically set in order to keep the ratio of the original picture. If you’d like to set a completely custom size, simply click on the lock icon next to these fields to unlock the ratio.
You can use the Advanced tab on the left of the dialog box to set the amount of space between the image and anything else in your field. Input the amount of pixels into the Vertical and Horizontal space fields; The editable CSS Style field will automatically fill in with the margins you’ve set. You can also set a border using the Border width and Border style fields.
By using the Upload tab, you can drag and drop an image from your computer to upload it into your field.
Click Save to add your picture to your HTML field.
Videos
Click the video icon to upload a video to your HTML field. The General tab allows you to upload your video in the Source field, either using a link or by clicking the upload icon and choosing a file from your computer. Use the Width and Height fields to set the size of your video; Use the lock icon next to these fields to set whether you’d like them to be locked together and keep the original ratio or completely customizable. You can use the Embed tab to hard code in an embedded link or use the Advanced field to set an Alternative source URL or an image Media poster.
Make sure to click Save to add your video to your HTML field.
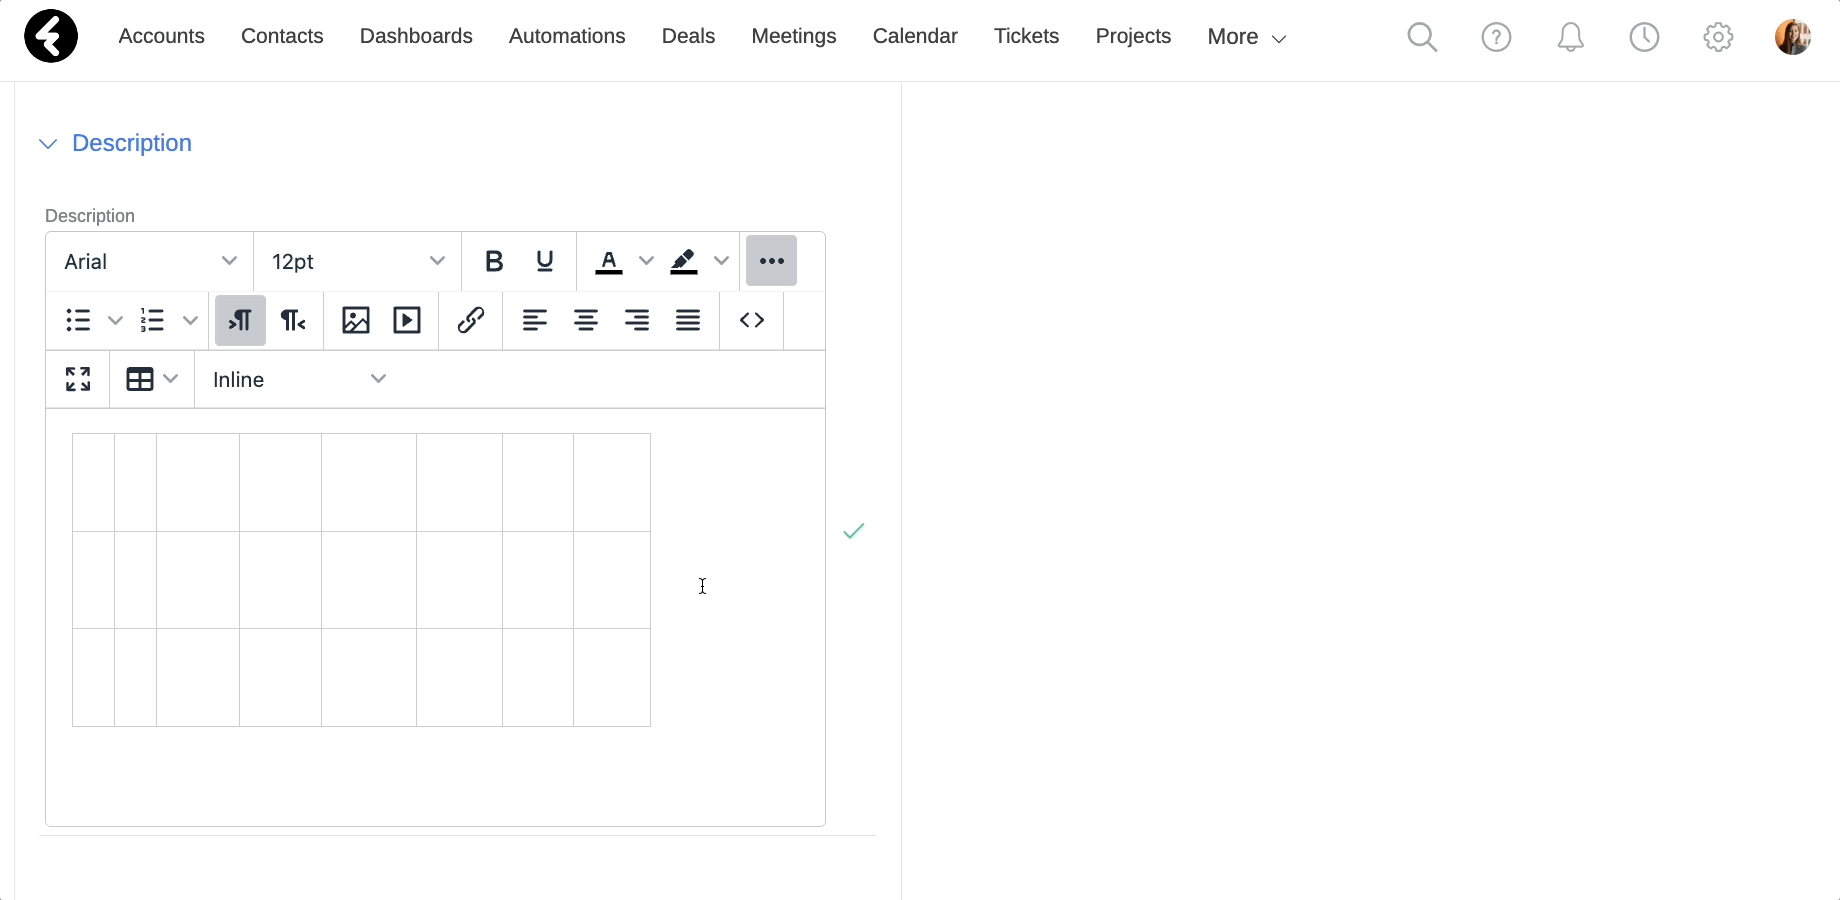
Tables
If you’d like to add a table, start by clicking the table icon. Next hover over the Table option and select the amount of cells you’d like from the displayed grid. You can then edit your table using the displayed menu or change its size by dragging the outlines and corners.
You can also click on the table icon once you’ve selected either a cell or a row to access more settings, such as the property menus. For example, by clicking the table icon, hovering over the Row option and selecting Row properties, you can set General properties like the Alignment or Height and you can set Advanced properties like a Border color or Background color.