Adding and editing fields
Fireberry includes many different fields, which you can add to forms or views, and contain data about a record. You can also create custom fields which fit your business's individual needs.
Adding and editing fields
You can access and then add fields to an object using two different methods.
The first is through the section of any form within the relevant object. Using the section you can add existing fields to a form, add new fields to an object, edit existing fields, and set form specific field settings, such as required, read only, and visibility settings. To learn about this option, see the following article.
The second method is through the object studio, where you can add new fields or edit existing fields. You can learn about accessing and using the object studio here. Open the object studio to show an alphabetical list of all the objects within your system. Select the object you would like to edit, such as Accounts. On the bottom of the page are the Pages and Record Fields tabs. Click on Record Fields to open a list with all the fields within this object. The number inside the parentheses indicates the amount of fields.
This list functions the same way as any other view. To learn more about views, click here.
You can now choose whether you’d like to edit an existing field or add a new one. To edit an existing field, simply click on it. This will open an editable dialog box with the field’s name and settings. Each setting is detailed below. You cannot change the field type or API name of an existing field.
To add a new field, click the green Add button in the top right corner. This will open a Create New Field dialog box where you can choose which type of field you’d like to add. Check out our field types article for more details on which field types are best for different custom fields.
Now search for and select the desired field type, and then set its name. For example, you can add a new Text field for a maiden name.

Next, choose the settings for your new field. The Default value, Track changes, and API settings exist for all field types, while others only appear for specific field types. Some fields, such as Created On, Created By, and Next Meeting Date are generated automatically by the system and their settings cannot be changed. Find an explanation for each setting option below.
Characters limit
You can choose to set an additional character limit for the Text, Email, and URL field types. This will limit the amount of characters which can be saved in the field. For example, you can set a character limit of 20 in the Email field. If you try to add more than 20 characters to this field, you won’t be able to save the record and an error message will appear and show the limit.
Note that the character limit cannot exceed 200, as this is the character limit defined by the system for the Text, Email, and URL fields. To learn more click here.

Default value
The default value is a value which this field will automatically fill in with for each new record within the field’s object. The default value option appears for almost every manually filled in field, including but not limited to the text, number, date, and picklist fields. It will not appear for calculated fields, such as the summary and formula fields.
To set a default value, check the circle next to this option. A box will open where you can set your default value.
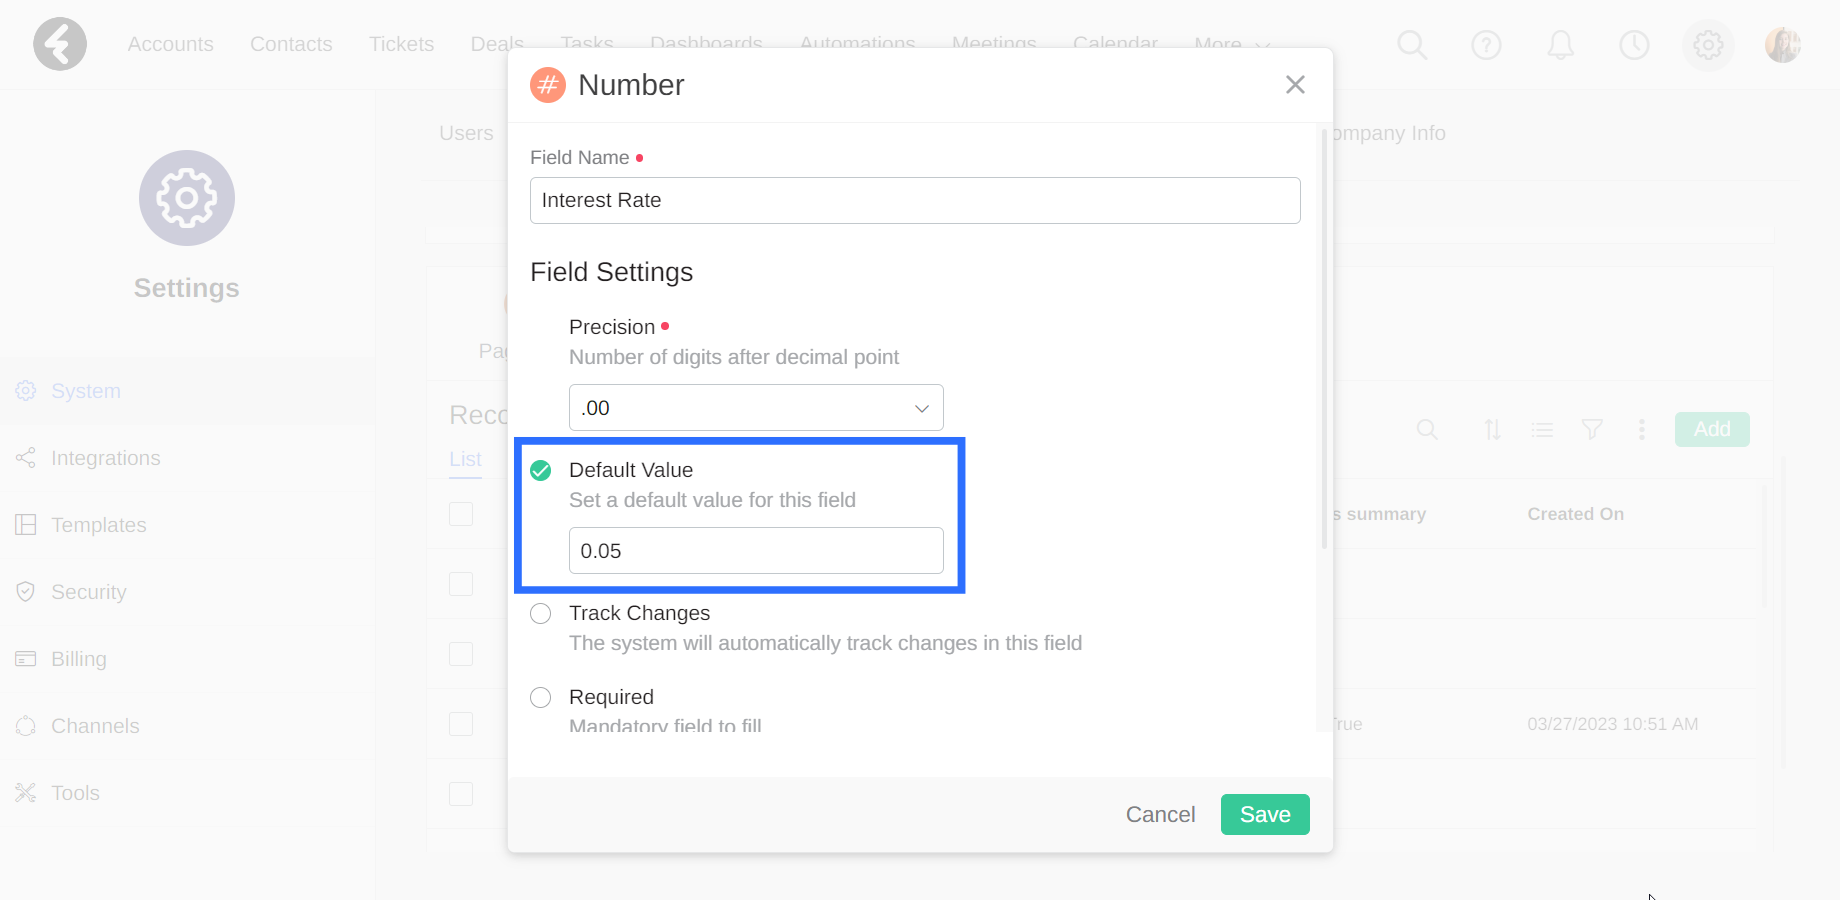
The value needs to match the requirements of the field. This means that, for example, a number field's default value must be a number and must match the selected precision, which is explained below.
The date and date & time field types let you set a default value which is relative to the date when a record is created, which is when the default value is used. For example, you can set the default value of a Due Date field as Tomorrow at 9:00 AM.
Additionally, a picklist field’s value must be chosen from the list of options; Read more about picklists here.
Track changes
By selecting this option, any change made to this field will be saved in the system log of a record’s stream.
Additionally, you will receive a notification every time another system user changes the value of this field in any record you have access to. These notifications can be accessed by clicking the Bell icon on the top left of any system page. The bell will have a red indicator when you receive a new notification.
Autocomplete
This option will try to automatically complete the value you’re typing, based on previous values you’ve used in the system. Autocomplete only exists for the following fields: Text, PhoneNumber, URL, and Email Address.
Precision
This option only exists for the Number and Summary field types. It lets you choose if you would like to limit the number to a whole number or to up to a certain amount of decimal points. For example, you may wish to create a Siblings number field which only lets you input a whole number. To do so, first create a new number field and then set the Precision dropdown list to 0.
The system will fill in zeros after the decimal point up until the precision you chose. This means that a number field with the precision set to .000, for example, will display the number 16 as 16.000.
Required
Fireberry contains both default and custom required fields. Checking the Required setting for a field will ensure that a record’s form cannot be saved without filling out this form. If you try to save a form without filling out a required field, you will receive an error message.
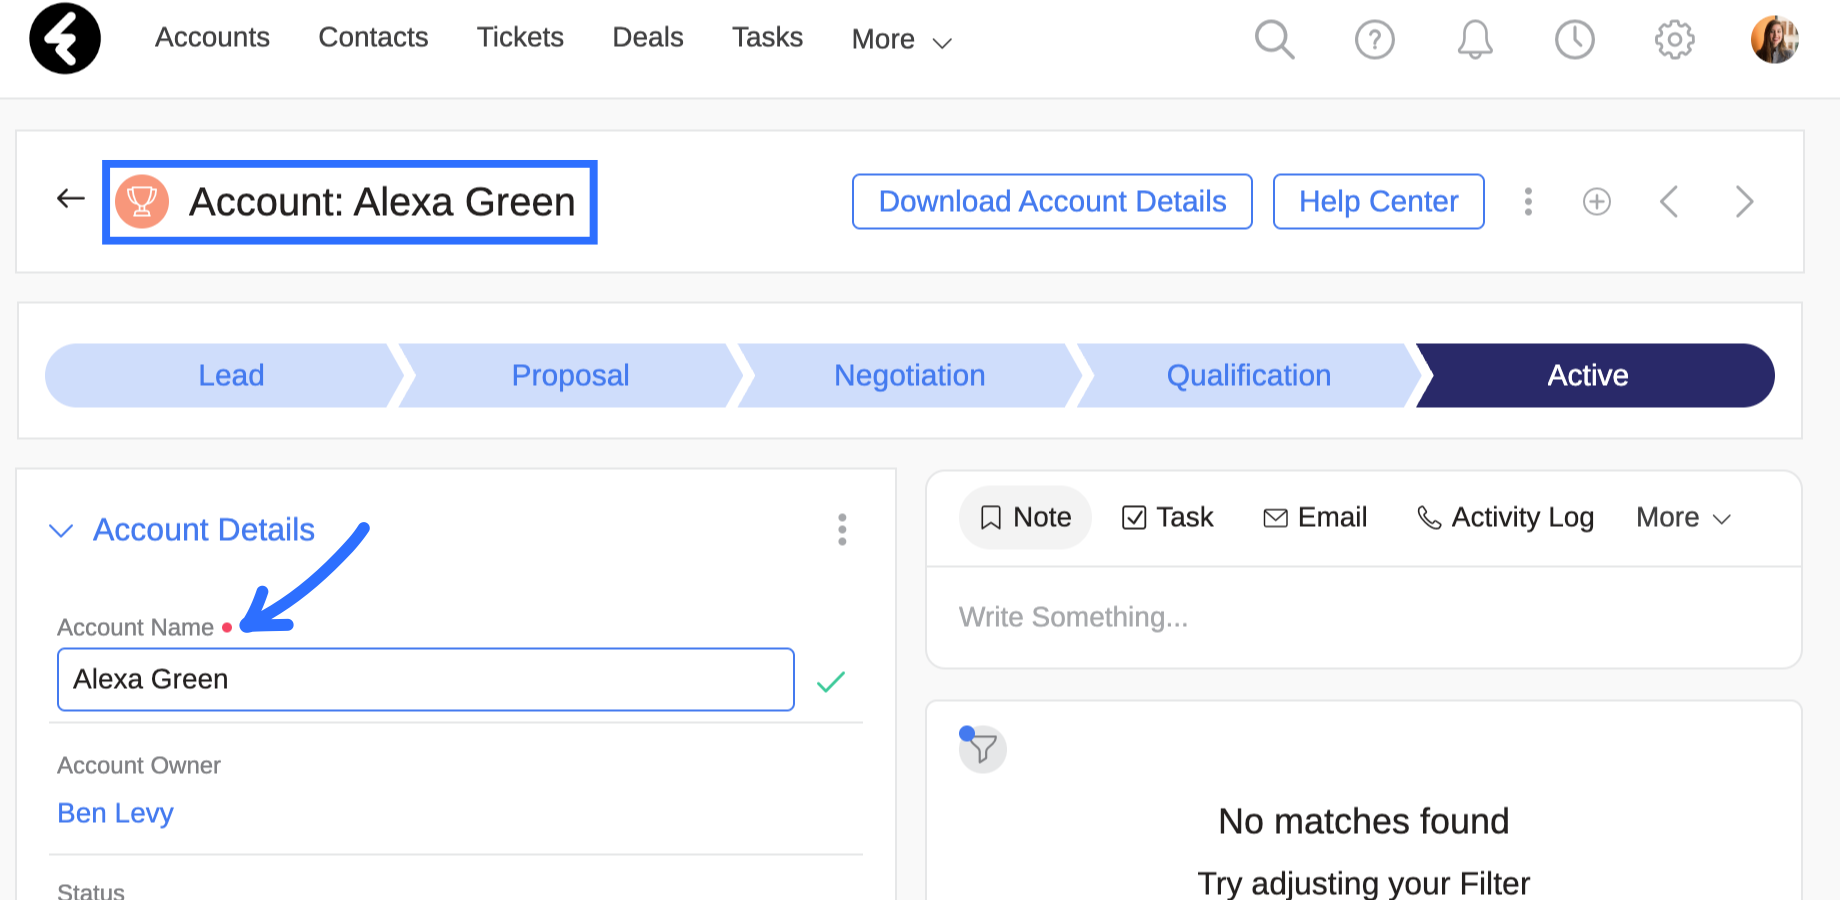
Default required fields are mandatory fields that must have a value whenever a record is saved within the system. Required fields are marked as required by a red dot which appears next to their name in a form, and usually contain valuable information about the record. For example, when creating a new account record, Account Name and Account Owner are default required fields. Note that these fields appear in all account records in the system.

You can choose to set any field as a required field. Simply open the field’s settings, check off the Required option, and click Save. This will set the field as required throughout the system, and it will need to be filled in whenever anyone saves a record of this type. You can also choose to set a field as required only on a specific page. This will allow you to set the required settings based on the role viewing the page. When setting up page specific required settings, you’ll also be able to create a filter to control exactly when the field will or won’t be required. To learn how to set a field’s required settings on a specific page, click here.
Read only
Like the required option, there can be both default and custom read only fields. All read only fields will be marked with a lock icon which appears when you hover over them.
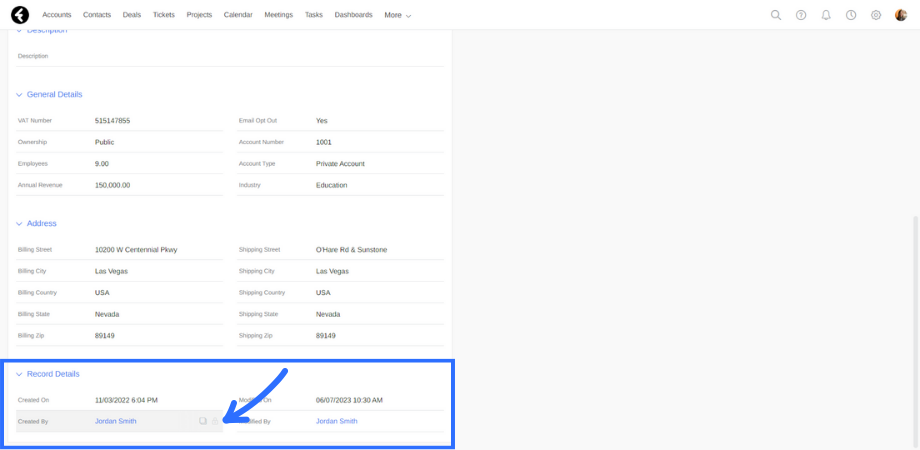
Default read only fields can be displayed in a form, however, the user will not be able to edit them. In Fireberry, there are four default read only fields, which are all filled in automatically by the system. The four fields, which exist for all objects, are Created On, Created By, Modified On, and Modified By. The On fields will contain the relevant date, while the By fields are lookup fields which connect to the relevant system user. The Created fields will be set and unchangeable as soon as a record is created, while the Modified fields will update whenever a record is modified.
To set any other field as read only, simply check off the Read Only option in the field’s settings and click Save. This field will be set as read only throughout the system, and no one will be able to edit its values.
You can also choose to set a field as read only within a specific page. This allows you to control which system users will be able to edit the specified field. You can also add filters, so that each field will only be editable if it meets specified conditions. To learn more, click here.
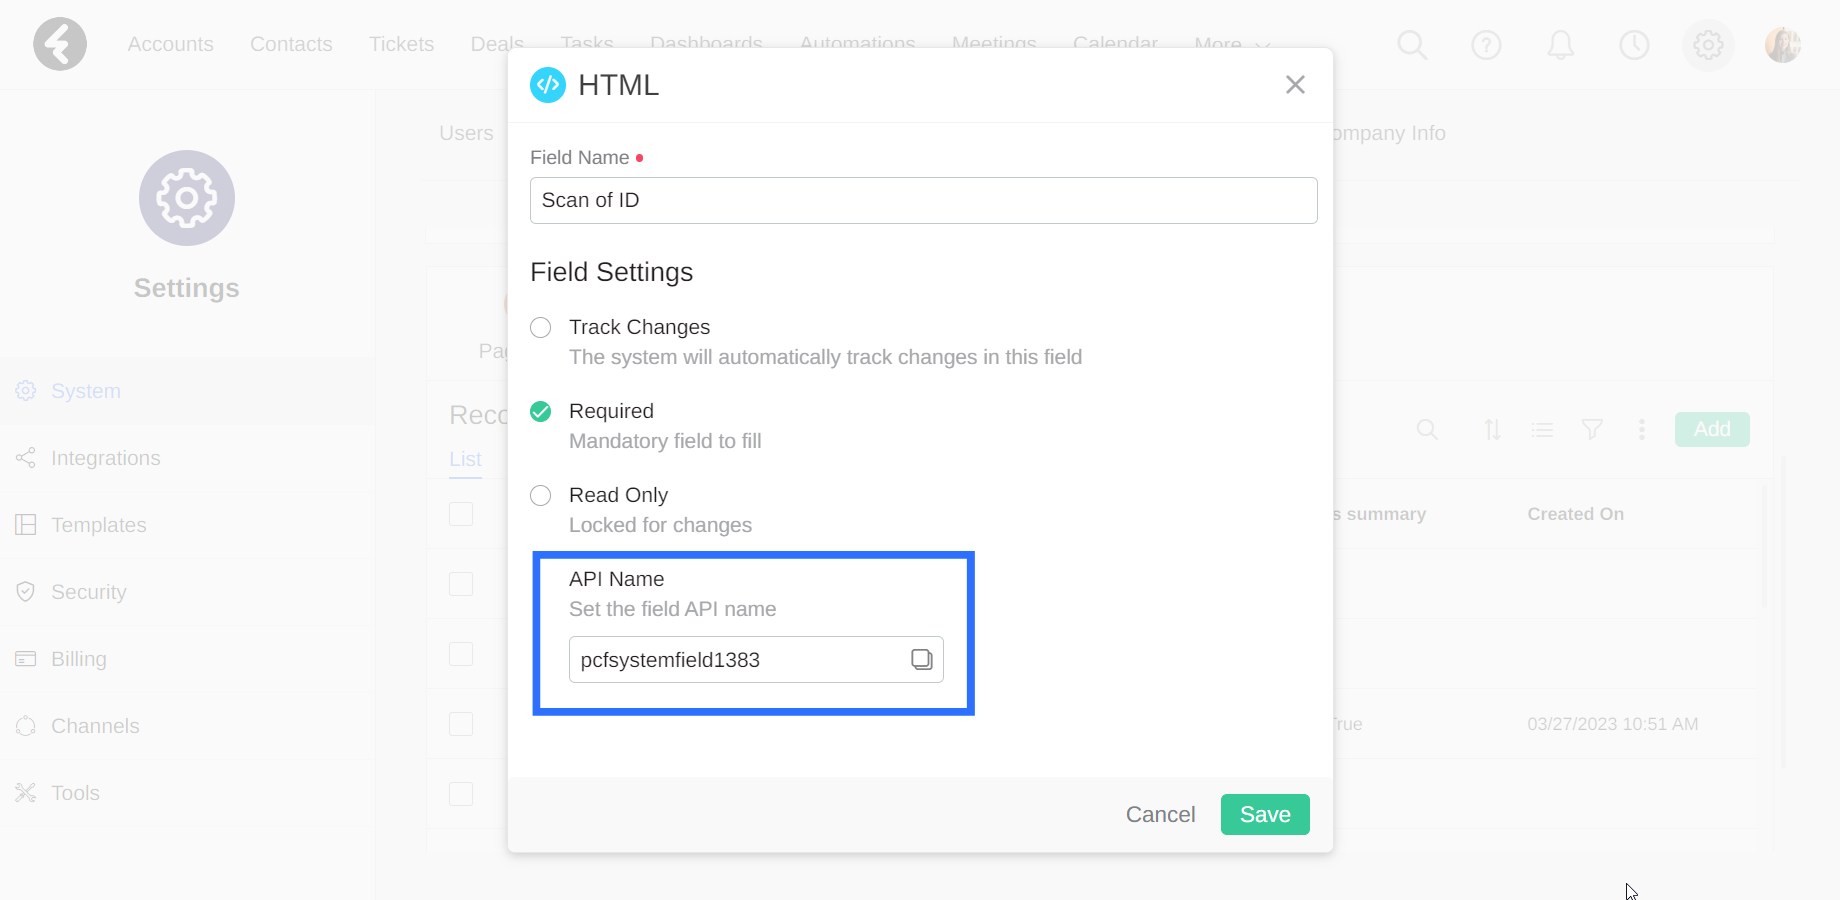
API name
API names are important both within the system and for those who receive leads from landing pages and outside sources. A field’s API name is automatically generated by the system, but can be changed to any name which is not already in use in a different API name field. You may wish to change the name in order to clarify the field’s purpose.
Once you create a field, you will not be able to switch the API name. You can easily copy the API name at any time using the copy icon next to it.
Permanently deleting fields
You can choose to permanently delete custom fields, which will also erase all the data which exists within the field. You cannot bulk delete fields, rather they will need to be deleted one by one.
To delete a custom field, first go to the Record Fields list in the object studio, which is explained in the section above. Next select the custom field you would like to delete by clicking the checkbox next to it, and then choose the delete option.
A field must meet the following conditions in order to delete it:
- It’s a custom field, meaning it was created by a system user.
- The field isn't being used in a formula or summary field.
- The field isn’t being used in a view, either as one of the columns or in the filter.
- The field doesn’t appear in a widget of a dashboard as a field to show, sort by, or filter by.
- The field isn't being used in an automation.
- The field isn’t in the form component of any pages.
- The field isn’t used in the custom sharing of any role permissions.
If the custom field meets all these conditions, a pop up will open where you can type in DELETE and click the delete button to permanently delete the selected field.
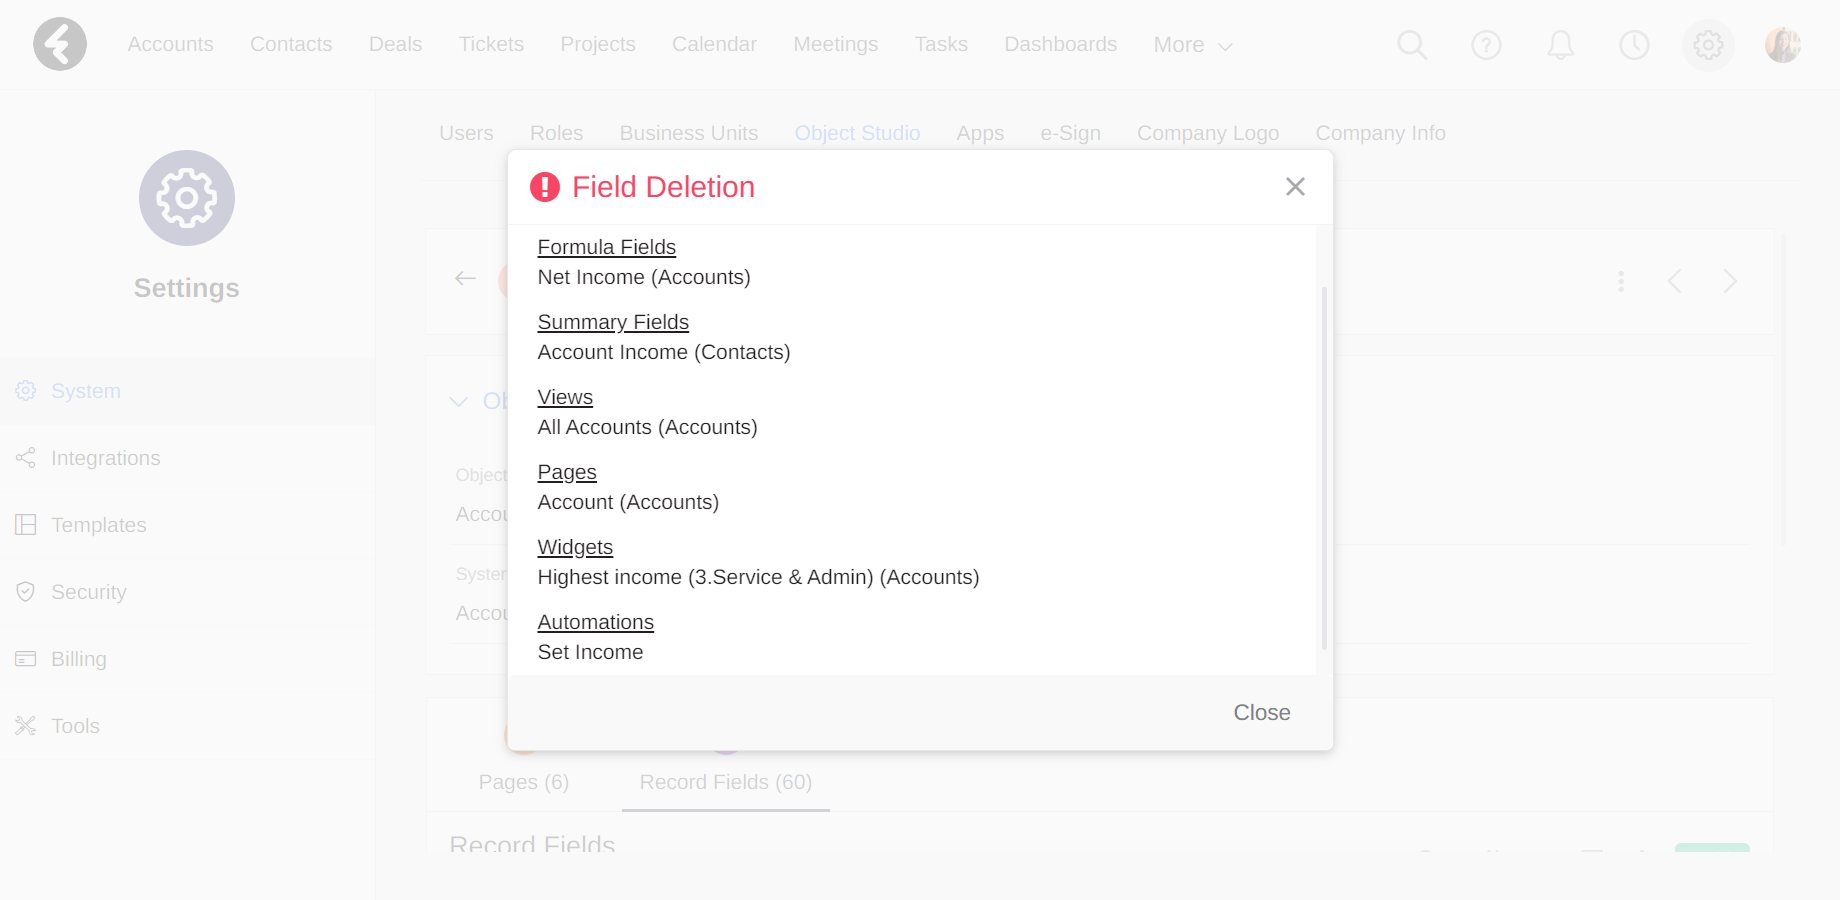
However, if the custom field is currently in use, the field deletion monitor will pop up with a list of the uses you need to delete in order to delete the field. You’ll need to remove each use in order to delete the field.
There are six places where a field might be in use. The deletion monitor will detail every place where the field is being used as follows:
- Formula fields: The name of the formula field and the object it’s in.
- Summary fields: The name of the summary field and the object it’s in.
- Views: The name of the view and the object it’s in.
- Dashboards, reports, or graphs: The name of the widget, the name of the dashboard, and the object it’s in.
- Automations: The name of the automation.
- Pages: The name of the page, and the object it’s in.
- Custom sharing permissions: The name of the role, and the name of the object the custom sharing is set for.
Once you finish deleting all the listed dependencies, you’ll be able to go back and permanently delete the field and all its data.
Primary fields
Each object contains a text primary field, which will be displayed in the record header and is used to identify each individual record. The primary field contains important information about the record, such as its name, and will be marked with a yellow star in the edit mode of a page. Because the primary field is required by default, it will include a red dot next to the field and will need to be filled in in order to save the record.
For example, Account Name is the primary field in any account record, while Subject is the primary field in any task record. The primary field of custom objects will always be the name. You can change the value of the primary field at any time, as long as it has not been set as a read only field.
In addition, all primary fields share the following characteristics:
- Lookup fields display the primary field of the related object. For example, the Account field in the Contact object is a lookup field associated with a specific account within the system. This means that the value of the Account field displayed in the Contact object will be the Account Name, which is the primary field of the Account object.
- Fireberry's system wide search feature, which can be accessed using the magnifying glass icon in the top right corner, will only search through values found in the primary fields.
- The history log will display the primary field of an object underneath the object name. For example, if you recently added a new Project object, your history will display the word Project followed by the value of the project’s primary field Project Name. Your history log can be opened by clicking your company’s logo, found in the top left corner of the page.
- The primary field of an object will be displayed in the record header, which you can learn about here.