Field types
To start, you’ll need to choose the object you’d like to add a new field to. There are two ways you can add a new field, either using the object studio or by using the page editor. For in depth explanations on how to add and edit fields, including field settings such as default value, filter by field, track changes, API name, and more, please see the following article.
Below you’ll find a short explanation of each field type. For more complex field types, a link will be included to an in depth article with detailed explanations.
Text Area
The text area field type lets users insert free text with up to 4,000 characters. This field is useful when you want to include detailed explanations, such as the reason a candidate was rejected from a program.
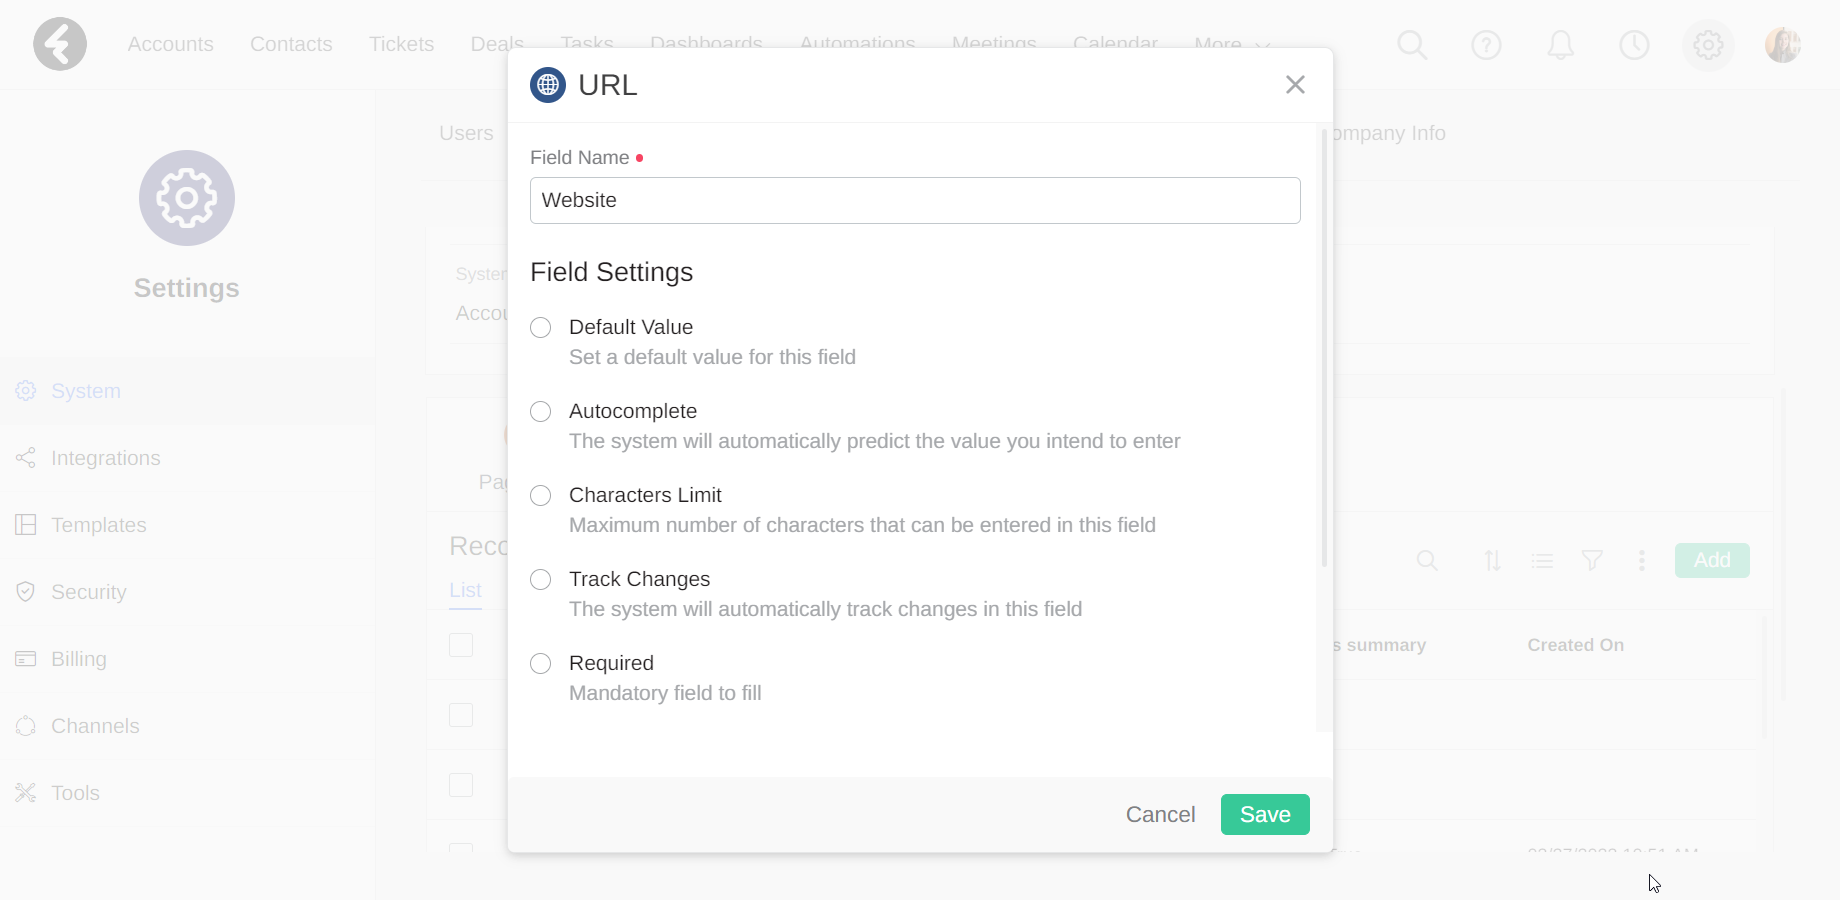
URL
URL fields are used to hold one valid website address with up to 200 characters. The link will appear in blue, and when you click on it the URL will open in a new tab. This is recommended for fields which link to outside sources, such as a company’s website.
HTML
By using the HTML field type, you’ll create an editable text box with up to 4,000 characters. This field has a variety of different options such as pictures, videos, tables, designable text, or even hard coded HTML.
To learn how and when to use an HTML field, click here.
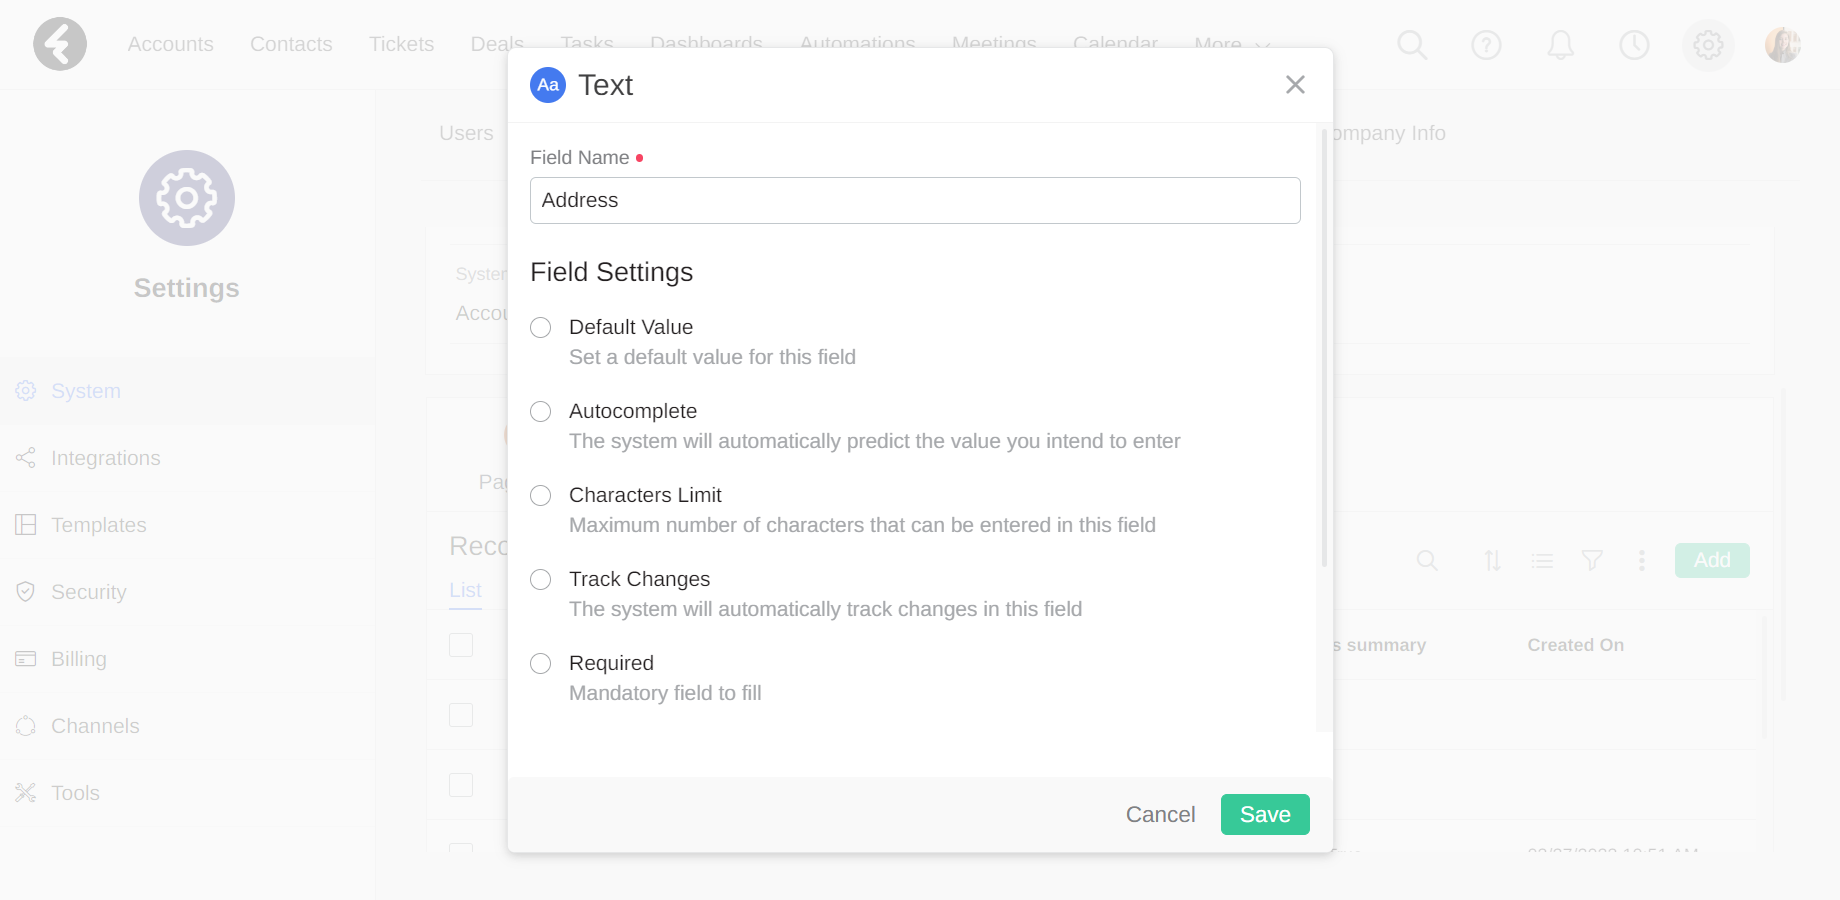
Text
The text field contains free text with up to 200 characters. It is recommended for fields which will contain a few sentences or less of individualized information, like a name or address.
Number
The number field allows you to insert any number of up to 200 characters, such as prices, ages, and more. It’s important that these fields are set as number fields so that they can be used in formulas without causing any errors. Numbers can be positive or negative, and you can choose to set the precision of numbers displayed after the decimal point. To learn more about precision, click here. Additionally, commas will automatically be added between every three numbers. For example, the number 1234567 will be displayed as 1,234,567.
The inline editing of a number field will save up to four places after the decimal point, no matter which precision is set. After this point, the number will be rounded up and the original number will not be saved. For example, the number 5.6743632 will be saved in the inline editing of a number field as 5.6744.
Phone Number
The phone number field is designated for phone numbers and can contain up to 200 characters. Phone numbers can contain whole numbers and the plus sign “+”. This field type will automatically erase dashes "-" from an entered phone number. Any other symbols, such as spaces, commas, and periods, will result in an error where you won’t be able to save the field. Phone numbers will appear as blue links which you can click on to easily call your customers using any calling program attached to your computer.
Email Address
The email address field is designated for email addresses with up to 200 characters. Each email must contain an "@" symbol with text on both sides, otherwise an error will be displayed and you will not be able to save the field. Email fields will be displayed as blue links which you can click on to easily send an email.
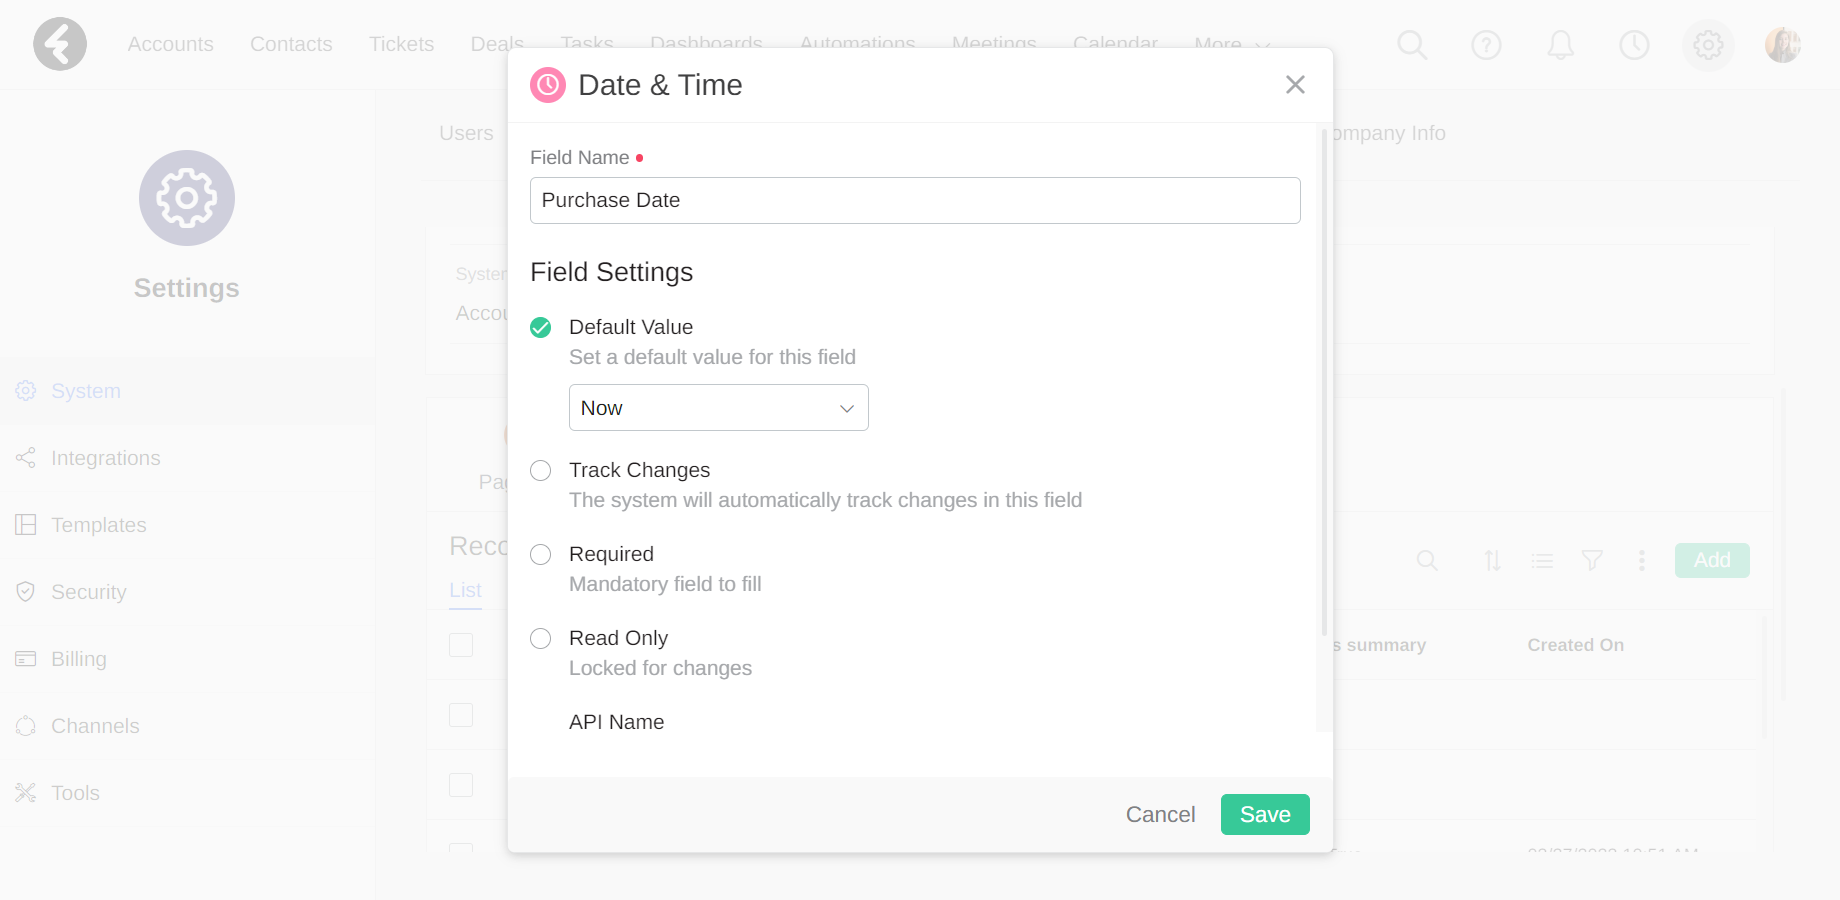
Date / Date & Time
The date field uses the standard YYYY-MM-DD format while the date & time field uses the standard YYYY-MM-DD HH:MM format. These fields are useful for birthdays, most recent meetings with a customer, purchase dates, and more. Choose which field type to use based on if you’d like to save the time as part of the field. Both fields can have a relative default value, such as Now or Tomorrow at 10:00 AM, which you can learn more about here.
Lookup
Lookup fields allow you to relate or create a relationship between two records in the system. They help you fully integrate all the different objects in your system, and easily access relevant information from different records and objects.
To create a new lookup field, search for the name of the object you’d like to relate to your current object using the Create New Field dialog box. You can also find a list of objects under the Advanced heading in this box. By selecting an object, you will create a new field which creates a one to many relationship between the two objects.
A built-in example of this can be found in the Accounts object, which uses the Account field in the Contacts object to create this relationship. By creating the field within the Contacts object, each contact can be related to one account. However, an account can have many contacts which are related to it.

To learn how and when to use a lookup field, click here.
Picklist
Picklist fields allow users to select a single value from a predefined list, and are useful when you need to add specific values to a field on a regular basis. This also helps users avoid spelling mistakes or variations, such as abbreviating the city name “New York” as “NY” or “New-York”.

Using predefined values is crucially important as it lets the system group, filter, display, or summarize records according to these values. For example, if you set a view to display all of the accounts with a “New York” shipping address and some of the cities were filled out as “NY”, these accounts would not appear in your list.
You can add specific options for each picklist field and set custom colors to easily visualize each option.
To learn how and when to use a picklist field, click here.
Sumamary
Summary fields automatically calculate summarized values based on a related object or field. For example, you can summarize the total amount of open tasks for every account.

For each summary field, a related object must be selected, as well as a summary type. The type of summary will choose the type of calculation performed, such as a sum (total) or maximum. The related object will choose where to perform the calculation. Depending on the chosen summary type, you may also need to choose a field to be summarized from the related object. You can use filters to set exactly which records will be included in the summary.
To learn how and when to use a summary field, click here.
Formula
Using the formula field you can automatically calculate the value of a field based on a custom formula. You can build the formula using various mathematical functions and operators, such as greater than, less than, IF, AND, OR, and more. You can also use functions which calculate results based on the values in any date, number, or text system field.
For example, you can create a formula field which calculates the seniority (age) of an account in months by finding the difference between the date of creation and the current date.
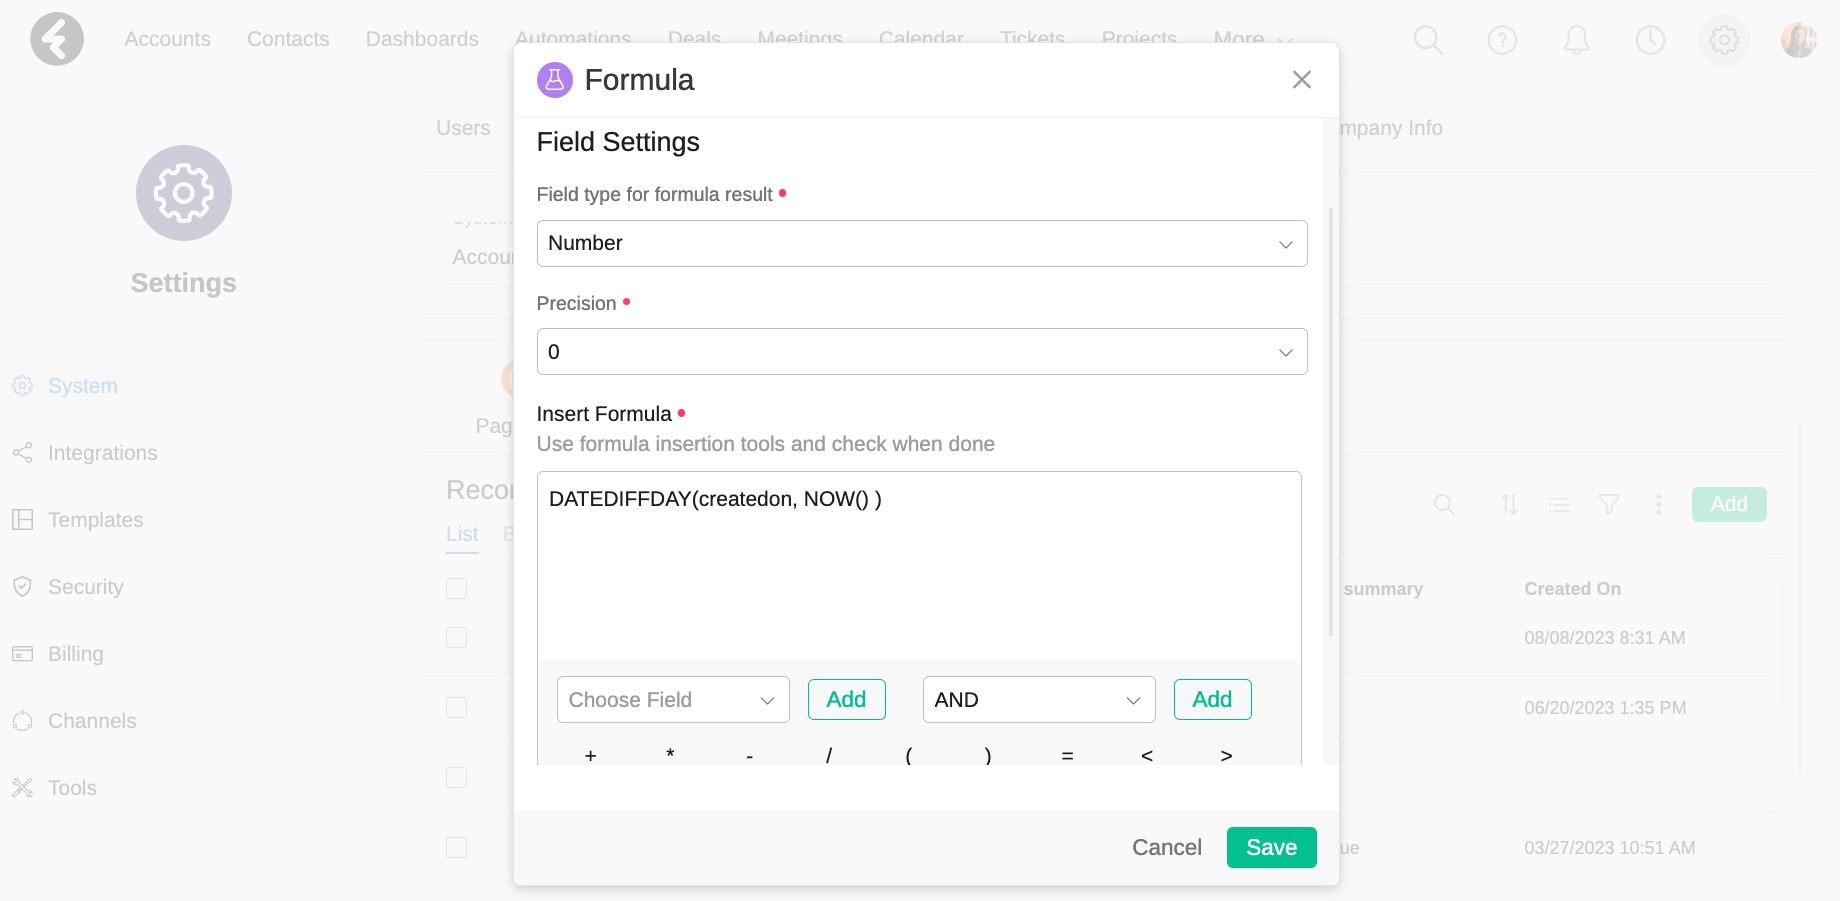
Each formula can use functions, operators, system fields, and even picklist options to calculate a result. A name, formula, and field type must be set for each formula field, as well as the precision when necessary.
To learn how and when to use a formula field, click here.