Setting up a view
What are views?
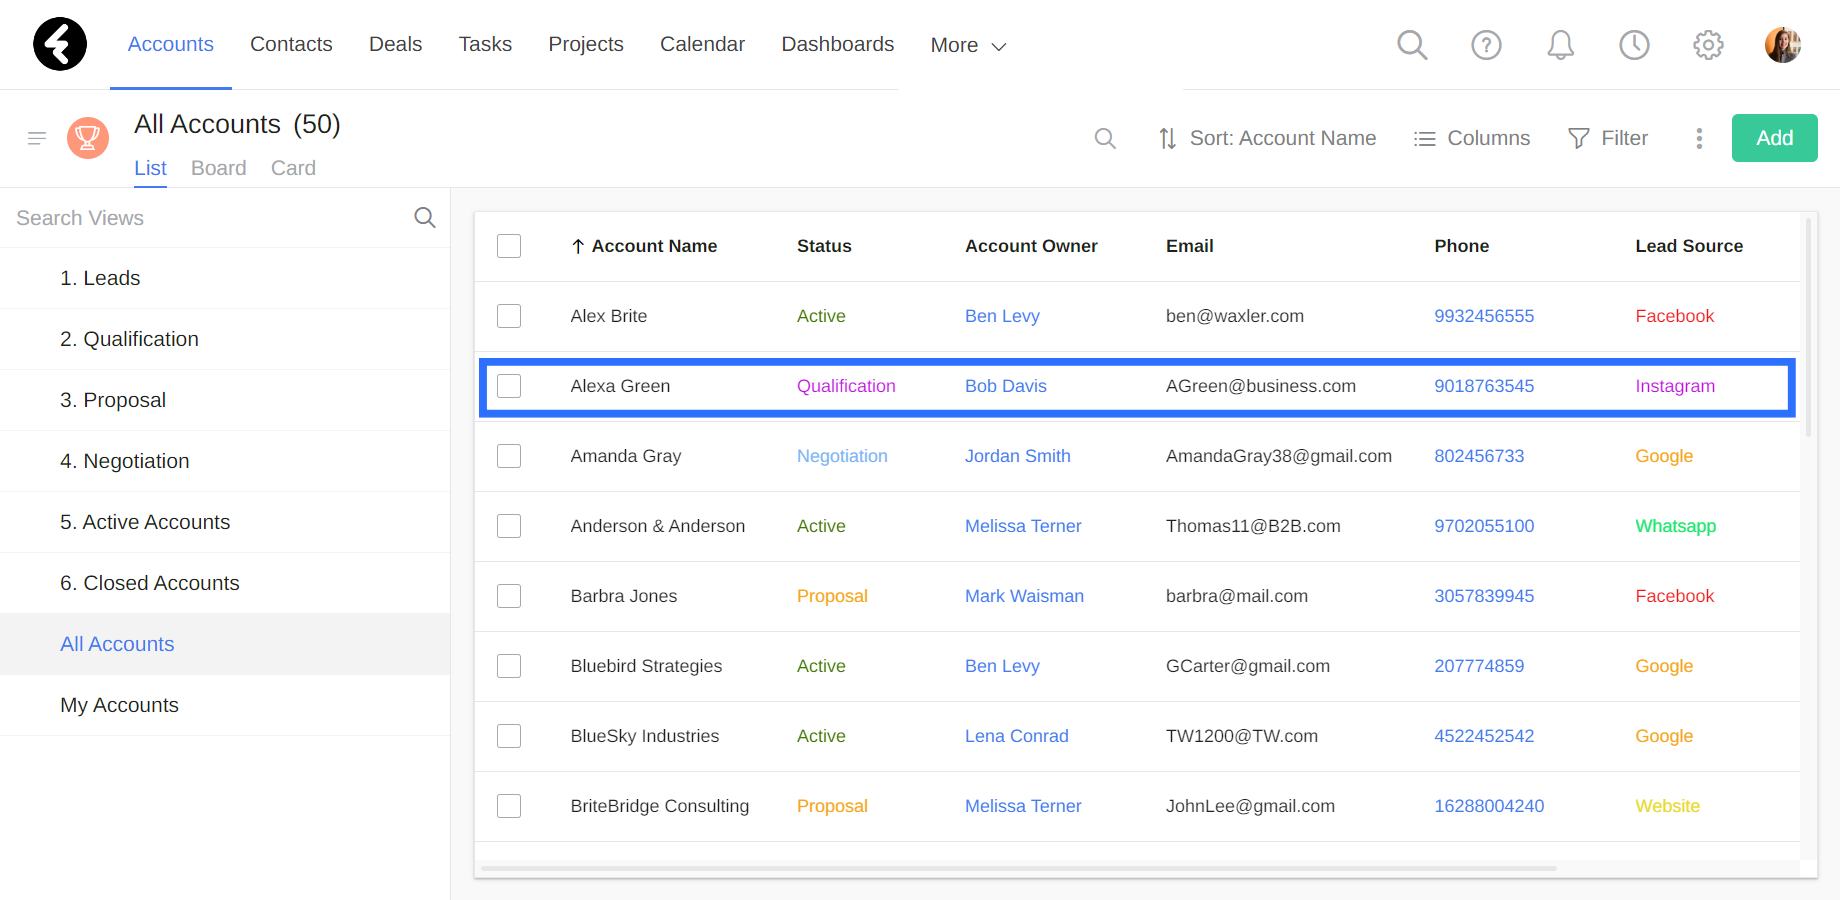
Views are used to display all the records in an object, and provide you with access to these records. For example, the All Accounts view pictured below displays all the records which belong to the accounts object. Each row in this view represents a single account record. By clicking on a record, you can open its individual details.
By using different views, you can create lists which display only the records you need access to. For example, your sales team may primarily work with lead accounts, and need easy access to a list of only accounts with the lead status. Your customer service team may instead only work with active accounts, and require a list of only accounts with the active status. By creating different views, you can provide each team with the relevant list of records.
Accessing views
Every object has its own set of views, which help you organize its records. By clicking on an object from the top bar menu, you’ll open its views. For example, by clicking on Accounts, you’ll open the views which belong to the accounts object. Here you’ll be able to access account records. If you instead click on Deals, you’ll open up the views which belong to the deals object, and be able to access the deal records.

View list
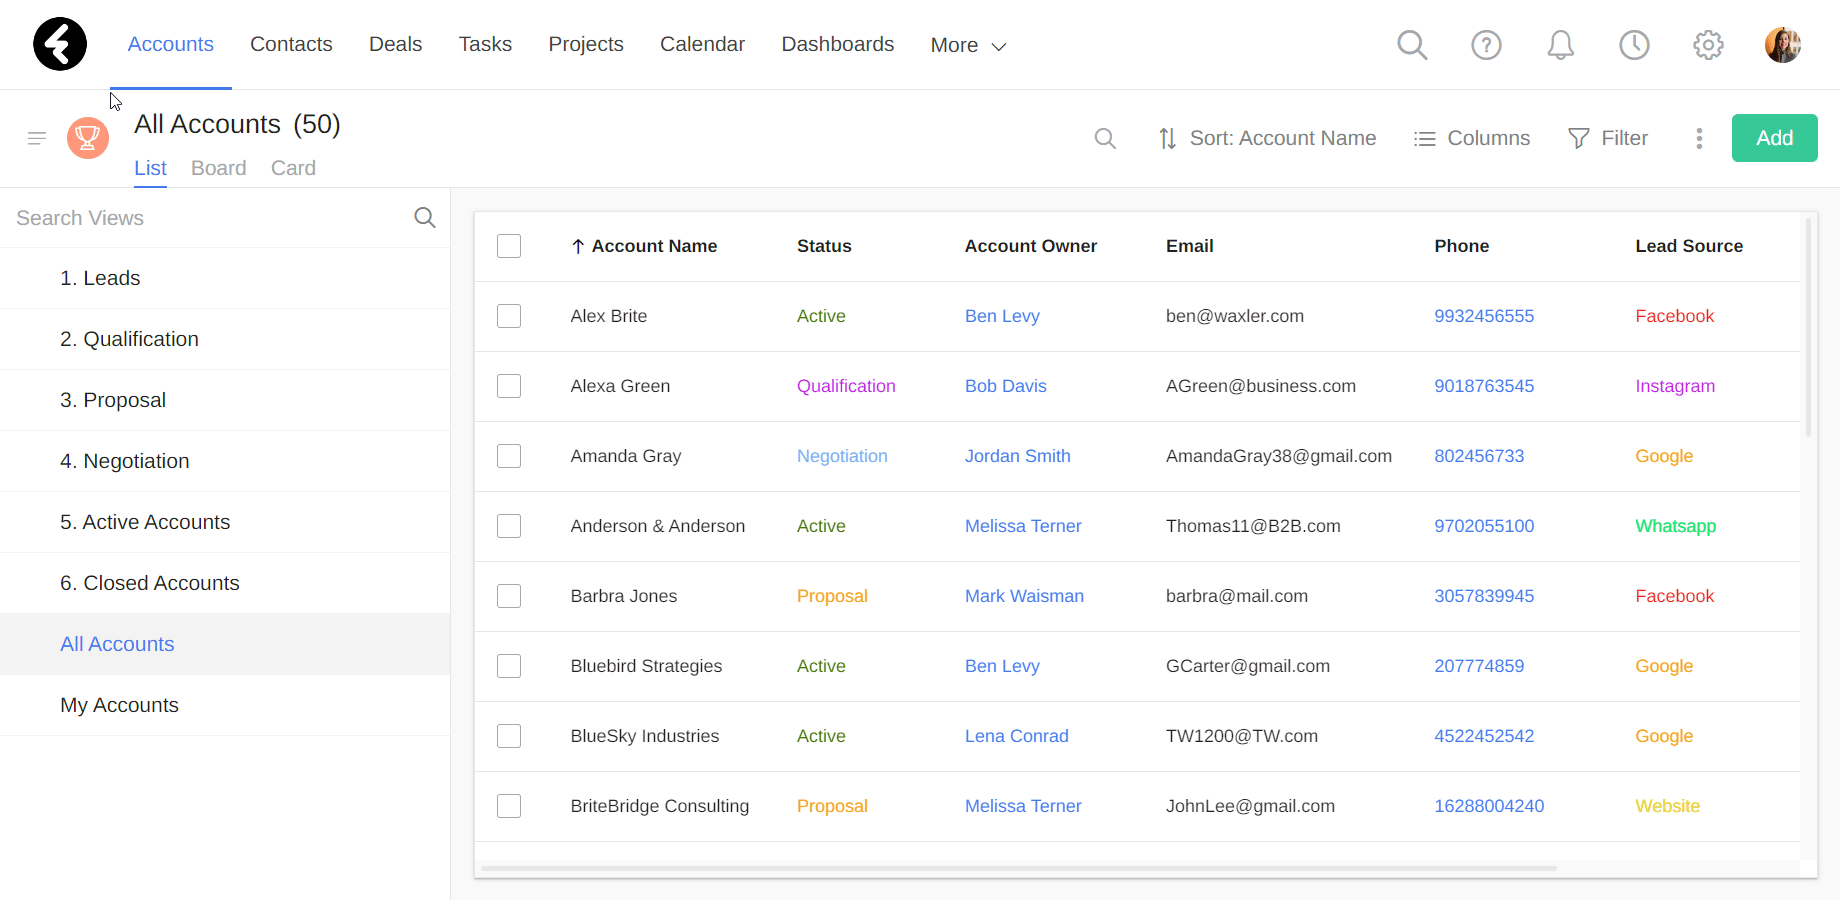
On the left of each view you’ll see a list of all the views within the object. In this way you can easily navigate between different views. For example, within the accounts object you’ll find built in views using the status field. One of these is the 1. Leads view, which you can click on to open a list of all the account records which are leads. If you instead click on the 5. Active Accounts view, you’ll open up a list of account records which have their status set to active. In this way you can always access the data which is relevant to your current task. Below you’ll learn how to create custom views using any field you’d like, and not just the status field.

Creating a new view
You may wish to create your own view which displays a set of records you frequently need to access. To demonstrate, let’s create a view which displays only the business accounts in your system. First, make sure you’re in the object you’d like to create your view in. In this case, select the Accounts object from the top bar menu. In addition, check that you have a field you’d like to use to set which records will be displayed in the view. For the business accounts view, you can use the Account Type field, and only display account records which have the field set to Business Account. You can now create your new view. Click the three dot menu on the top right of the page, and then select the create new view option.
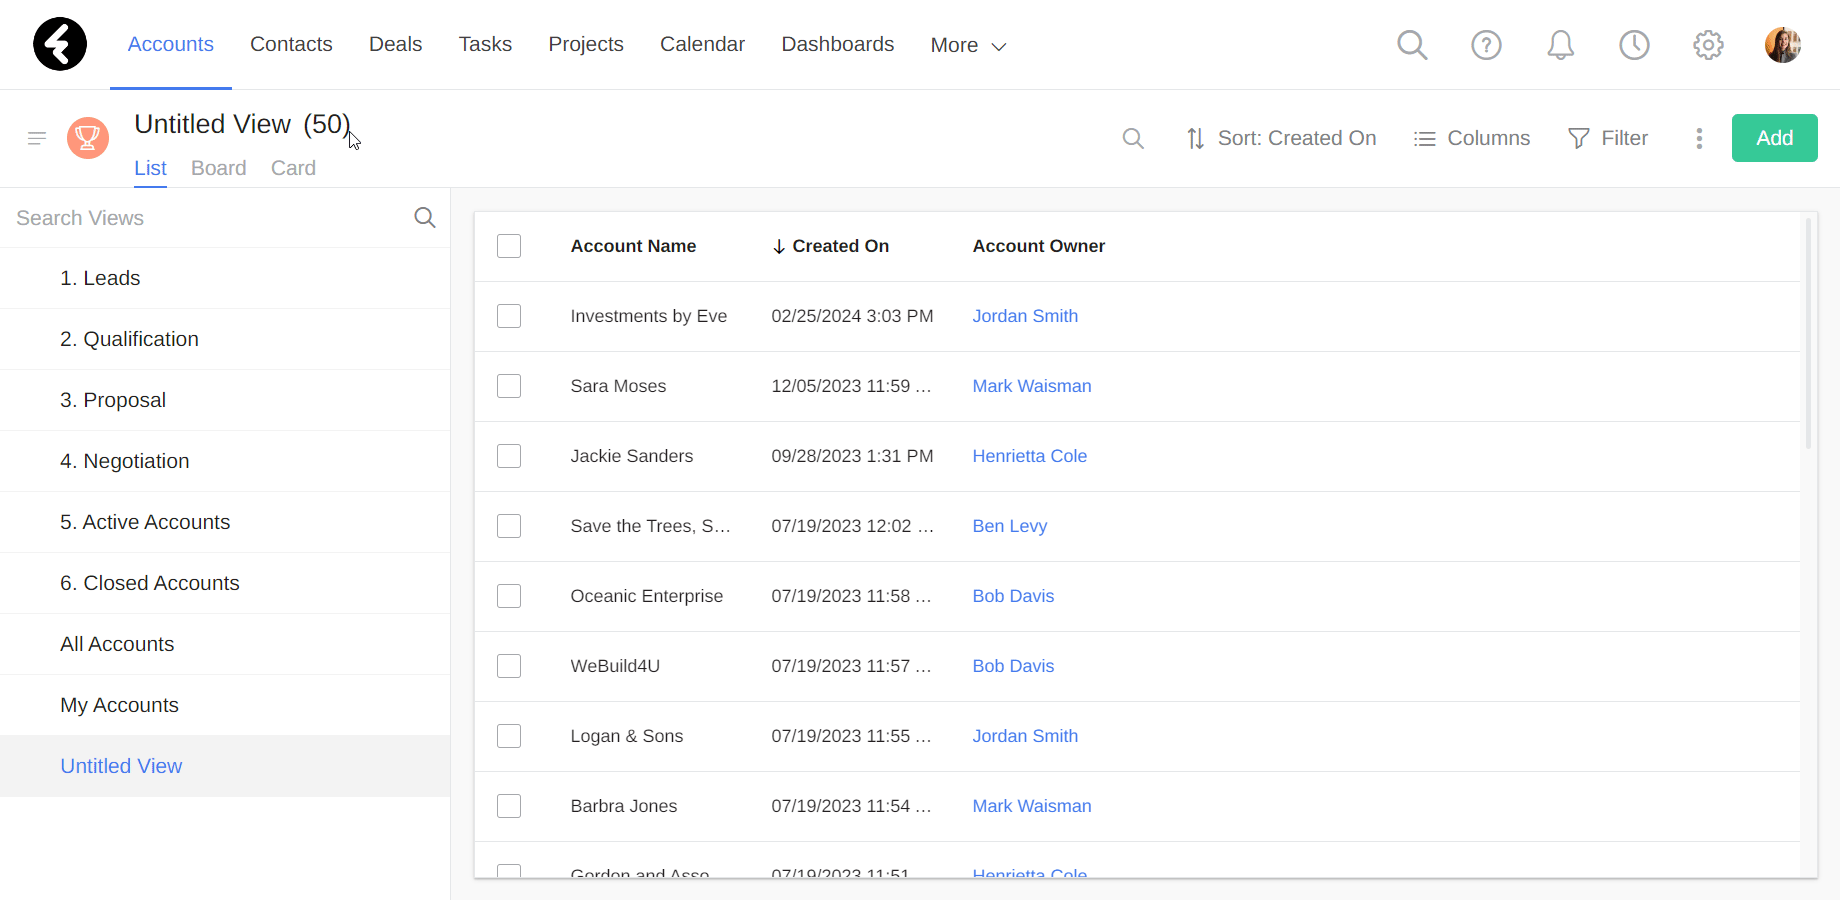
This will create a new view and open it. Your new view will by default display all the account records in your system. Below you’ll learn how to change this and instead choose which records are included in the view.
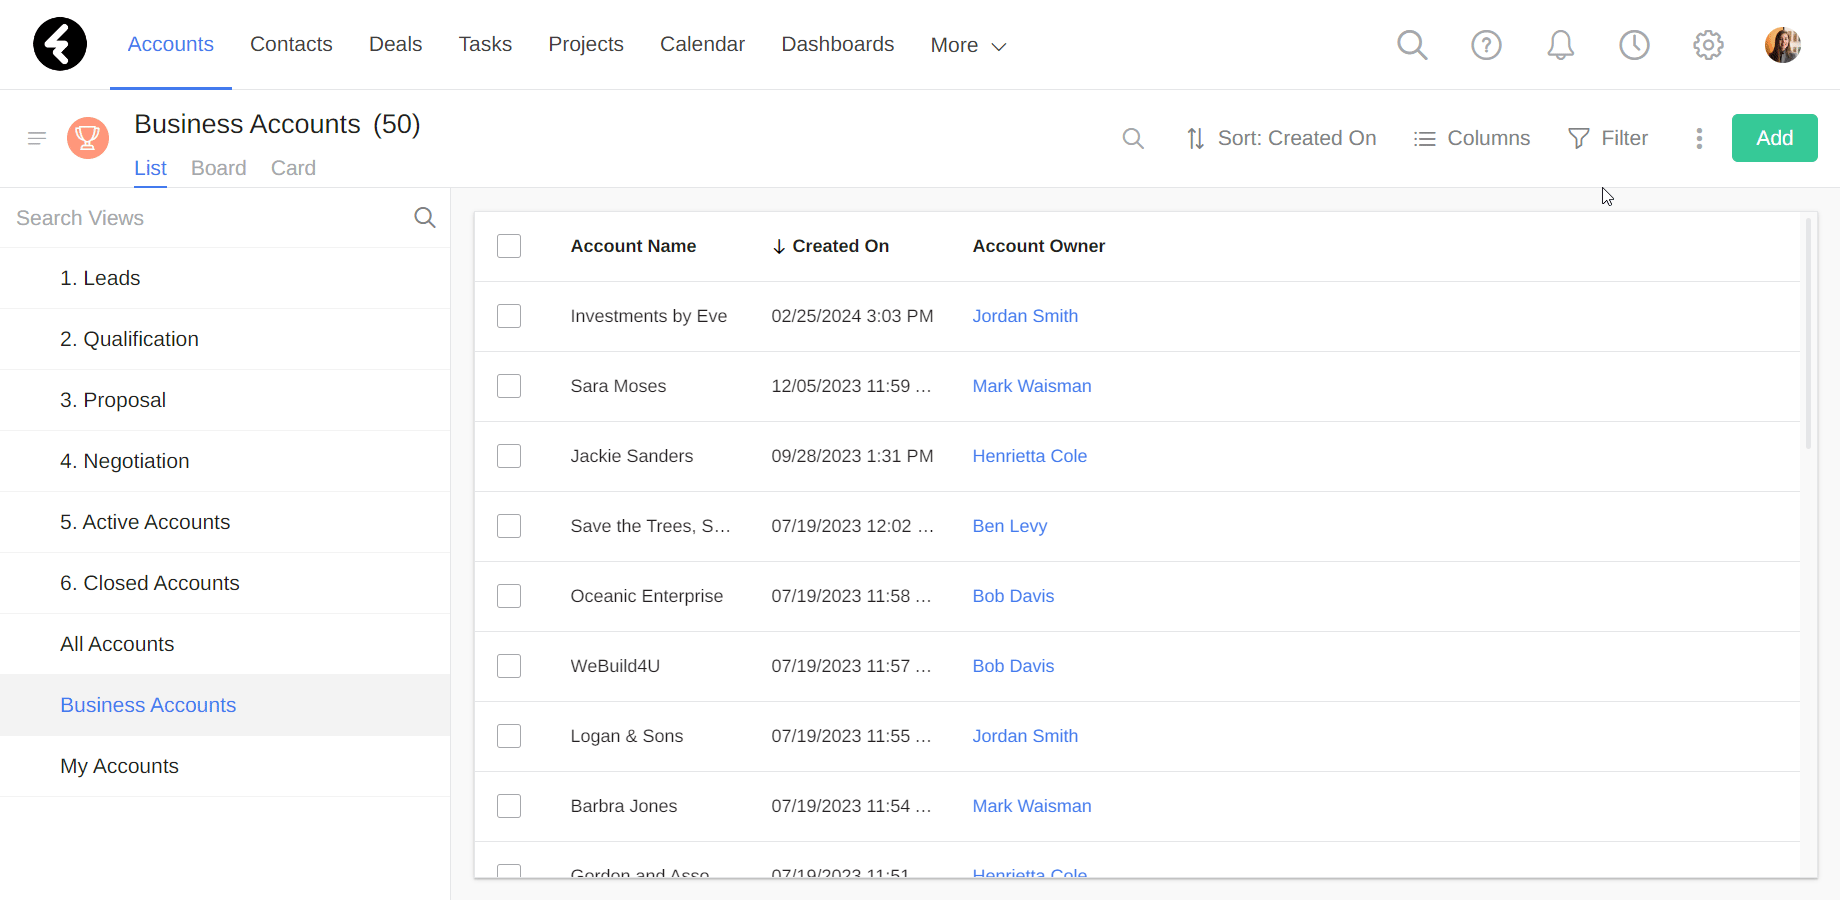
The name of your new view will be Untitled View, and can be found on the top left of the page. To rename it, first click on the current name to open the name editor. You can now type in a new name, such as Business Accounts, and then click Enter to save the new name. To the right of the name you’ll see a number in parenthesis. This is the amount of records displayed in the view. For example, in the picture below there are 50 account records in the Business Accounts view.
In the next section you’ll learn how to use the Account Type field to set which records will be displayed in this view.
Adding a filter
Now that you’ve created a new view, you can choose which records you’d like it to display. Continuing the above example, let’s set the view so it only displays business accounts. To do this you can use a filter. Filters control which records will be displayed in a view by making sure each record in the view meets specific conditions. For example, the built in 1. Leads view checks the status of each account record, and only shows the account records where their status equals lead.
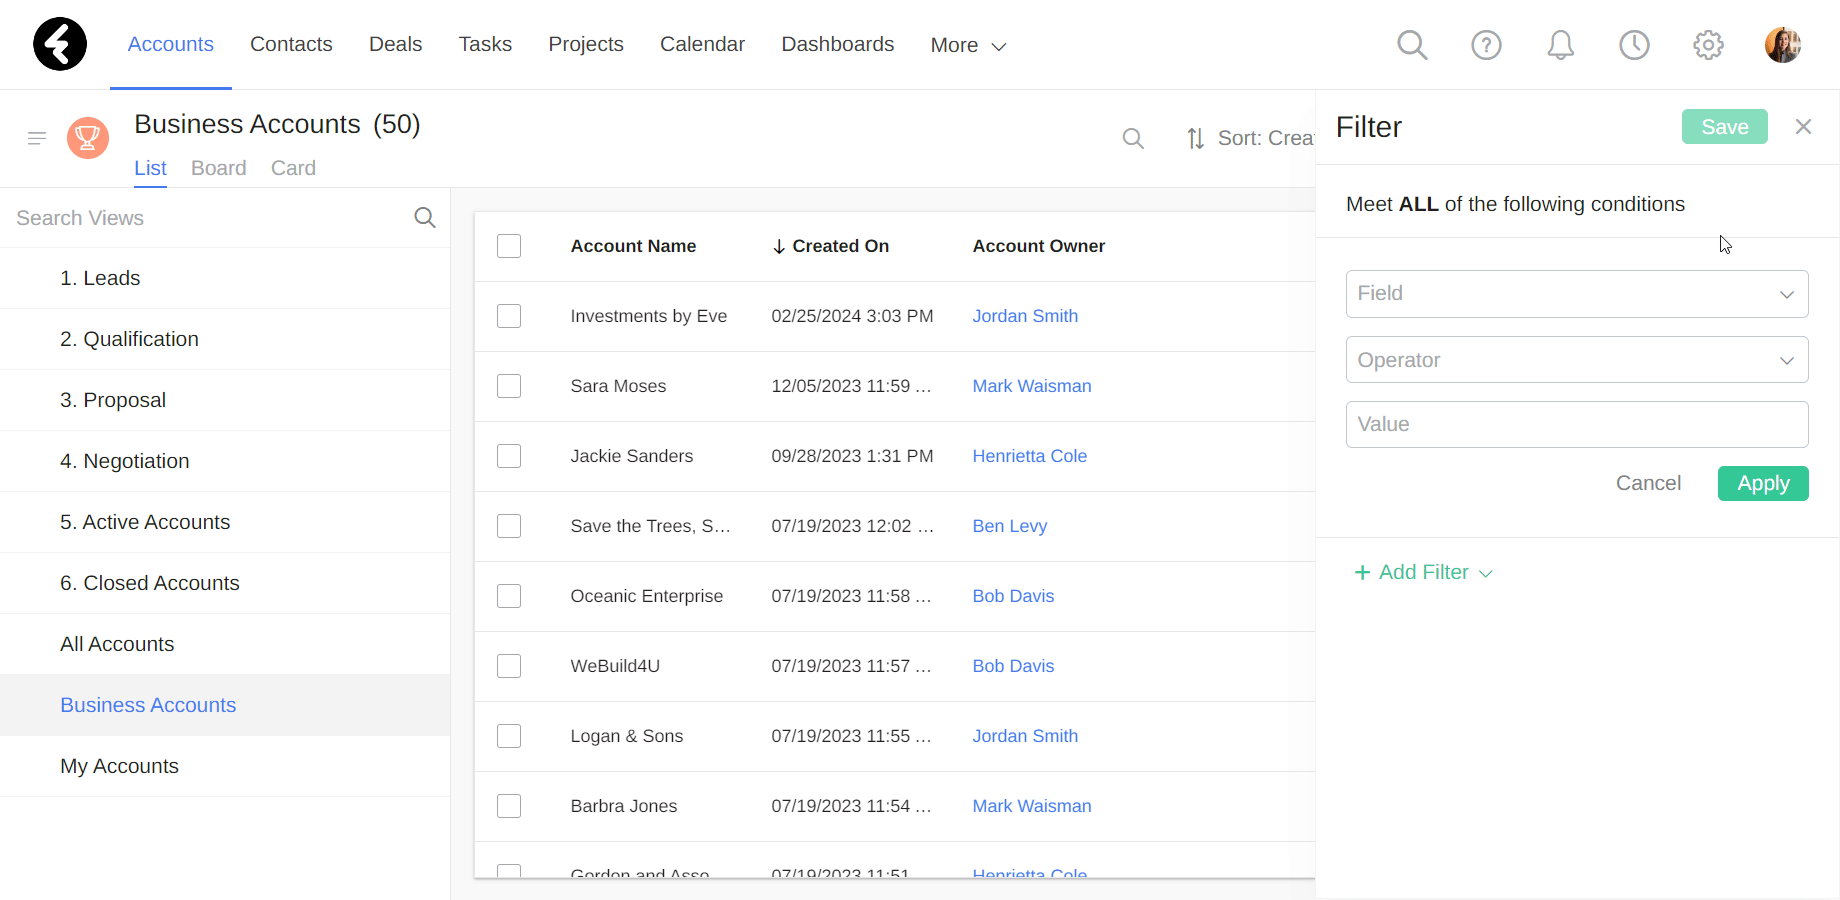
By clicking the filter option, you can open the filter settings for the current view. Here you can set custom conditions. After clicking Filter from the top right, click the + Add Filter option. This will open the settings for one condition. Let’s create a condition so that only business accounts are displayed.
The first section in the condition is the Field section. Clicking on it will open a searchable dropdown list where you can select any field which belongs to the current object. For example, you can search for and select the Account Type field.
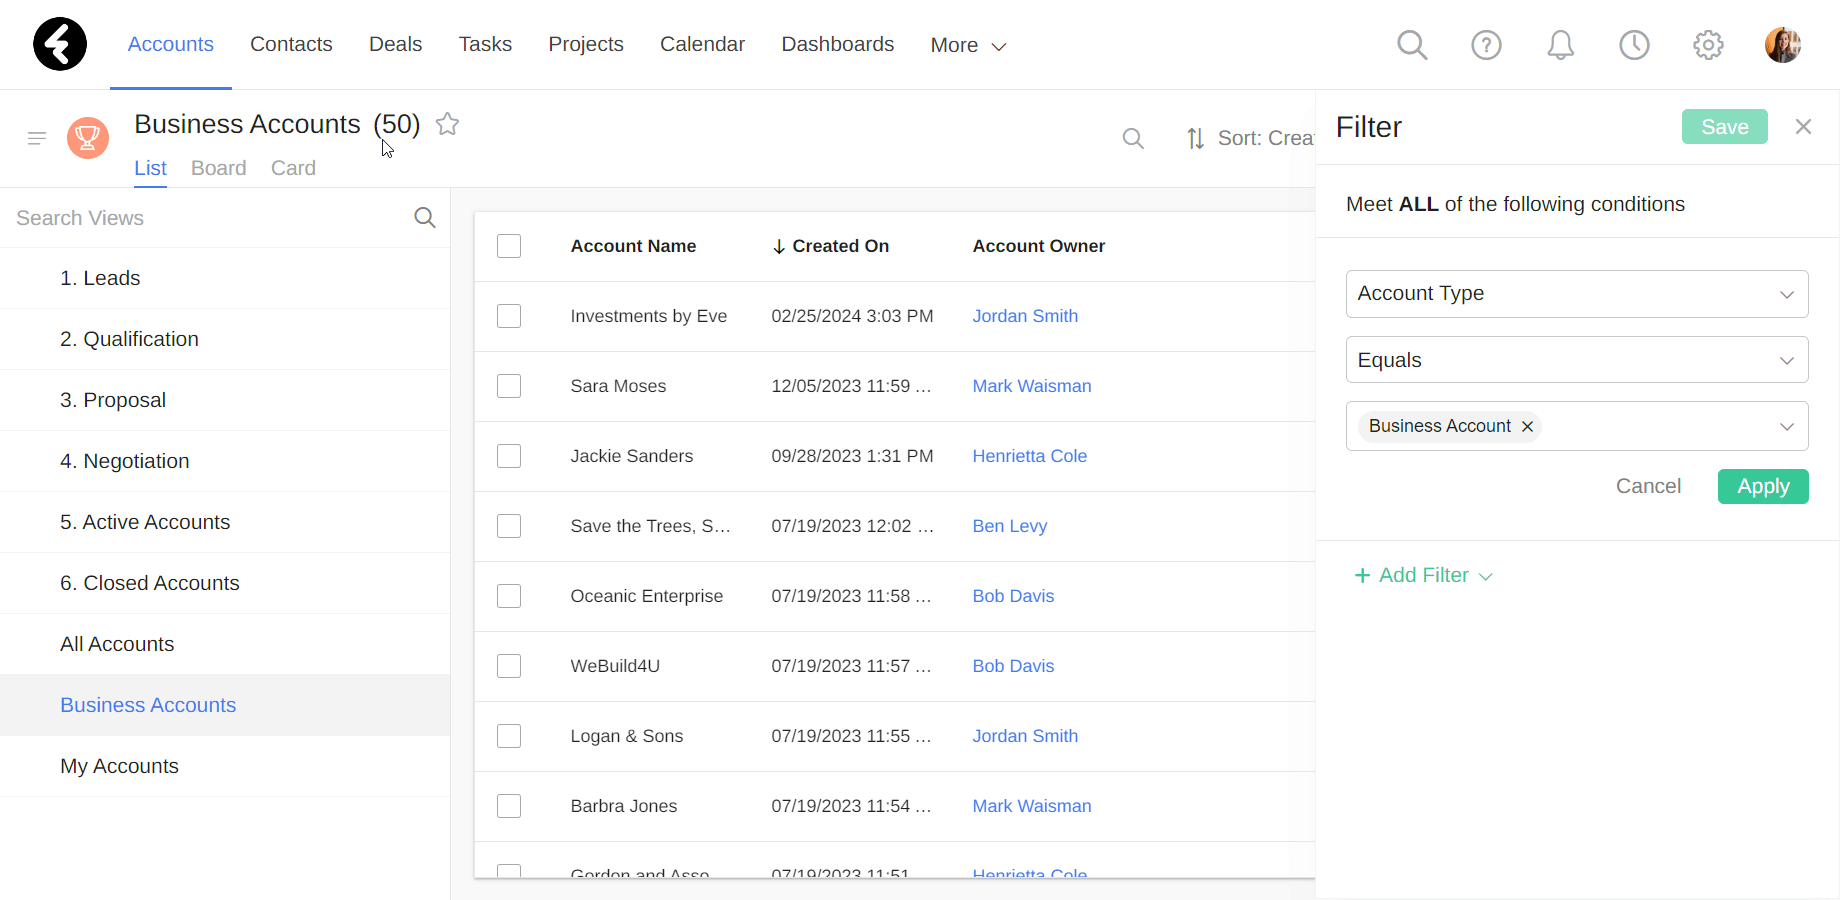
The next section is the Operator, which sets what the condition will check for. In this case, select the Equals option. The last section is the Value, and is used together with the operator. For example, if you set the Business Account option here, the condition will check if the value of the Account Type field is equal to the Business Account value. Any account records which meet this condition will be displayed in the view.
To activate your condition, click the Apply button underneath it. You can then permanently save your filter by clicking the Save button on the top. Your view will now only display records which meet the condition you’ve set. By checking on the number of records displayed in your view, which is displayed next to the view name, you can check how many records meet the conditions you’ve set.
Setting columns
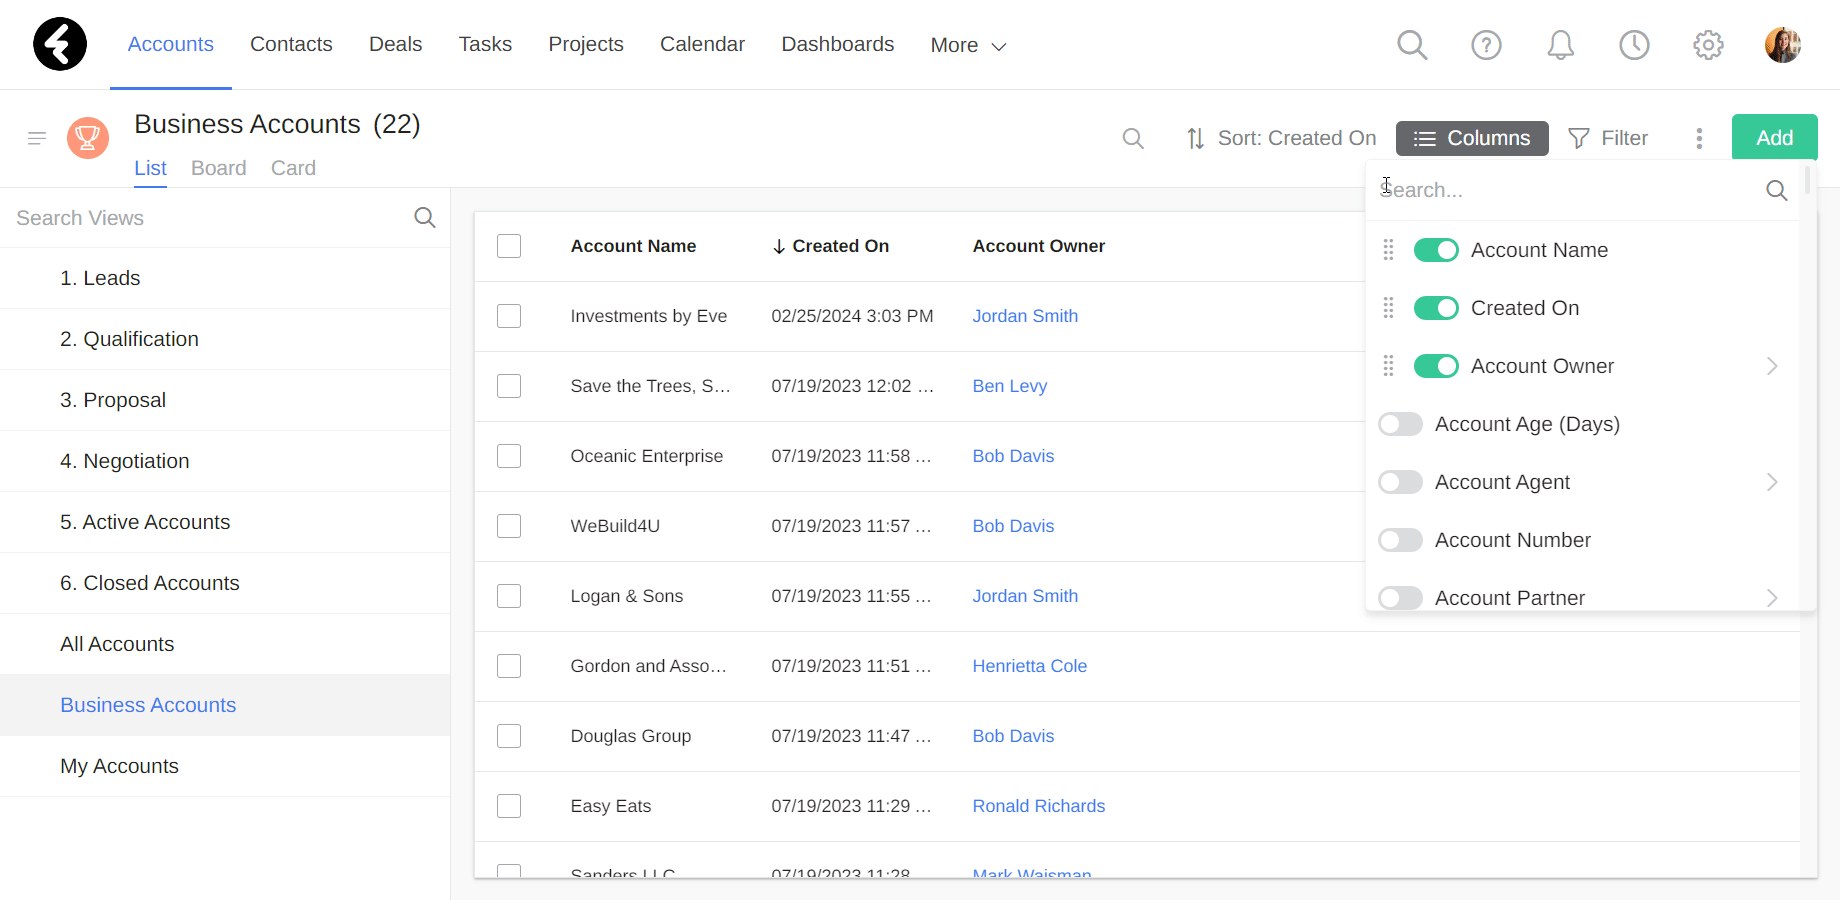
Once your view only displays the relevant records, you may wish to set which data is displayed. The columns in your view display data using fields. For example, the Account Name field displays the name of each account record, while the Created On field shows the date each record was created. You can click the Columns button on the top right to open and customize the column settings.
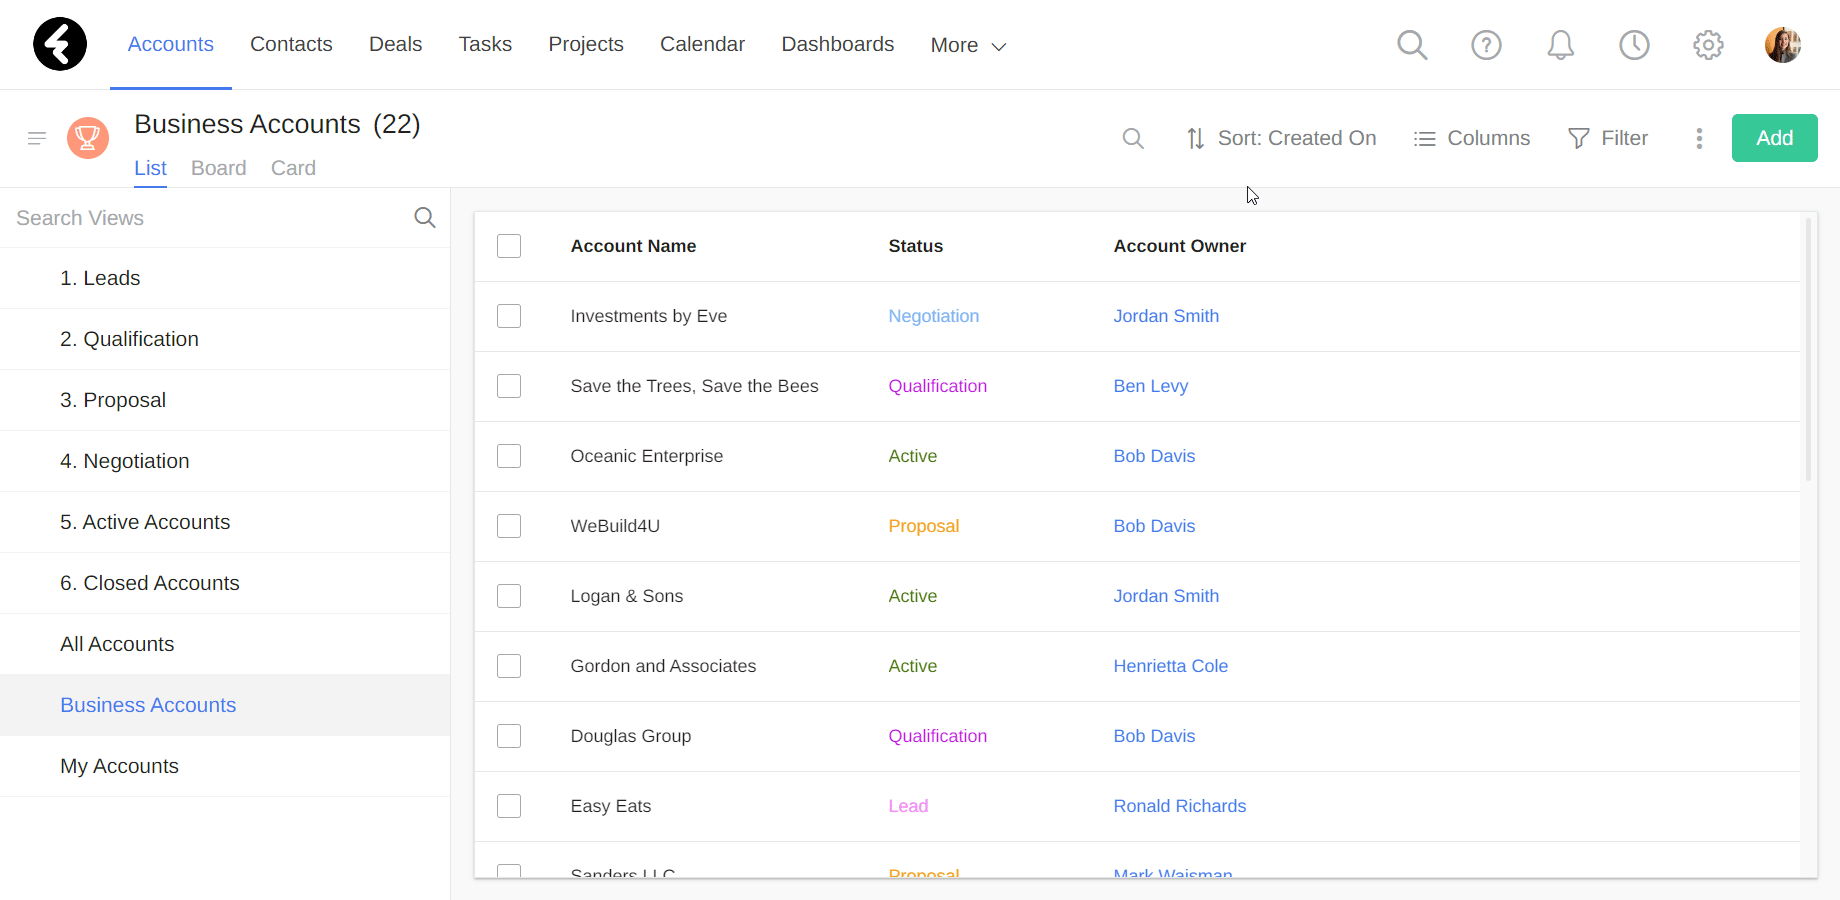
Within the settings you’ll find a list of all the fields which belong to the current object. For example, in an accounts view, all the account fields will be accessible in the column settings. Fields with the toggle turned green next to them will be displayed in your view. For example, in the picture below the Account Name, Created On, and Account Owner fields are all set as columns in the view.
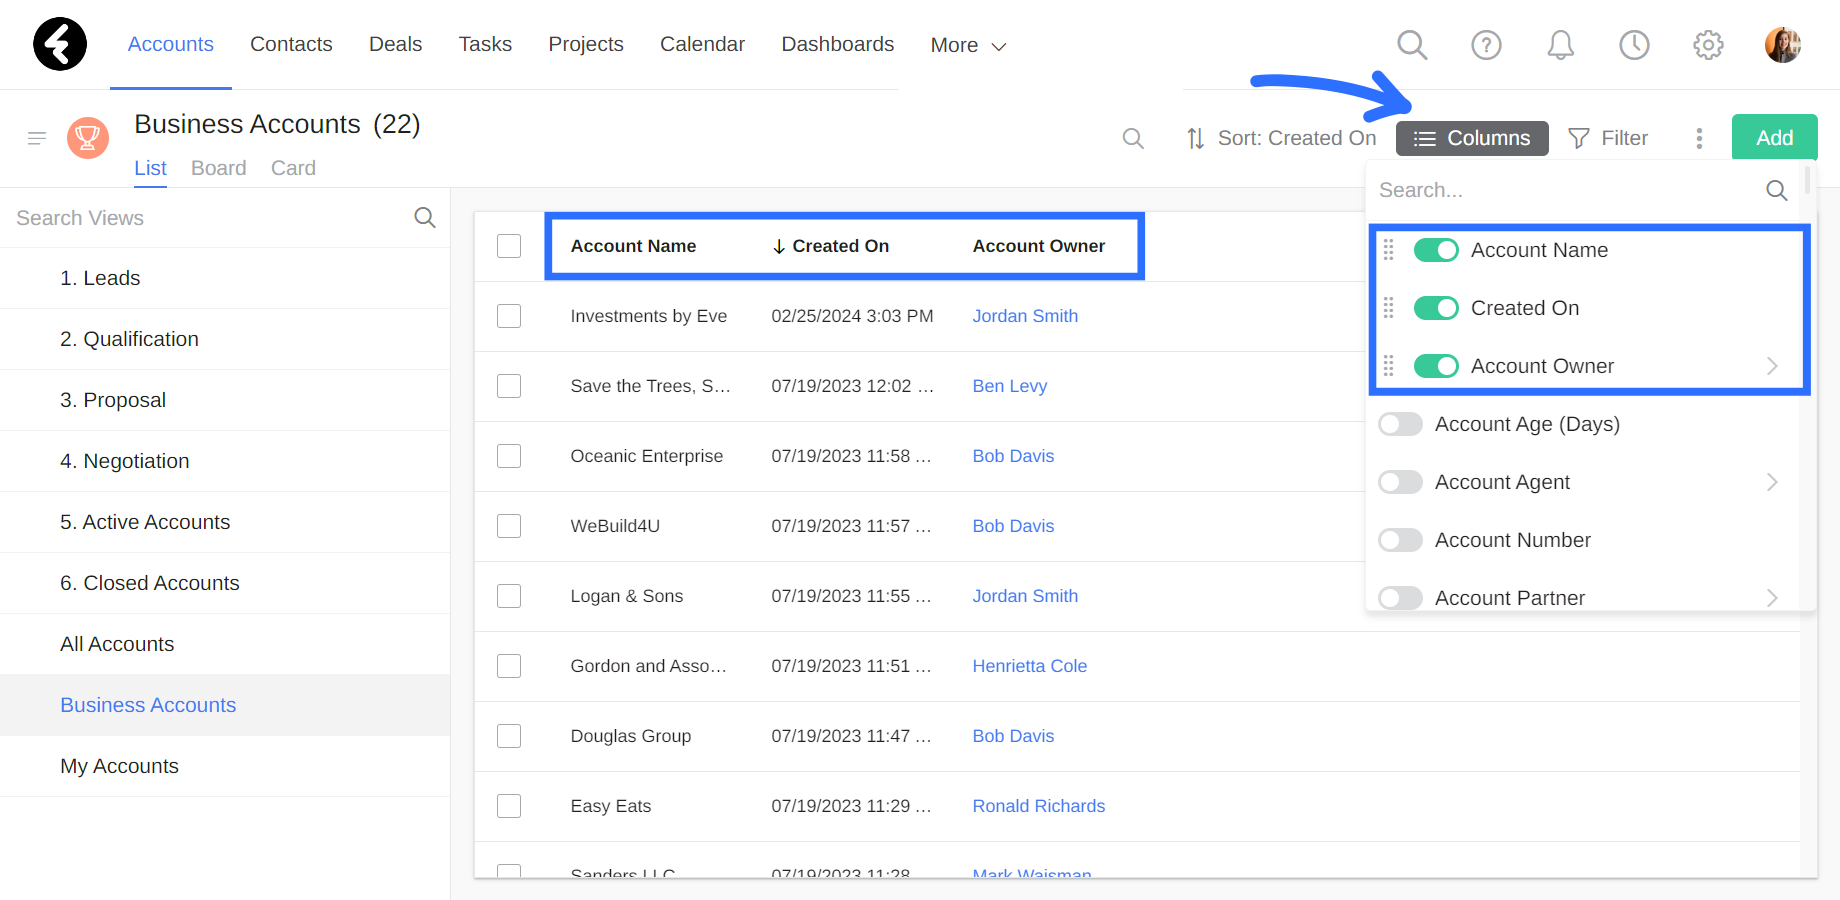
To add a new field to the column list, search for it and then turn its toggle green. For example, you can search for and select the Status field so you can check your account’s statuses. You can then choose the order your columns will be displayed in. Simply click on any field in the settings and then drag and drop it to the place you’d like it to be displayed. You can also remove any irrelevant fields by clicking on their toggle. For example, clicking on the Created On field’s toggle will switch it to gray and remove it from the displayed columns.
In this way you can completely customize which fields your view displays, and in what order.
Sorting
In addition to choosing which data is displayed, you may want to set the order your records are displayed in. For example, you can set your accounts in the Business Accounts view to be displayed in A to Z order by their account name. To do this, first click Sort on the top right to open the sort settings.
Here you’ll find a list of all the fields in the current object, which in this case are all the account fields. You can then search for and click on any field to sort your records using this field. For example, clicking the Account Name field will sort your records by their name. The records will automatically be sorted in descending order, meaning from Z to A. If you’d instead like them to be sorted from A to Z, simply click on the Account Name field in the sort settings again. The arrow next to the Account Name field will then point up and your records will now be sorted from A to Z.
Now that your view is set up, you can use it to easily access and work with the records you need.
Object search
If you’re trying to find a specific record, you can use the search option from the top of your view. This search will look through all the records in the current object. For example, if you’re open to the Accounts object, searching here will search through all your account records and return any records which include the term you searched. You must search for at least two characters in order to get results. For example, if we search for “br” in the accounts object, we’ll get a list of all the accounts with “br” in them, such as “Alex Brite”, “Kaylee Brooks”, and “BriteBridge Consulting”. We’ll even see the “Wine & Dine” account, as their email address, “bryan@winedine.com”, contains “br”.
