Managing views and account records
The information in this article can be applied to any process or object in the system, including Accounts, Projects, Deals, Tickets, and more. Here we will focus on the Accounts object. Here we will focus on the Accounts object.
An account record has two main parts, a Form and a Stream. Both of these components are customizable. The Form contains all of your account’s fields and values while the Stream contains other related details, such as meetings, notes, emails, files, and more.
View types
The system provides three different views for managing account records: List, Board, and Card.
To manage your account records, first go to the Accounts object in the main bar.
.png)
You will now see the three view options below the title All Accounts.
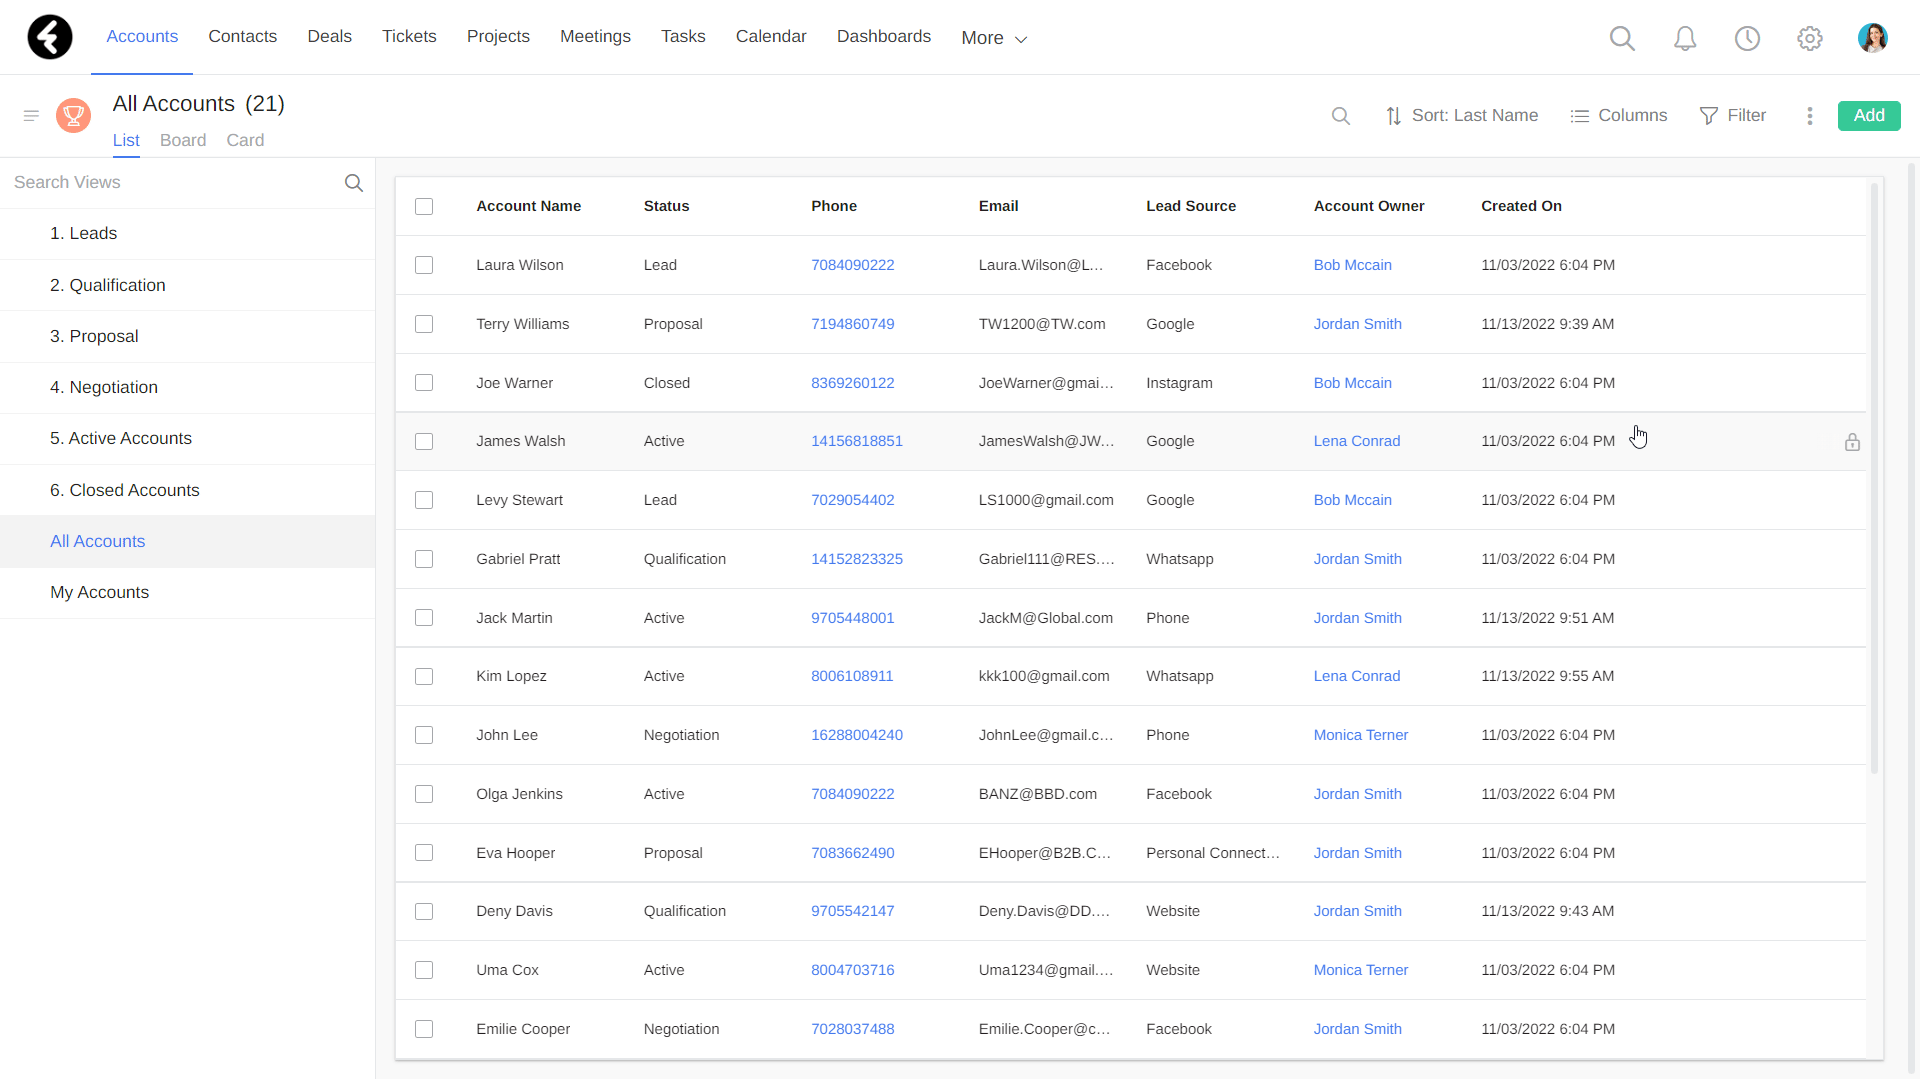
List view
This is the default view, meaning that it will be used when you first enter the Accounts object. You can also switch to this view at any time by clicking List in the top left corner.
.png)
The list view displays a table with all of your accounts in a convenient and orderly way. It has columns with account fields and rows for each account. Using this view is recommended when you want to see many details about multiple accounts at once.
Board view
To switch to the board view, click Board in the upper left corner under the name of the display.
.png)
In board view, the account records are arranged in columns based on the values in a specific field. For example, you can choose to use the Status field to display the columns Lead, Negotiation, Qualification, Proposal, and more. Each account record will be displayed in the column with the value it is assigned, so that if an account’s status is set to Lead, it will be displayed in the Lead column.
In the example below, the displayed board divides the accounts using the status field. You can change the status of an account by dragging it to a different column. For example, by dragging an account card from Lead to Negotiation, its status will be updated to Negotiation.
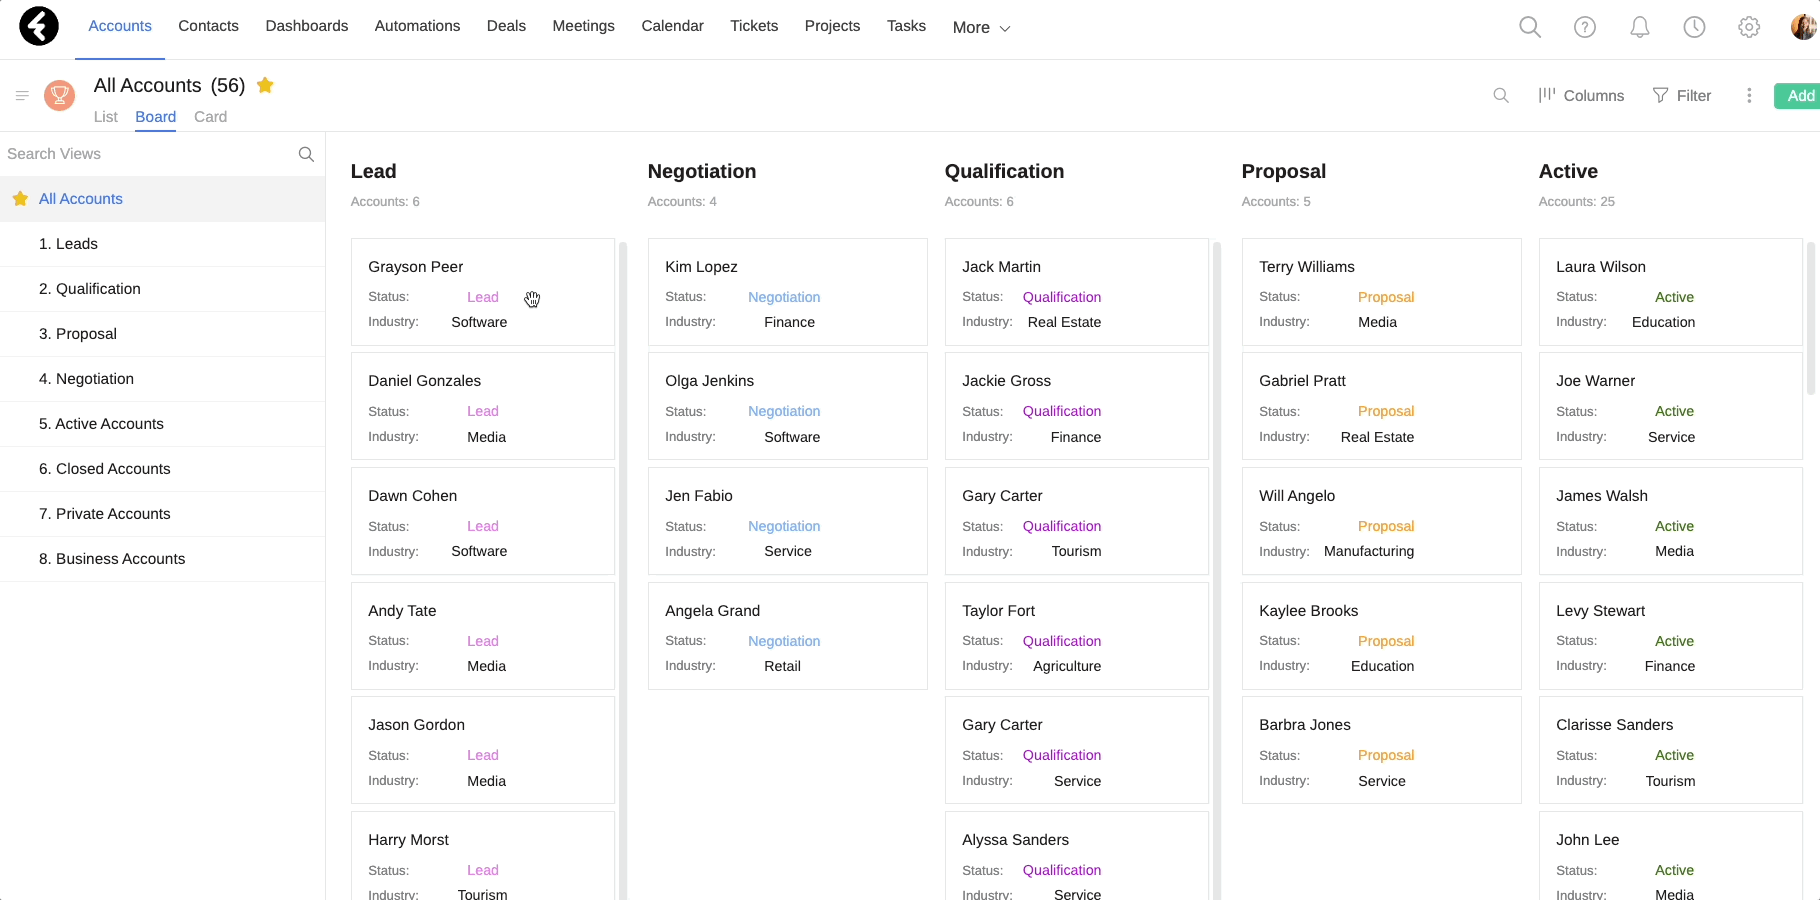
Board view helps you visually track the progress of a pipeline. In the accounts object, board view can help you watch and track the progression of accounts through the different statuses.
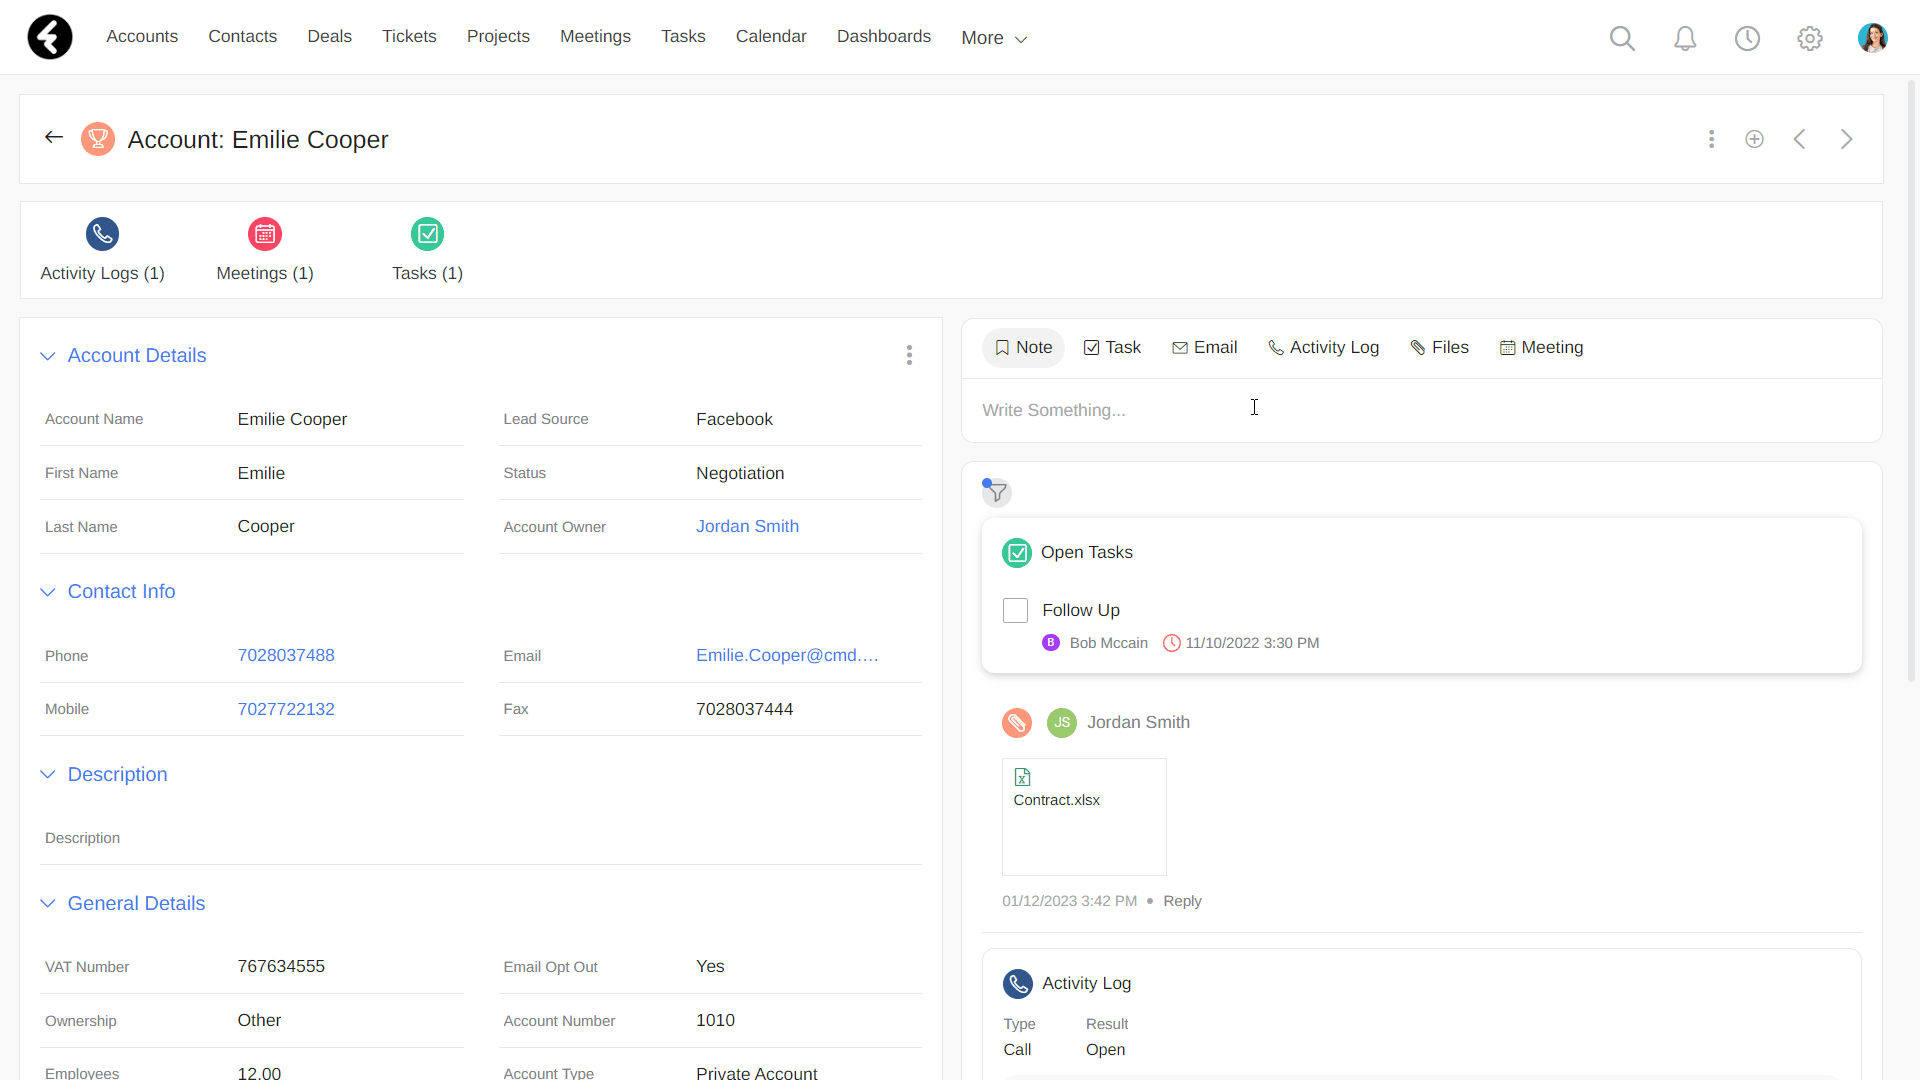
Card view
To switch to card view, click Card in the upper left corner under the name of the view.
.png)
Card view is recommended for cases when you want to go through the individual record cards of a list one after the other. It combines the Board and List views. The left side of the screen shows tabs with specific data about each account, while the center shows the full record card, which includes all of the account’s details.
Stream activities
The different views help you present your accounts optimally based on your business’s needs. To learn how to manage individual account records, use the different stream options.
The Stream component can be found in each account’s record. It helps you manage accounts by allowing you to create and view related activities. Below you can find explanations of the different activities.
Note:
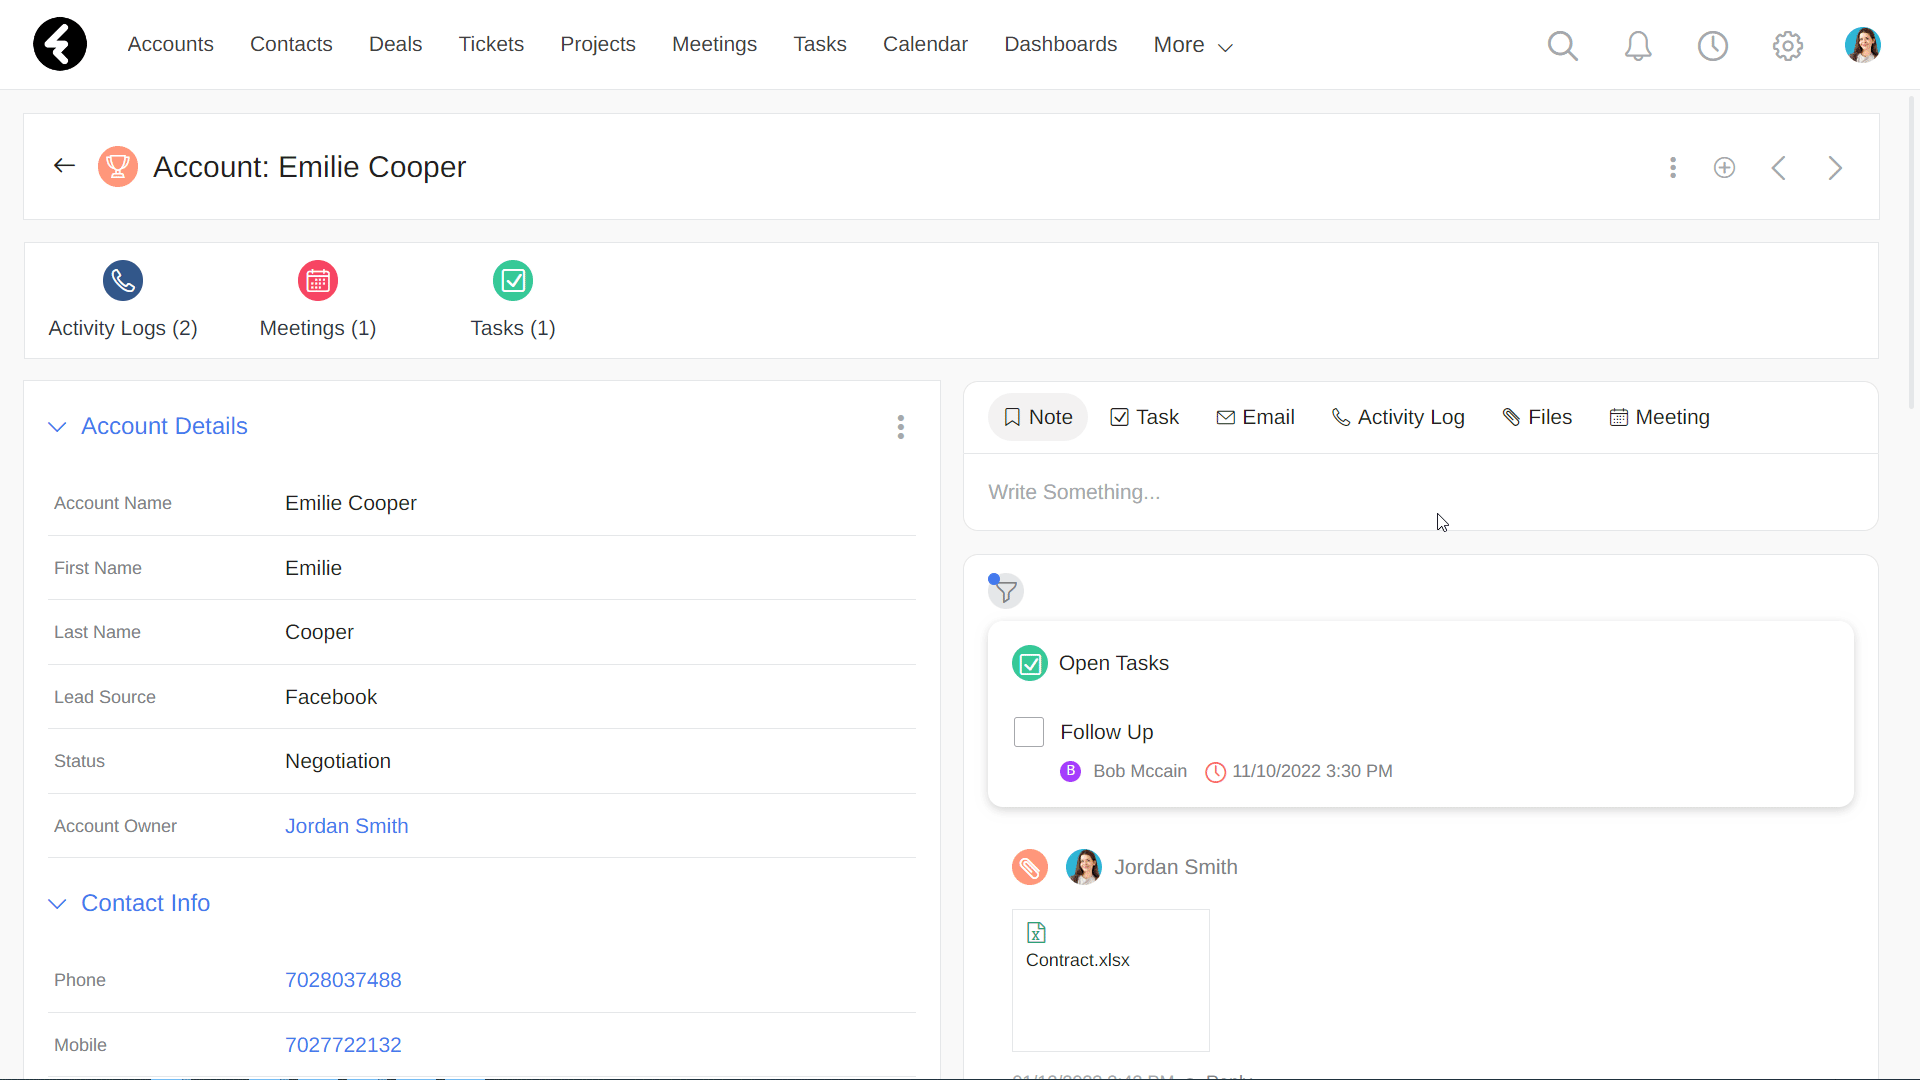
Clicking on Note will allow you to add comments to an account's record. It is mainly used to record internal notes related to a particular account, which can be viewed by everyone on your team. Once you’ve finished writing your note, click Update to save it to the stream.
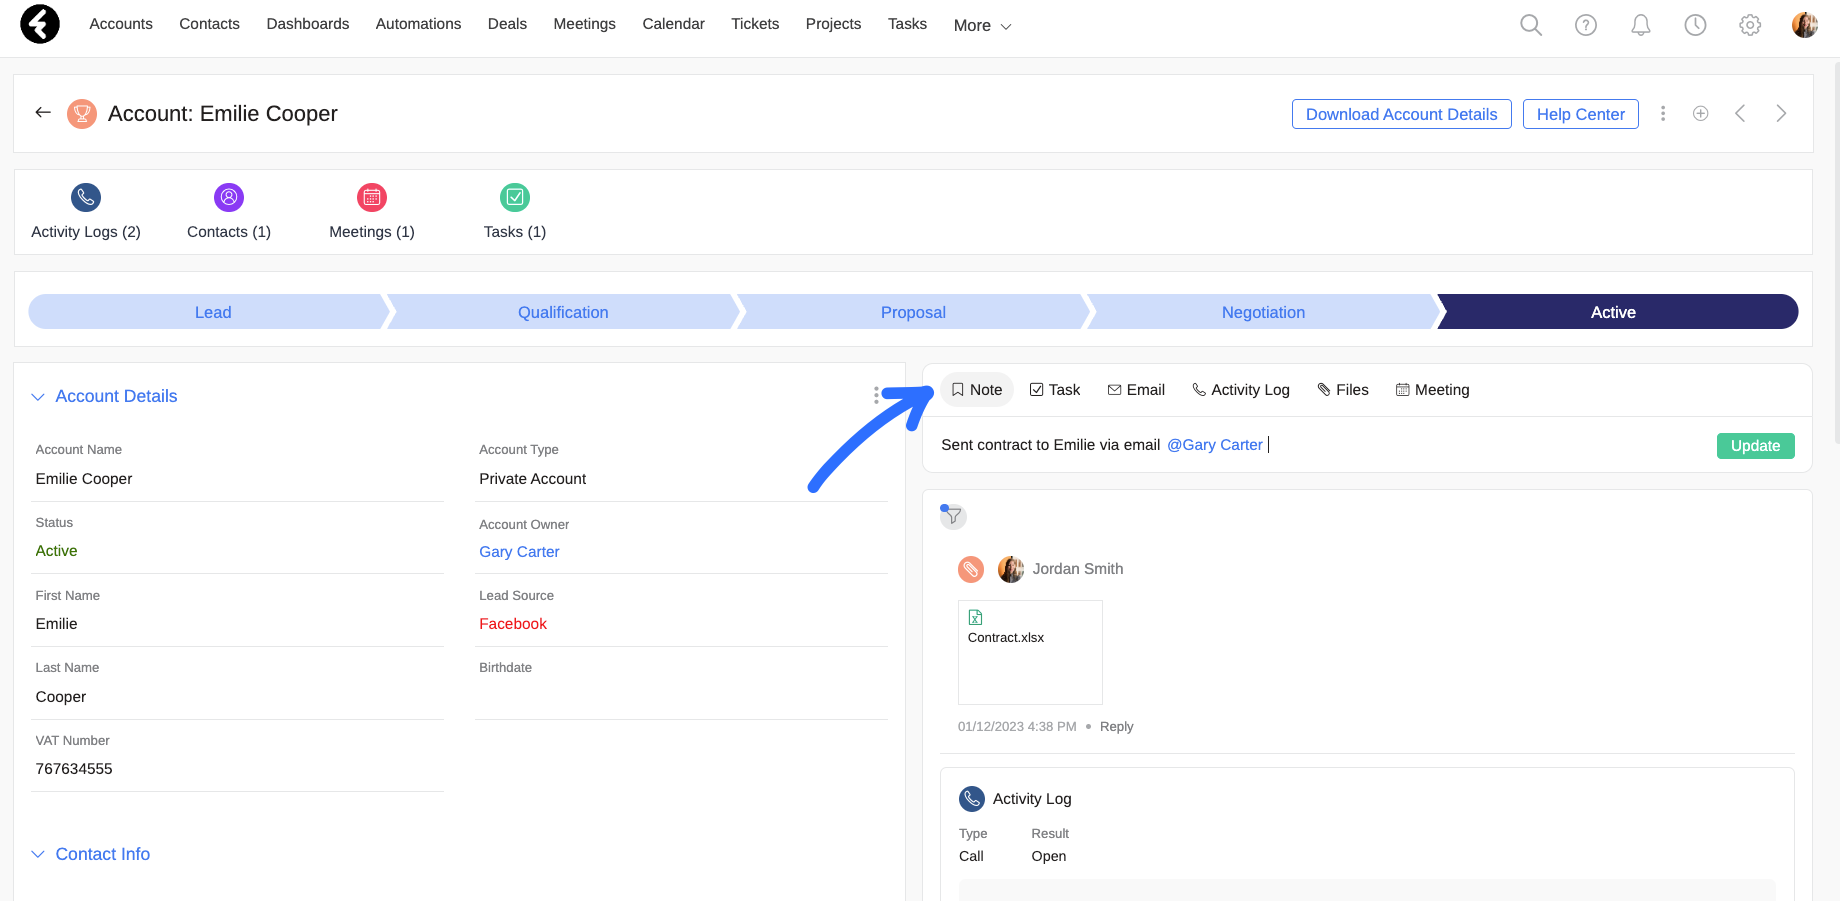
Additionally, you can mention other system users by typing the @ symbol and choosing a user from the list. By mentioning a specific user, they’ll receive a notification in their notification center with the note you’ve written.
Task:
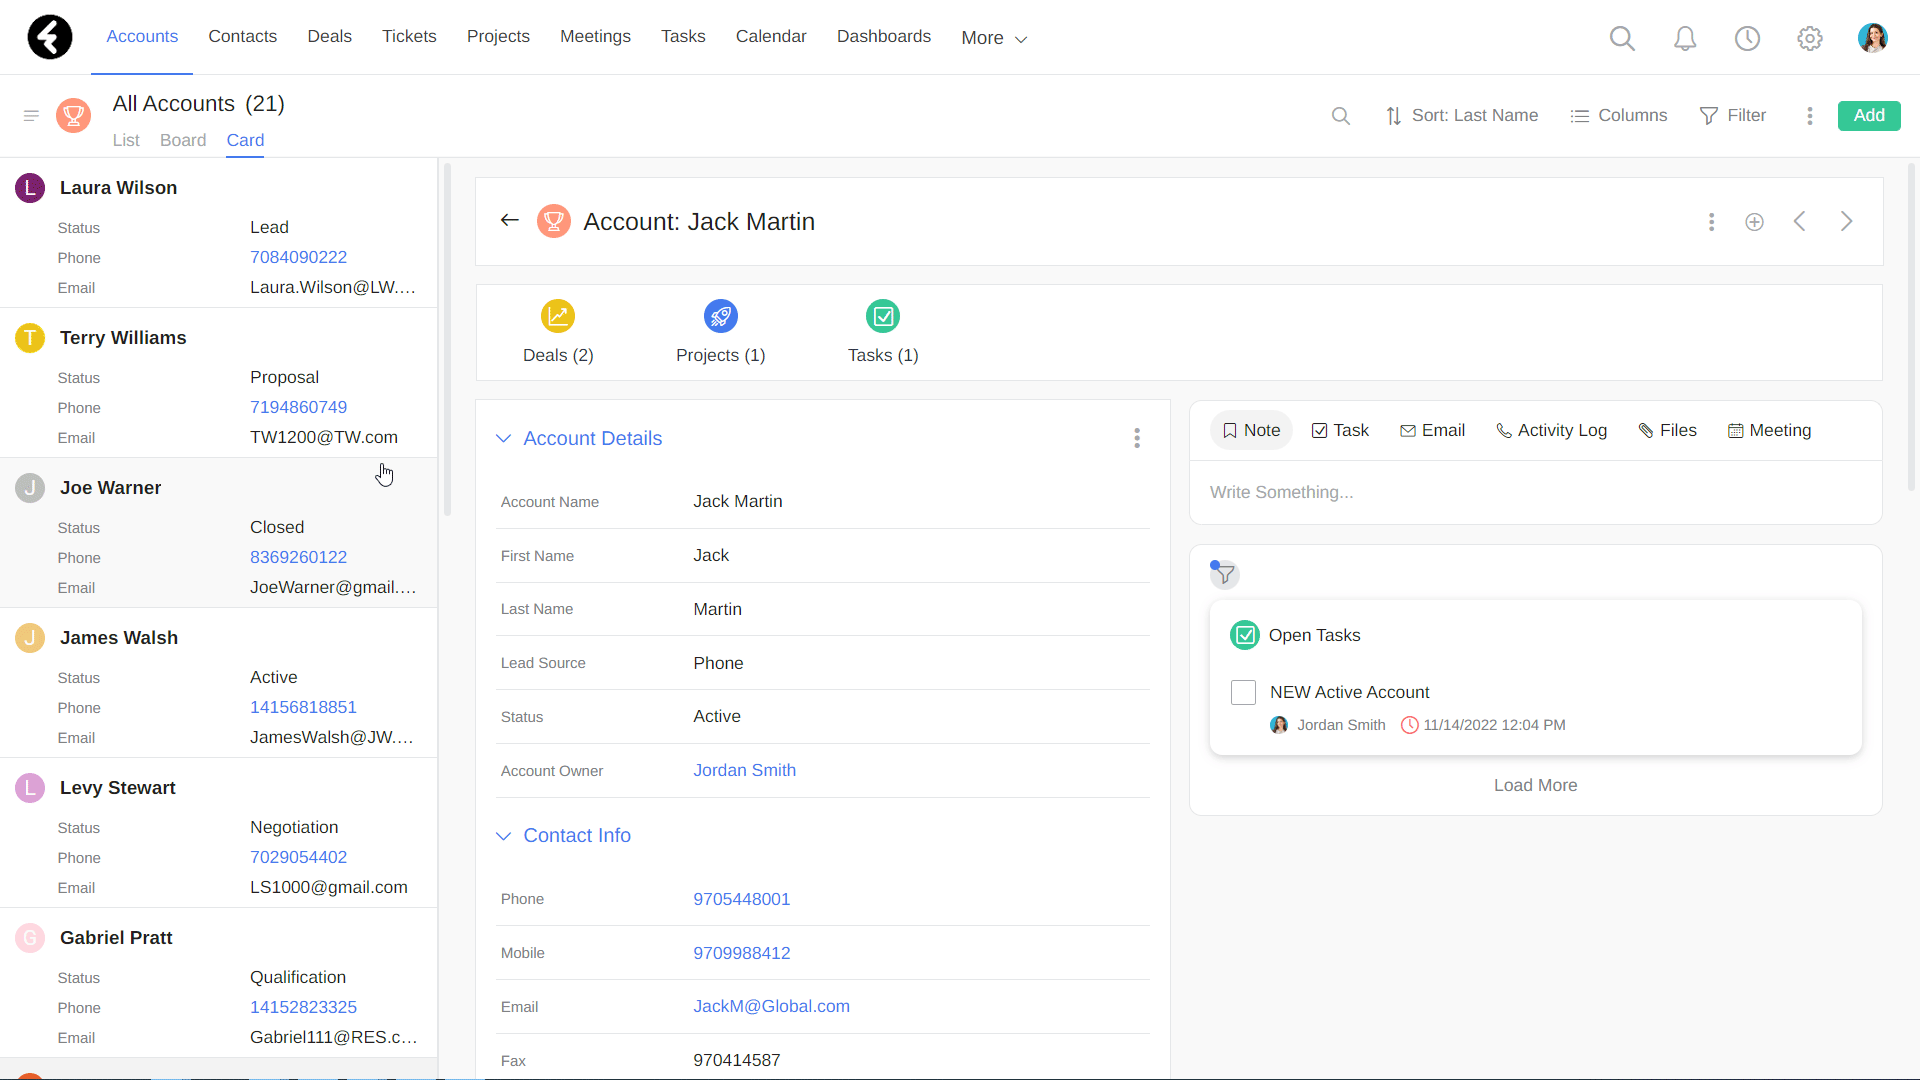
By clicking Task, you can add a new task to an account’s record. For example, you can set reminders to call back or follow up with an account.
.png)
You can set the due date of a task by clicking on the clock symbol, and you can assign the task to a team member by clicking their name.
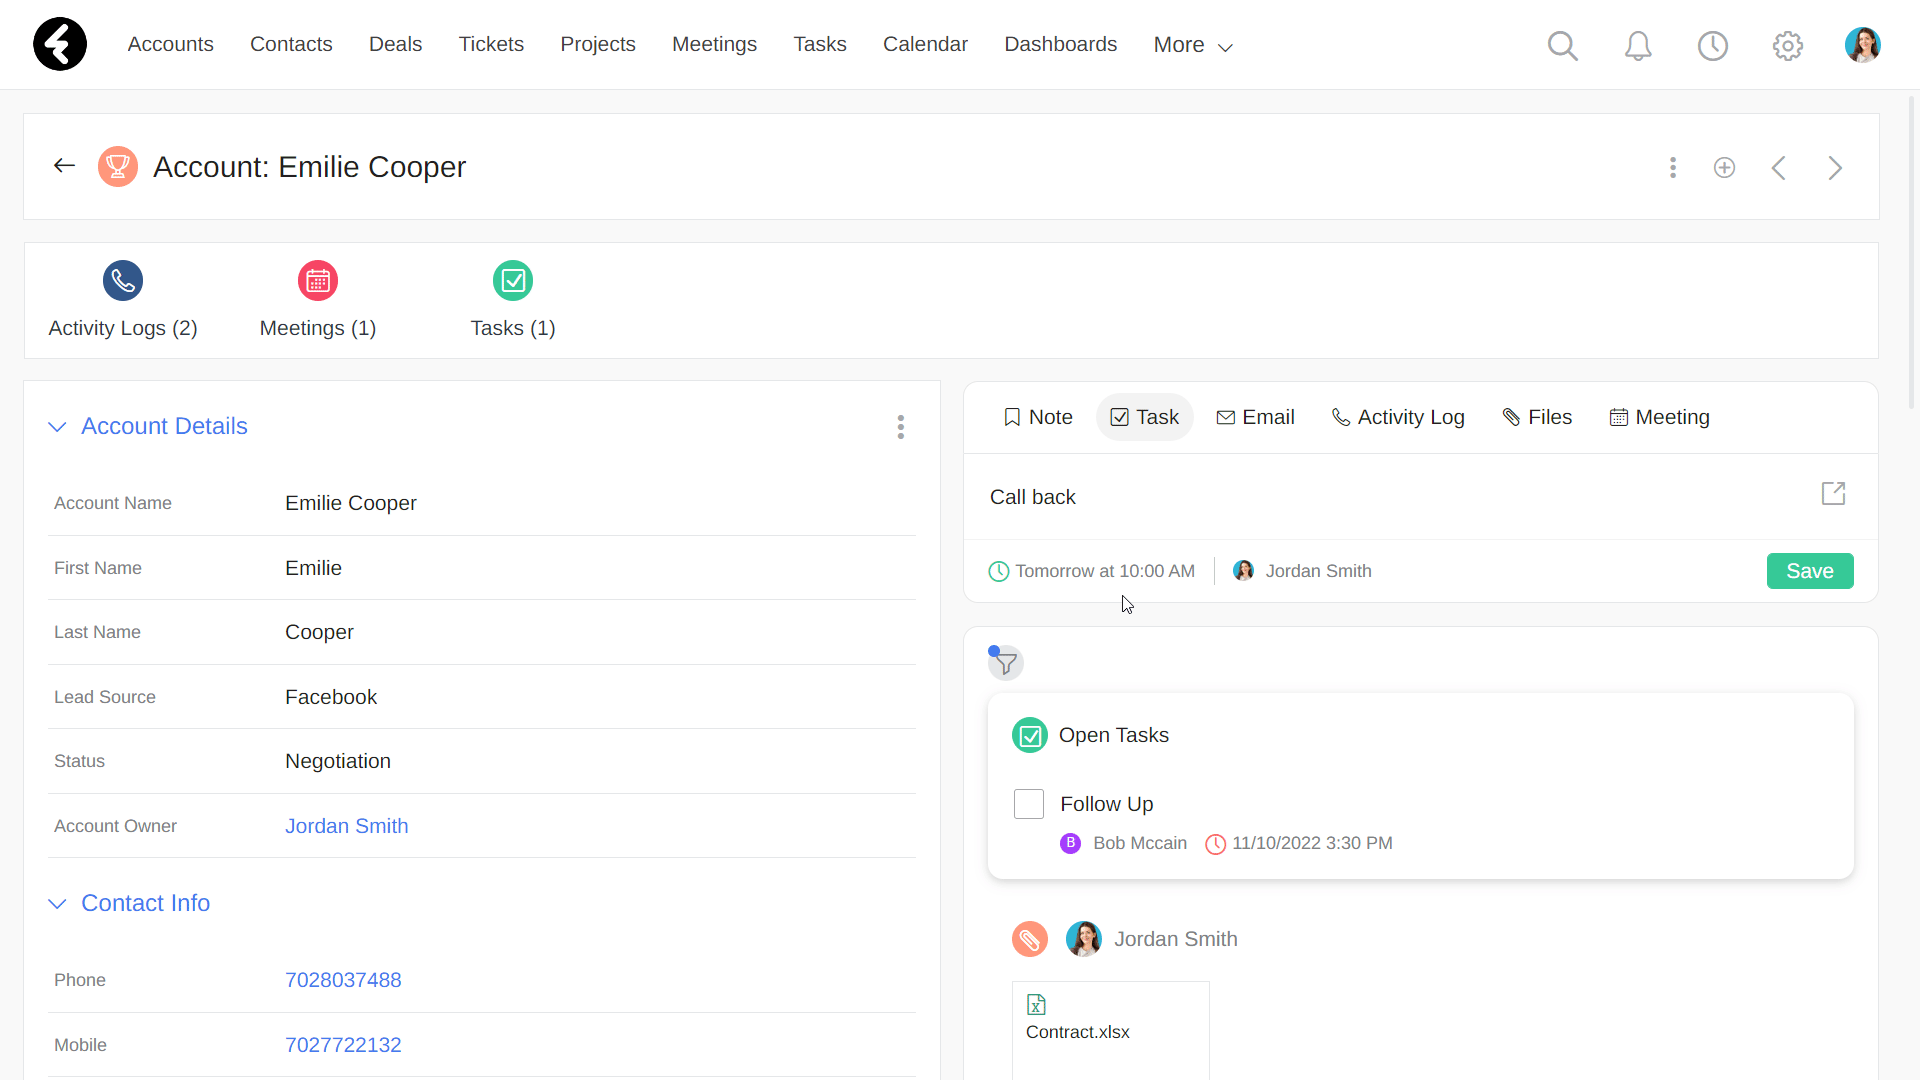
Be sure to click Save to finish creating your new task.
Email:
You will only be able to access this option after connecting your email to the system. Clicking on Email allows you to send and receive emails directly from an account's record. In this way, you will be able to manage all email correspondence with your customers and receive all relevant documentation automatically within the account record.
Check out our team inbox article to learn more about system emails and how to connect your inbox to the system.
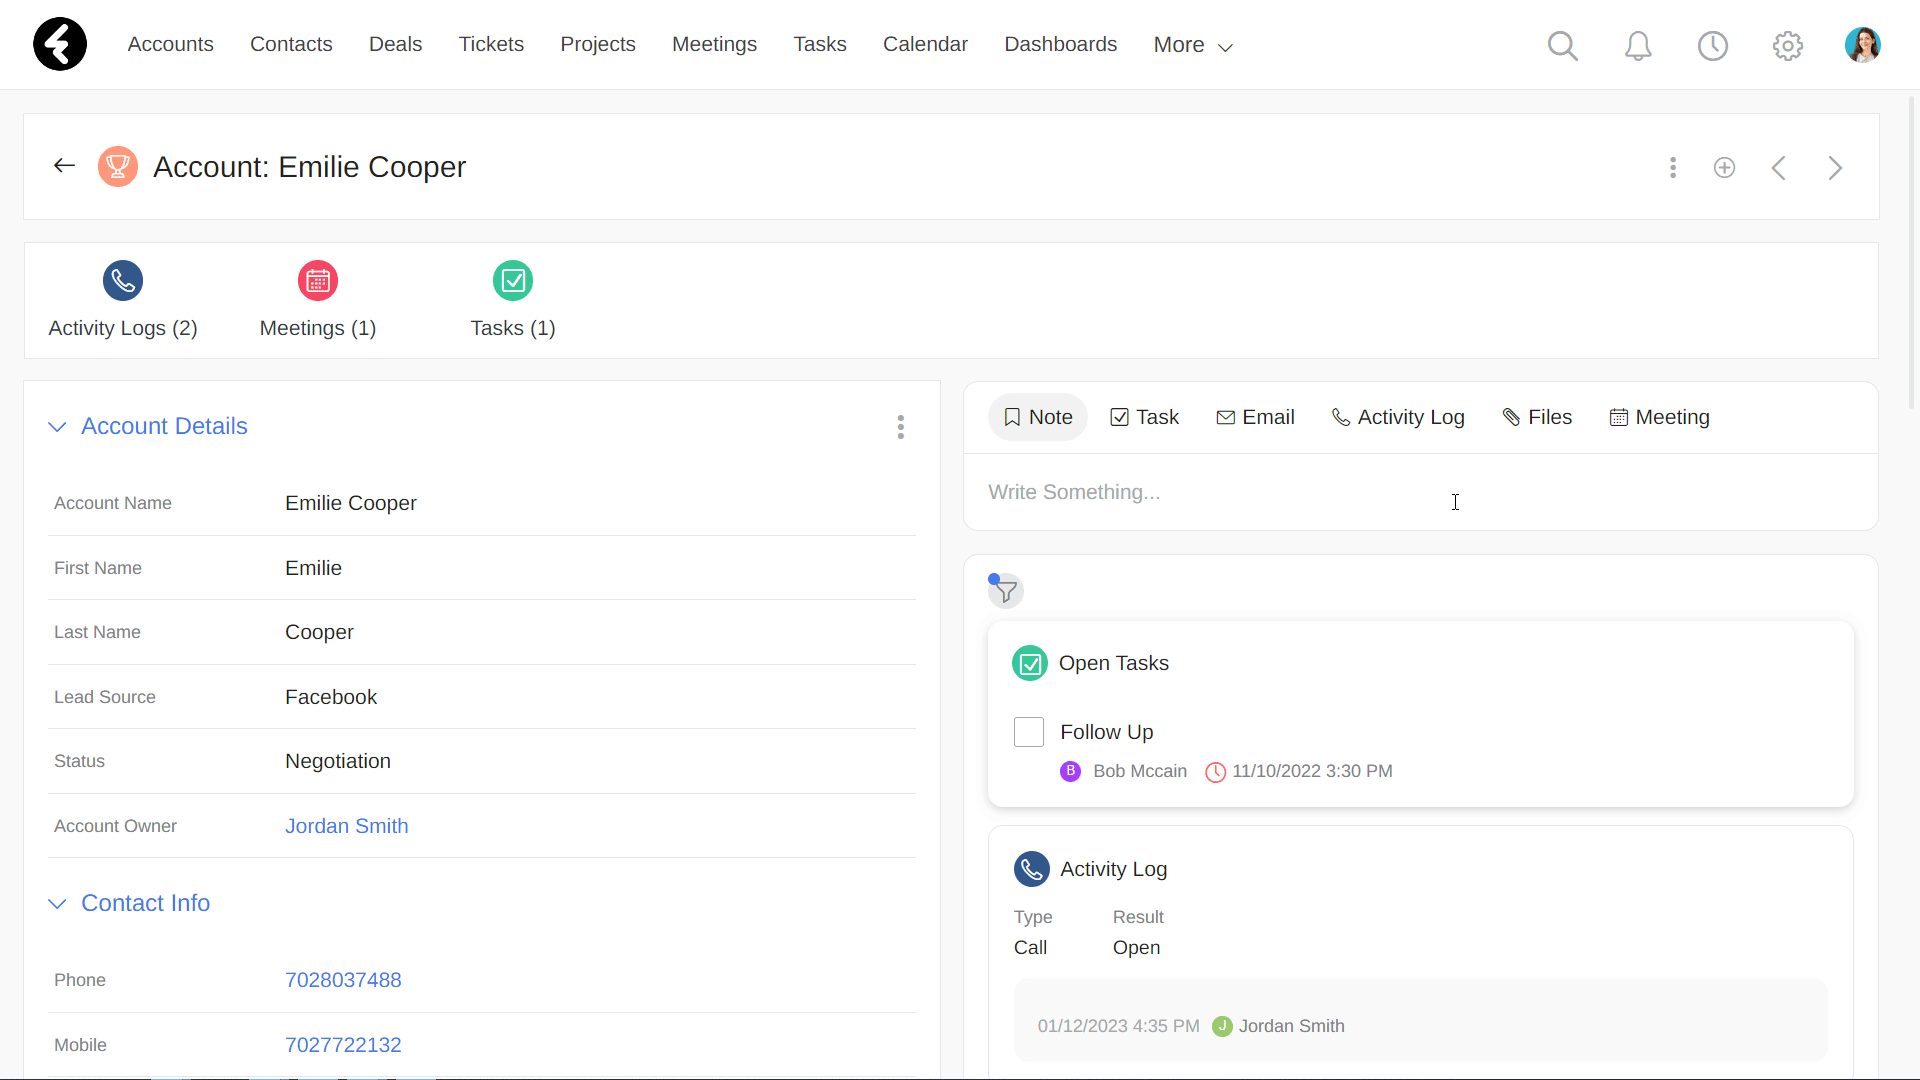
Activity log:
The activity log allows you to save summaries of conversations you have had with customers in an account’s record. In this way, you and your team members can stay up to date about correspondence.
Clicking Activity log will open a window where you can fill in the type of conversation, its outcome, and the topics that were discussed. Once you’ve filled out all the details, click Save.
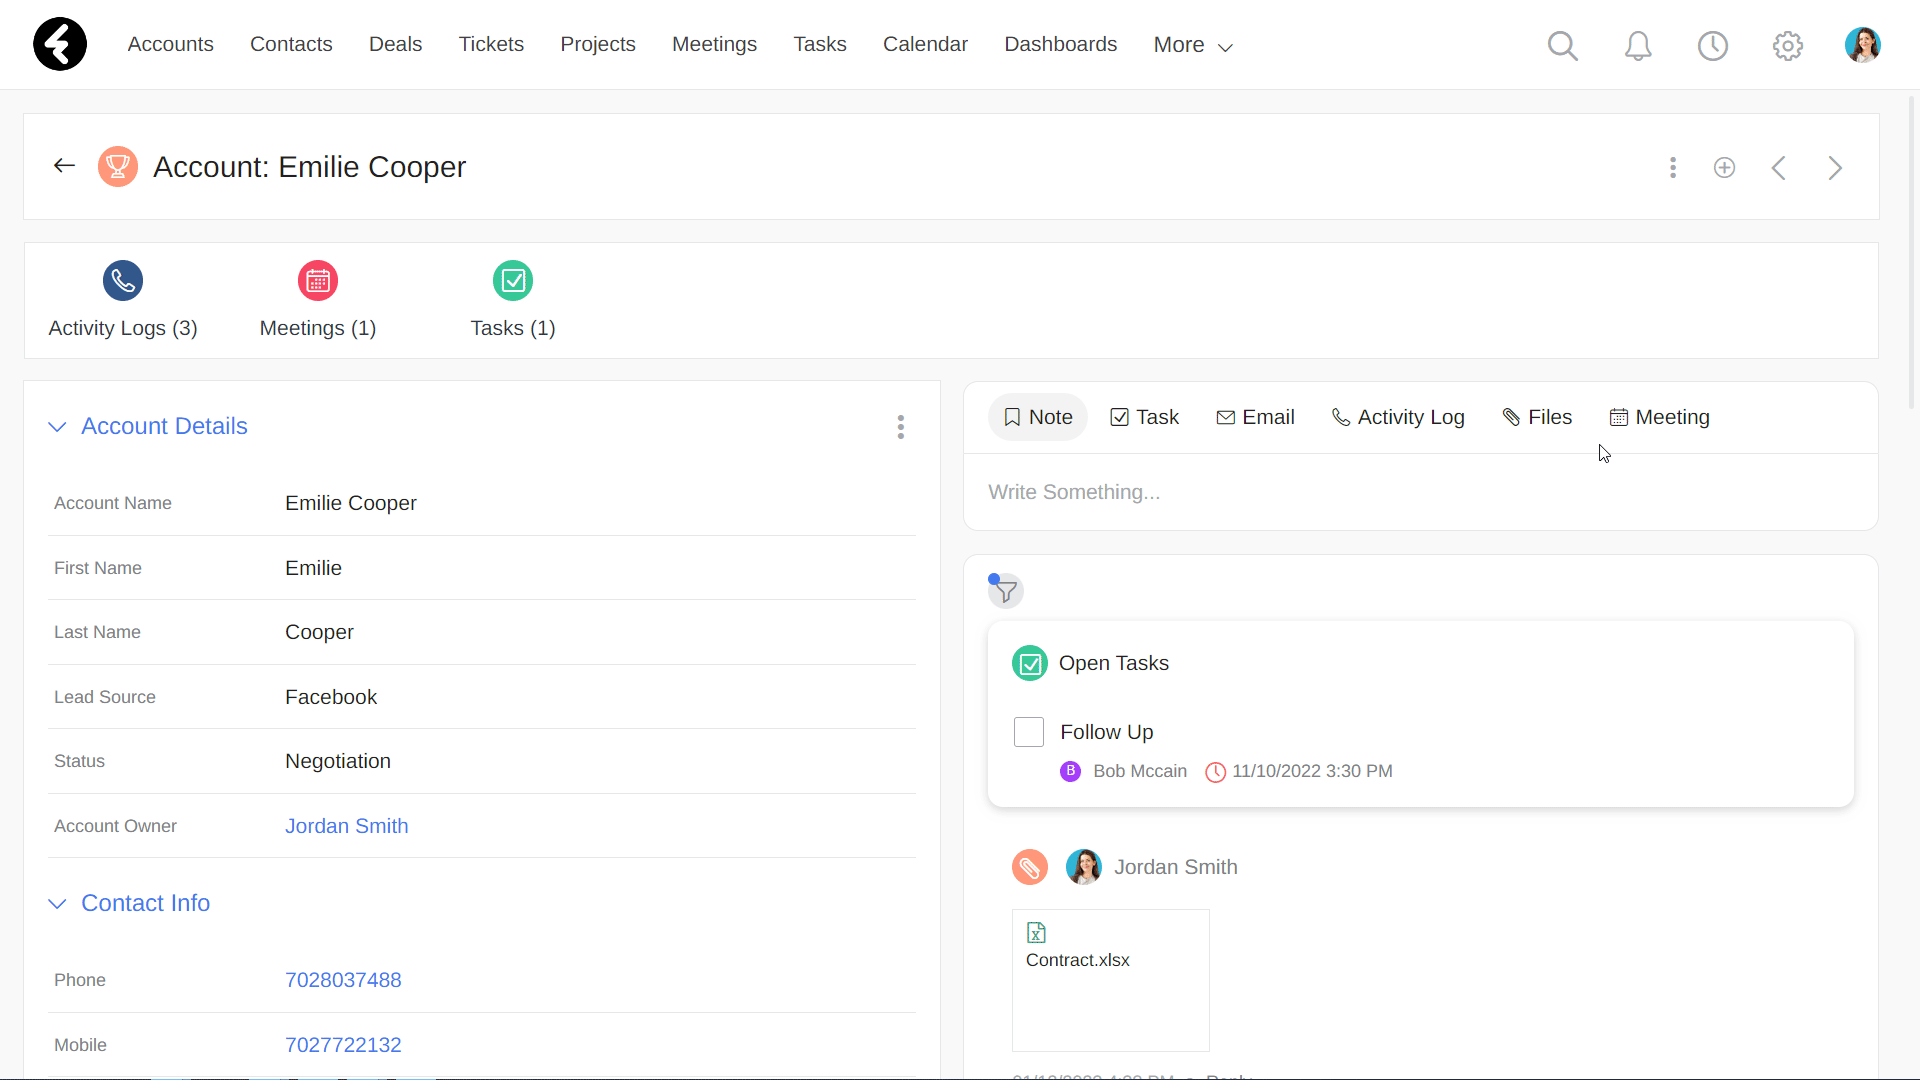
File:
If you click on File, you will be able to add different files to an account's record. It may be contracts, images, and other documents related to an account. You can upload a file from your computer, or just drag and drop it. To save the file to the stream, click Update.
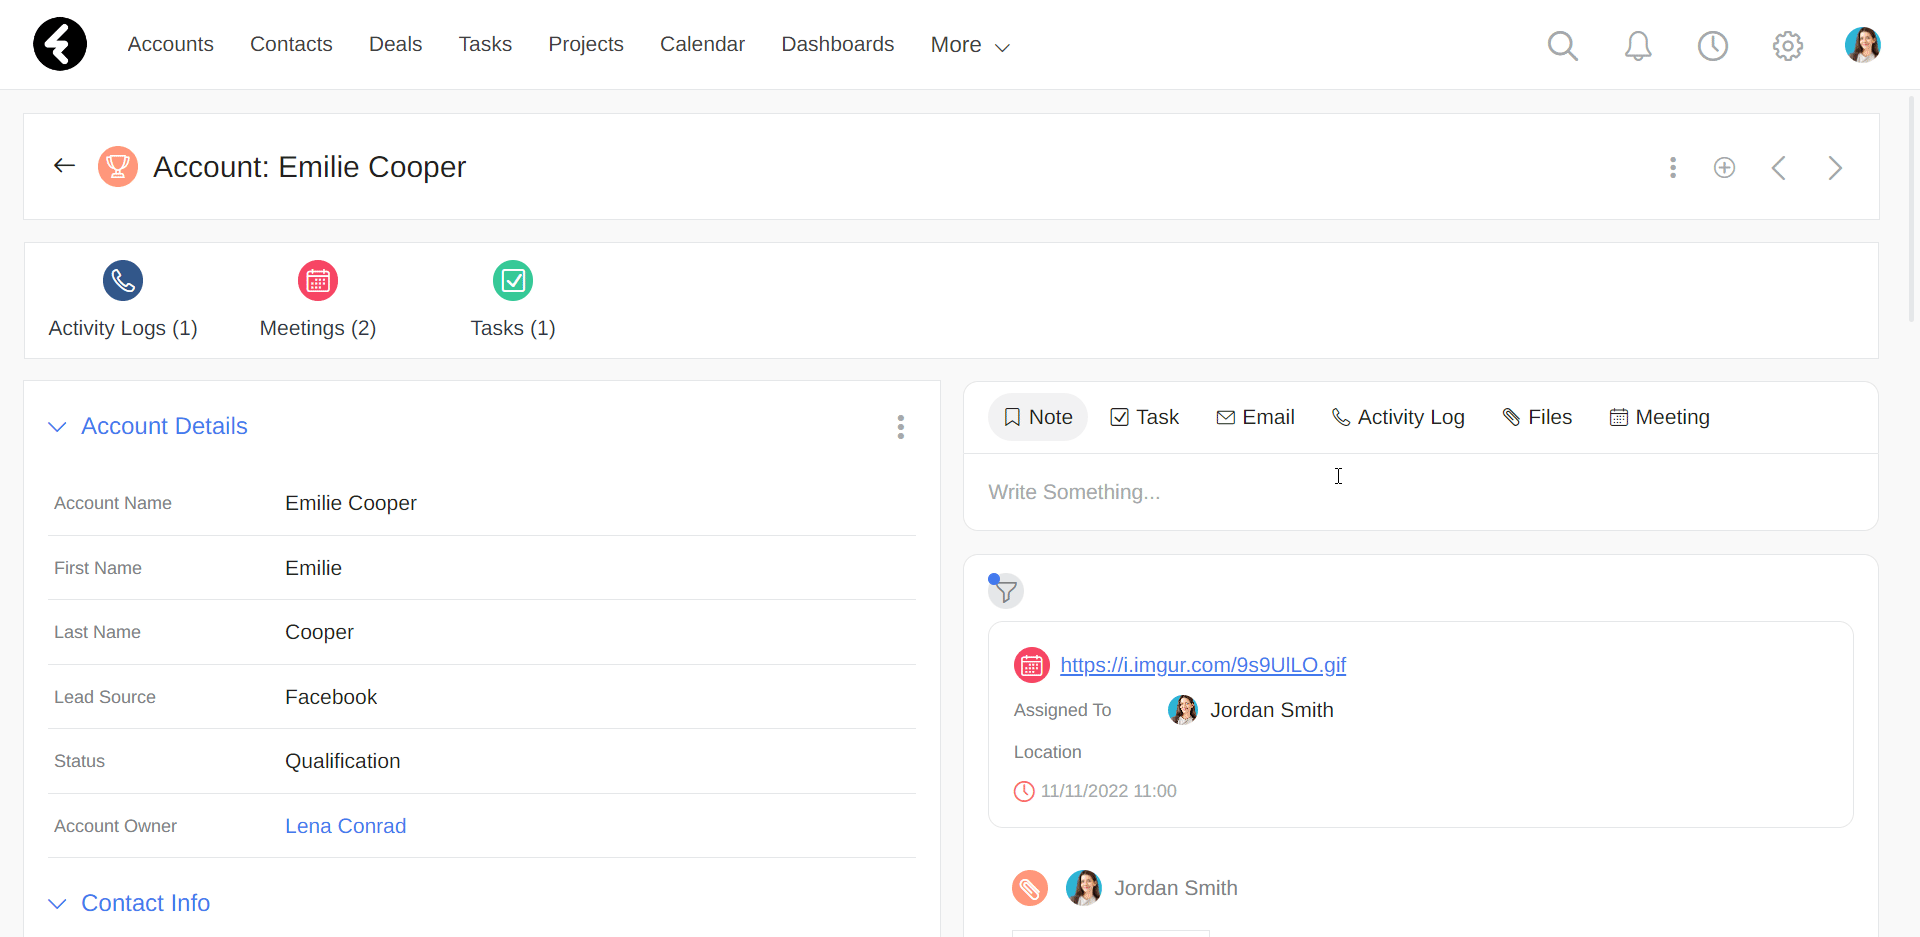
Meeting:
Customer meetings can be tracked in both your account's record and your calendar. By clicking on Meeting, you can schedule a meeting with a customer, name the meeting, specify its date and time, assign it to a team member, and add other relevant information. Click Save to add the meeting to the stream and to the chosen team members calendar.
The activities described in this article are recorded in your stream in reverse chronological order, and include the relevant user and time. This helps you easily view and access the most recent actions.