Setting users and role permissions
By adding users to your system, your employees can easily access useful information, communicate with customers, track their progress, and so much more. Users can efficiently collaborate and share information, and the system will log actions done by the user, such as who created or last modified each record and when. Additionally, you can set personalized permissions for each user or team.
Adding users
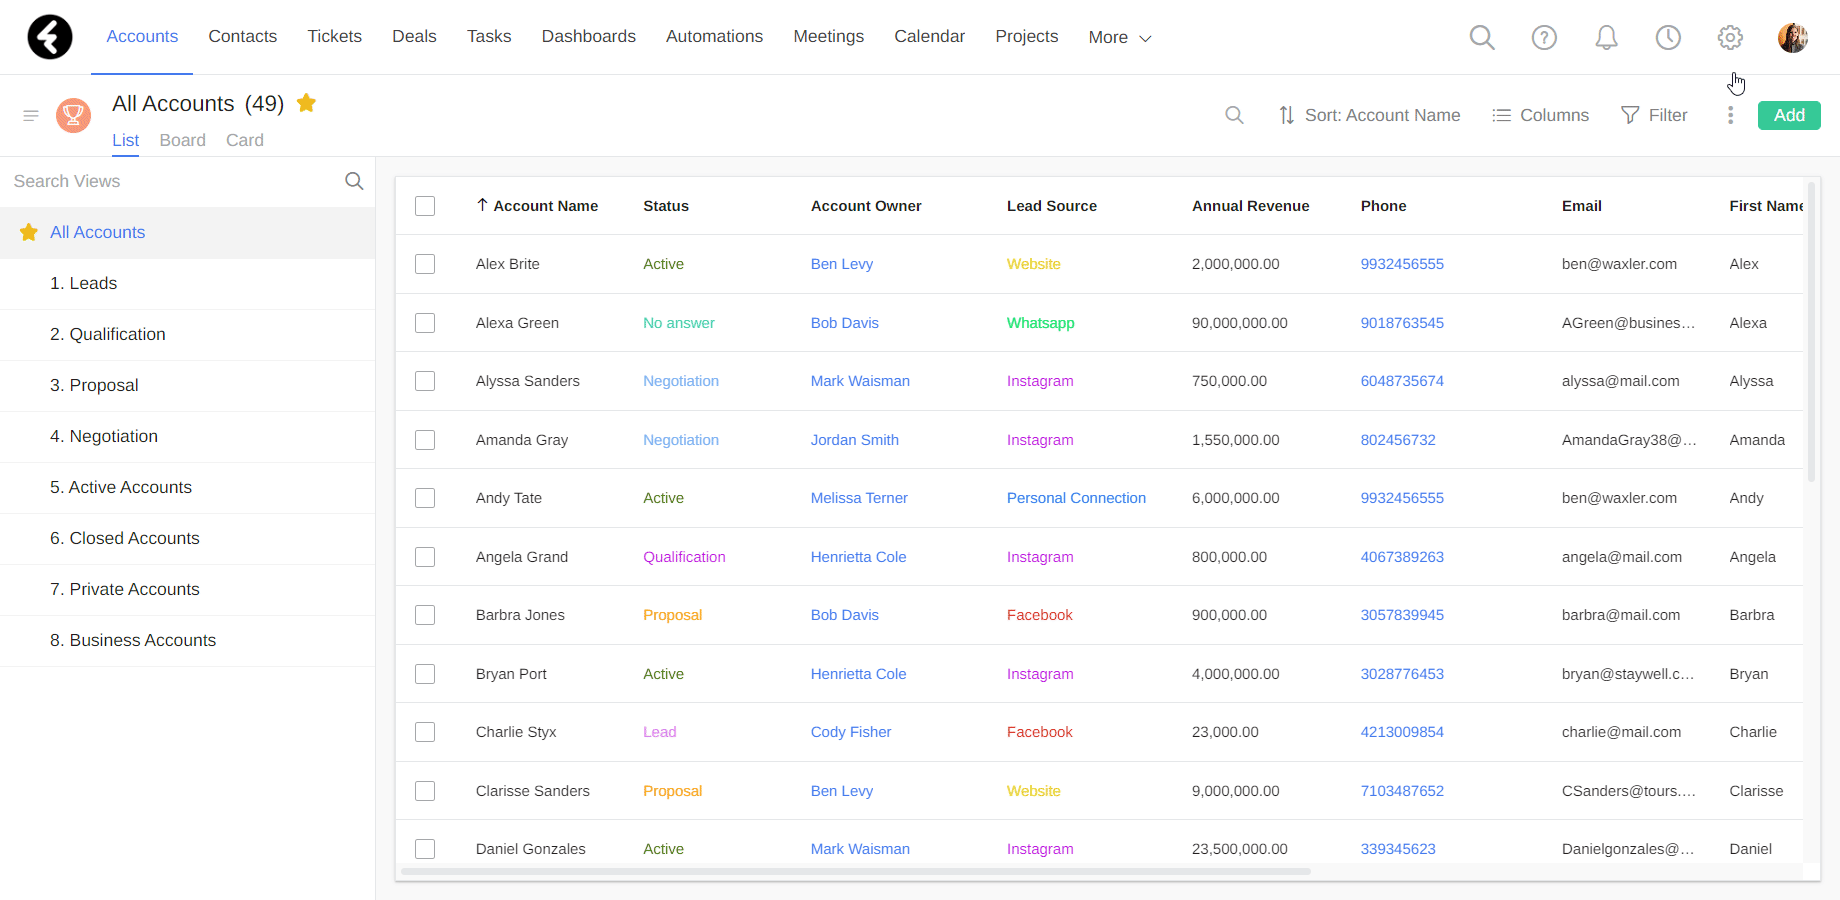
To add a new user, first click on the gear icon in the top right corner of any system page to open the settings. Then select the System tab from the left sidebar, and click the Users option from the top bar to open a list of all your system users. You can now click the green Add button in the top right of the list to add a new user.
This will open a pop up where you can add new users. Set each new user’s name, email address, and assign them a system role. To assign a role, first click on the Role field to open a dropdown list of all the system roles, and then select the role you’d like to assign. This role will set the access level and permissions of the new user. You can learn about system roles below.
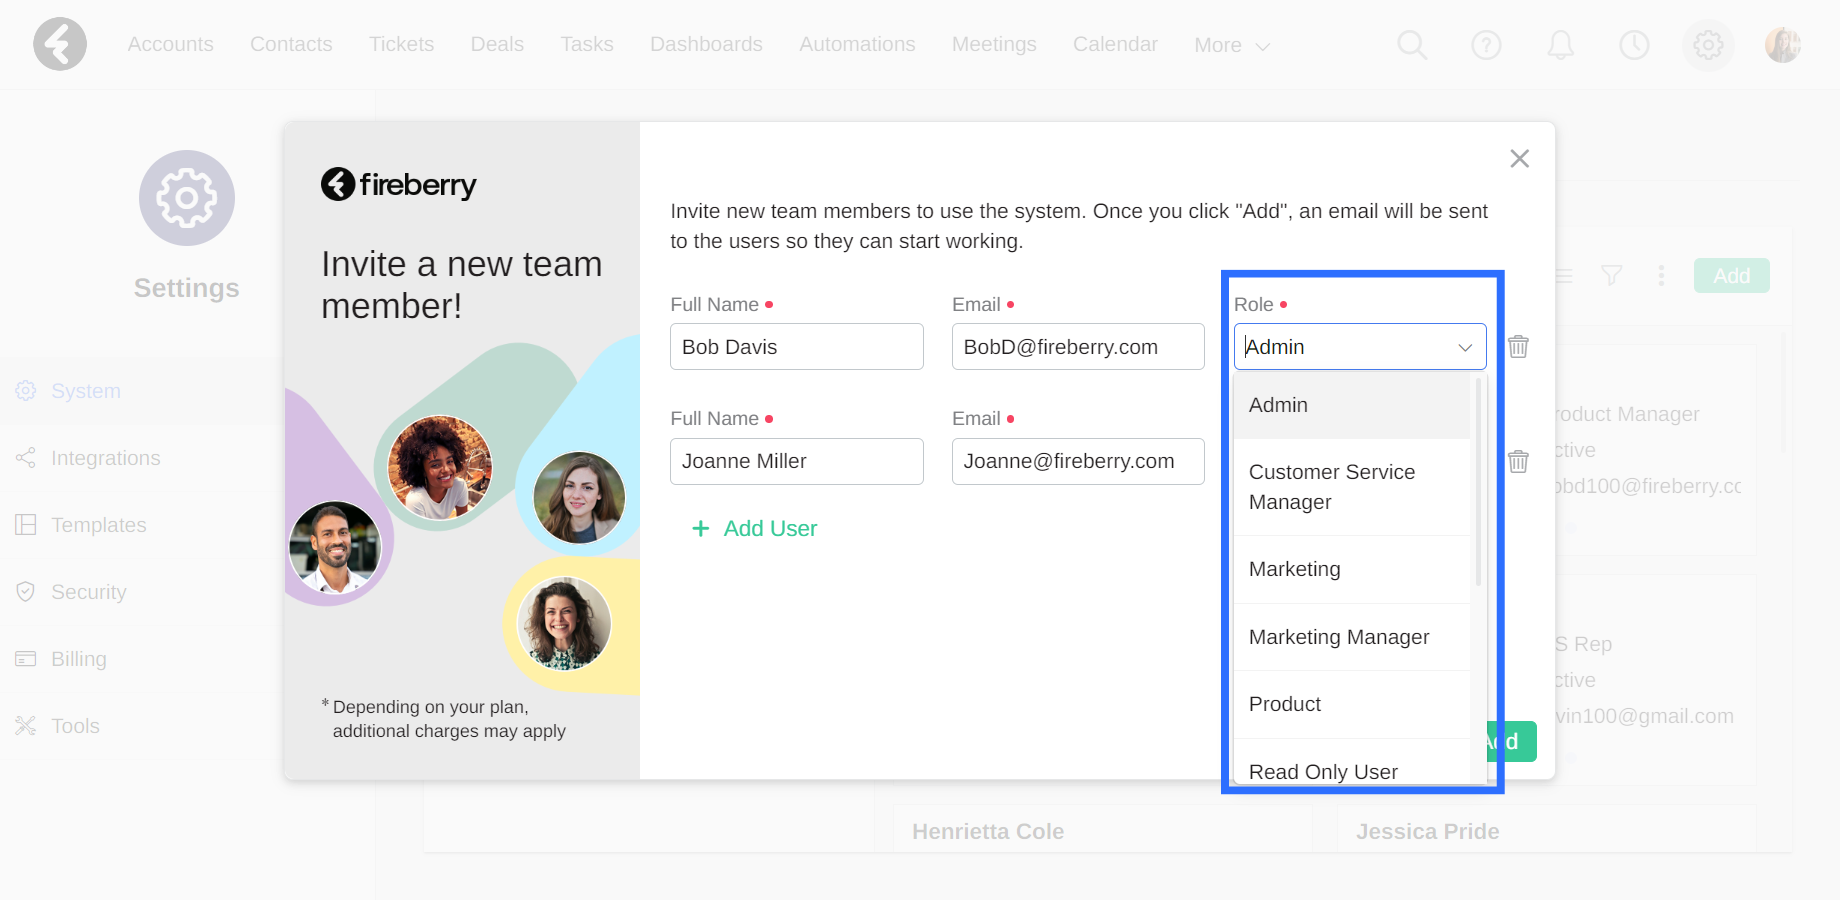
You can click + Add User to add multiple users at once, or use the trash icon to remove users.
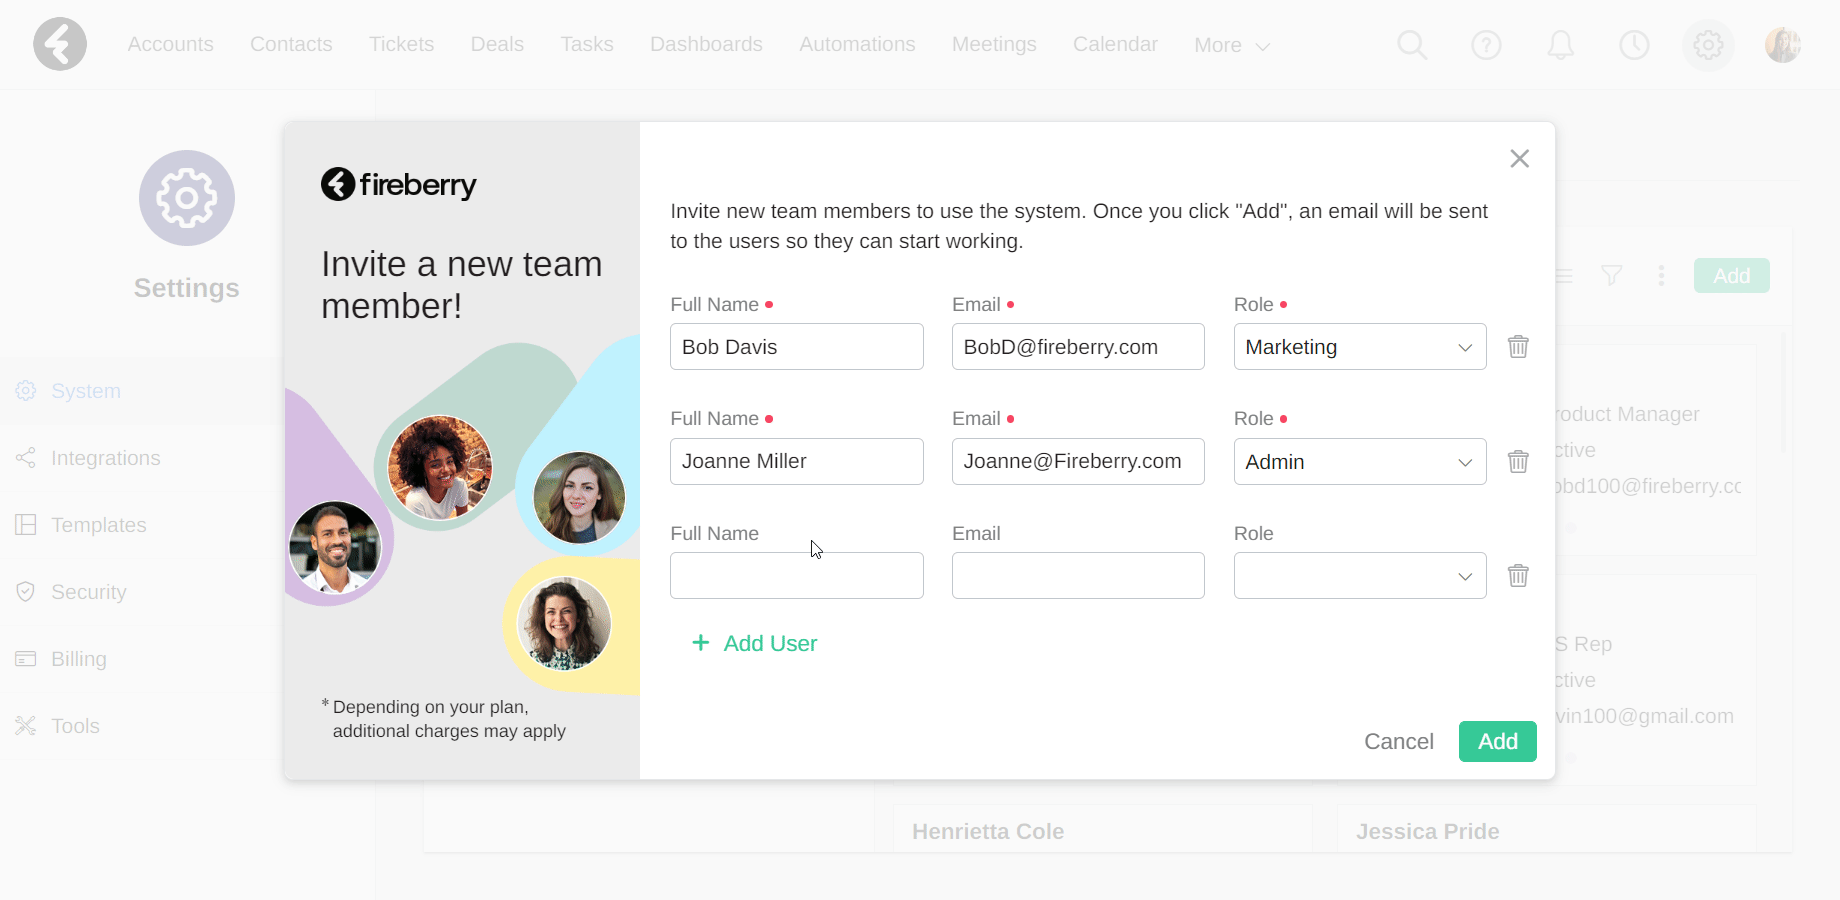
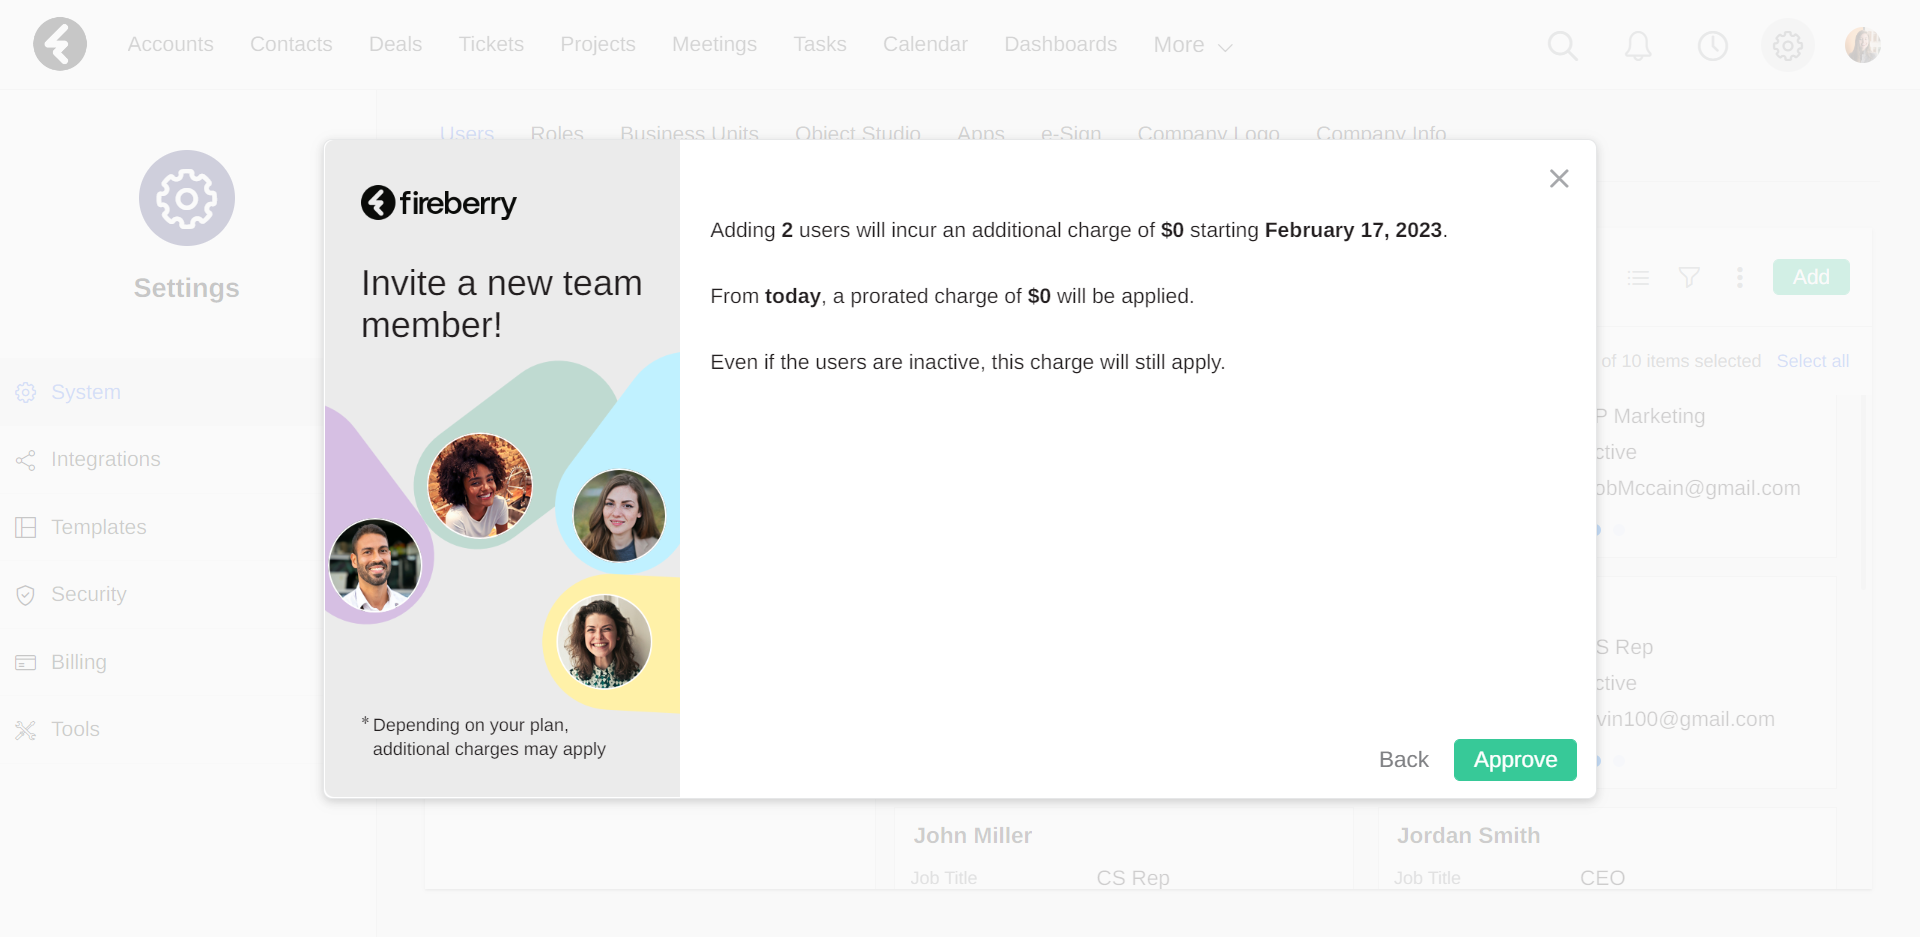
To finish, click Add on the bottom right. The billing information of your newly added users will be displayed. By clicking Approve, you’ll be charged according to your license, billing date, and billing plan, and the new users will be created. If you would not like to add the additional users and incur the charges, simply click the Back button. Check out our billing plans article here for more information.
Once you click the Approve button, an email will be sent to the new user prompting them to set up their new account and password. The screen will display the new user details, including the email the password reset link was sent to. This email should also be used by the user to log in to the system.
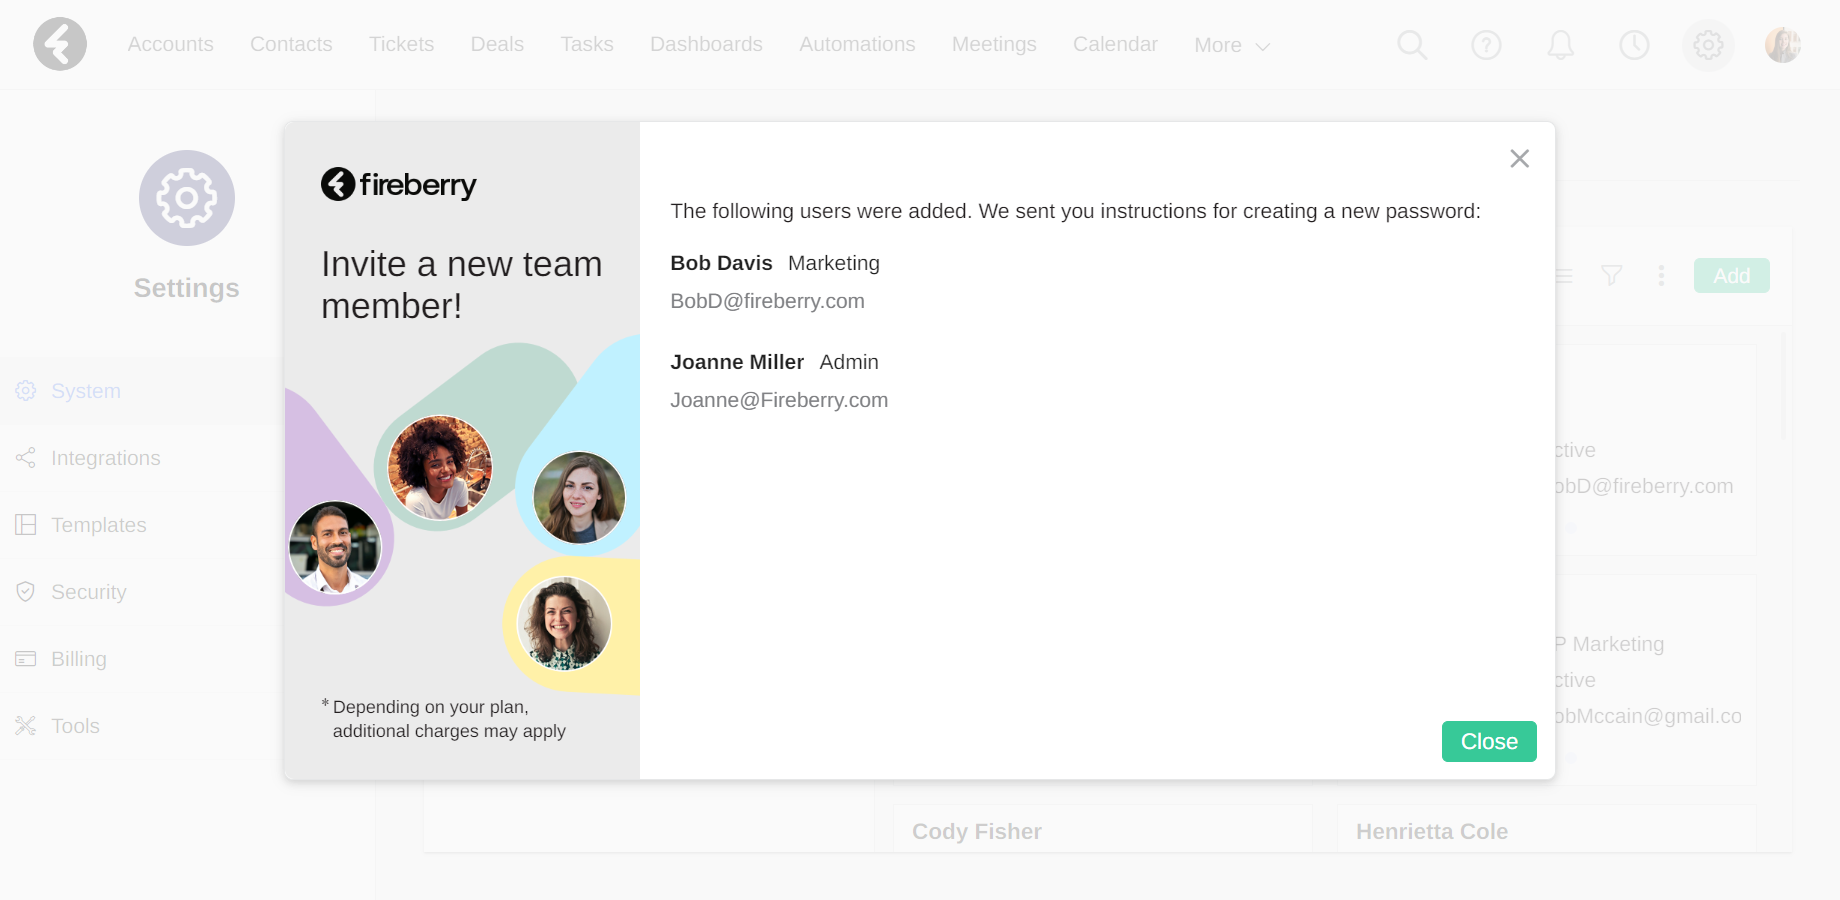
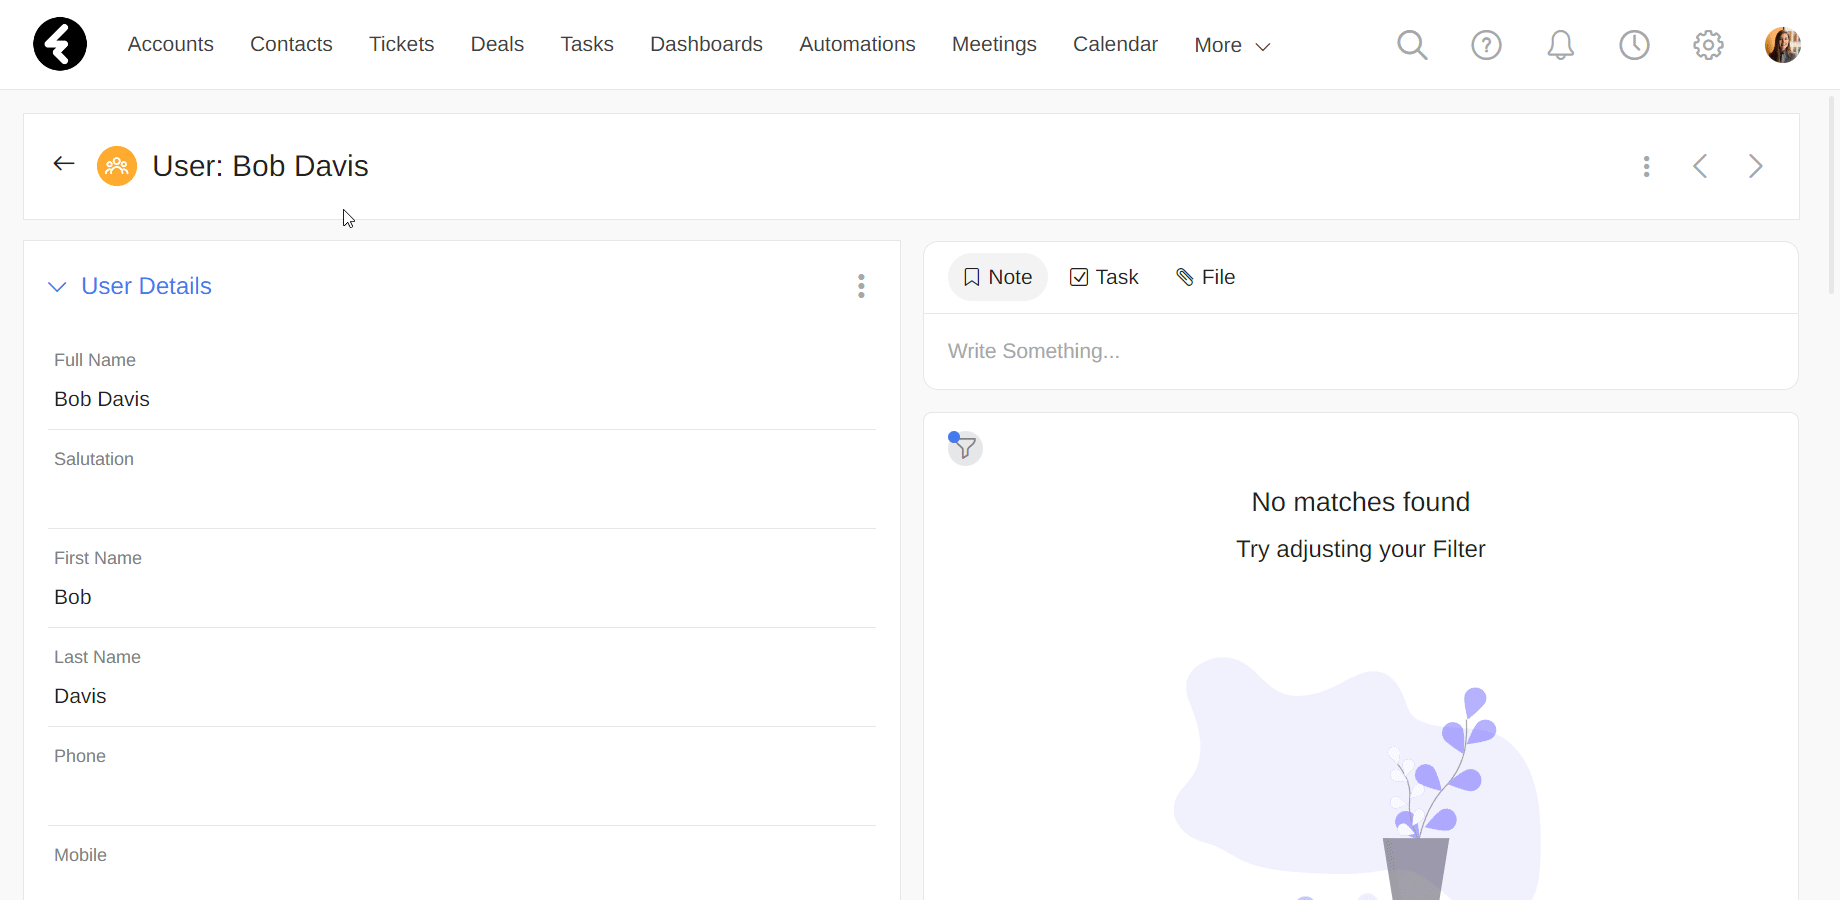
You’ll also be returned to the main Users page, where you can find and update your new user’s profile. To do so, simply click on the line with the user whose details you want to update. This will take you to their profile page.

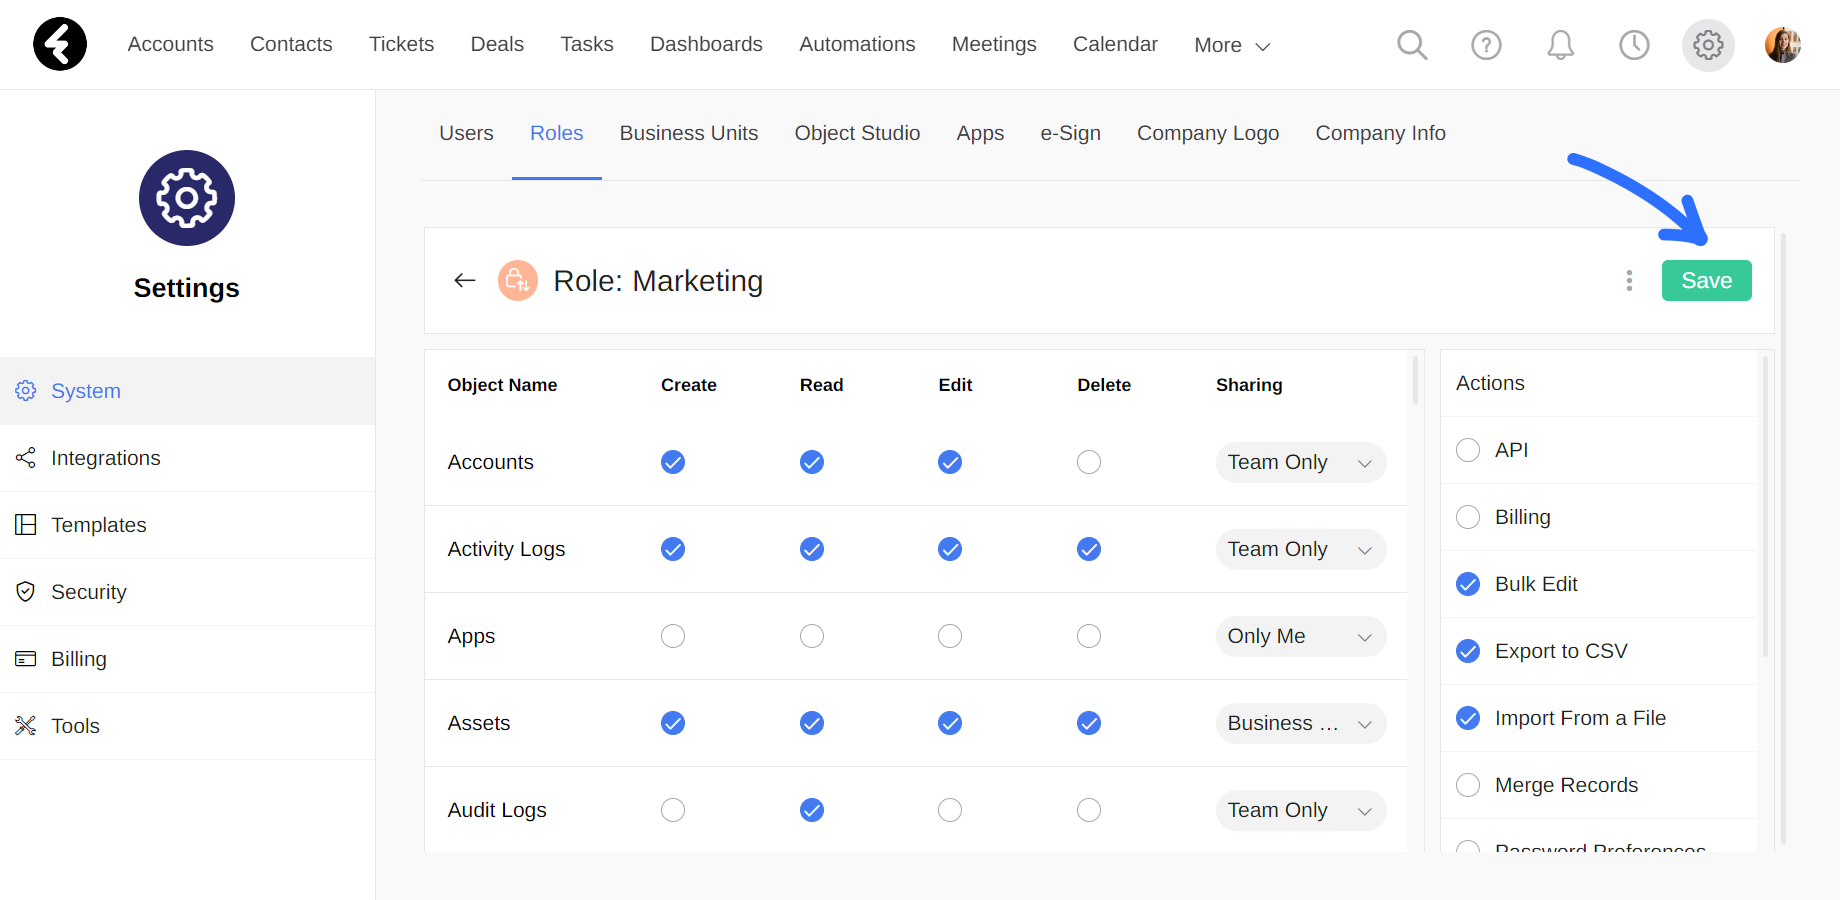
Role permissions
Each system user has a role assigned to them. A user's role sets the information they have access to. Within each user's profile you’ll find the Role field, where you can see which role is assigned to the user.
By clicking the name of the role, you’ll open the role’s permission page. Here you can set the access level which any user who is assigned to this role will have.
There are two types of permissions in the system:
- Object permissions, which are found on the left.
- Action permissions, which are found on the right.
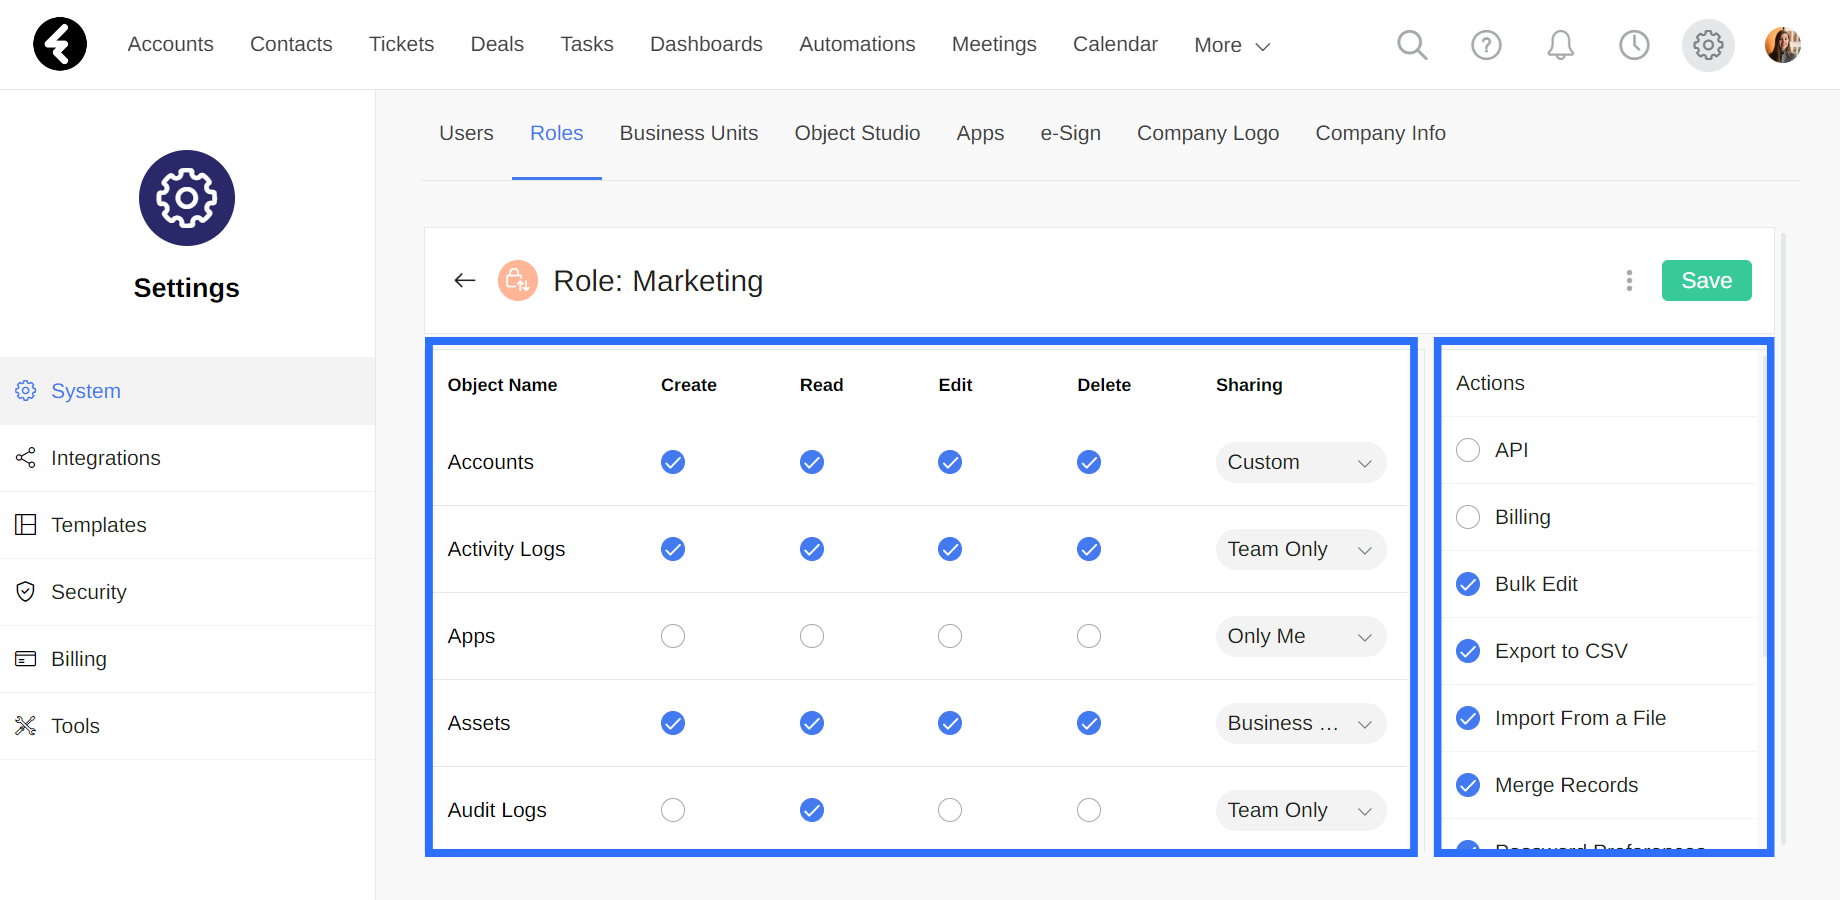
Object permissions
On the left of the page you’ll find a list of all the system objects, such as Accounts, Contacts, Dashboards, and more. Each object has its own row, where you can set the permissions specific to it.
There are six different columns which exist for each object:
- Object Name: The name of the object, such as Accounts.
- Create: Checking this circle will allow users to create data in the corresponding object type. For example, users will be able to create new accounts.
- Read: Checking this circle will allow users to read or view data in the corresponding object type. For example, users will be able to view the accounts object, as well as the existing accounts within it.
- Edit: Checking this circle will allow users to edit data in the corresponding object type. For example, users will be able to edit and update information within accounts.
- Delete: Checking this circle will allow users to delete data in the corresponding object type. For example, users will be able to fully and permanently delete accounts, including all the information held within an account.
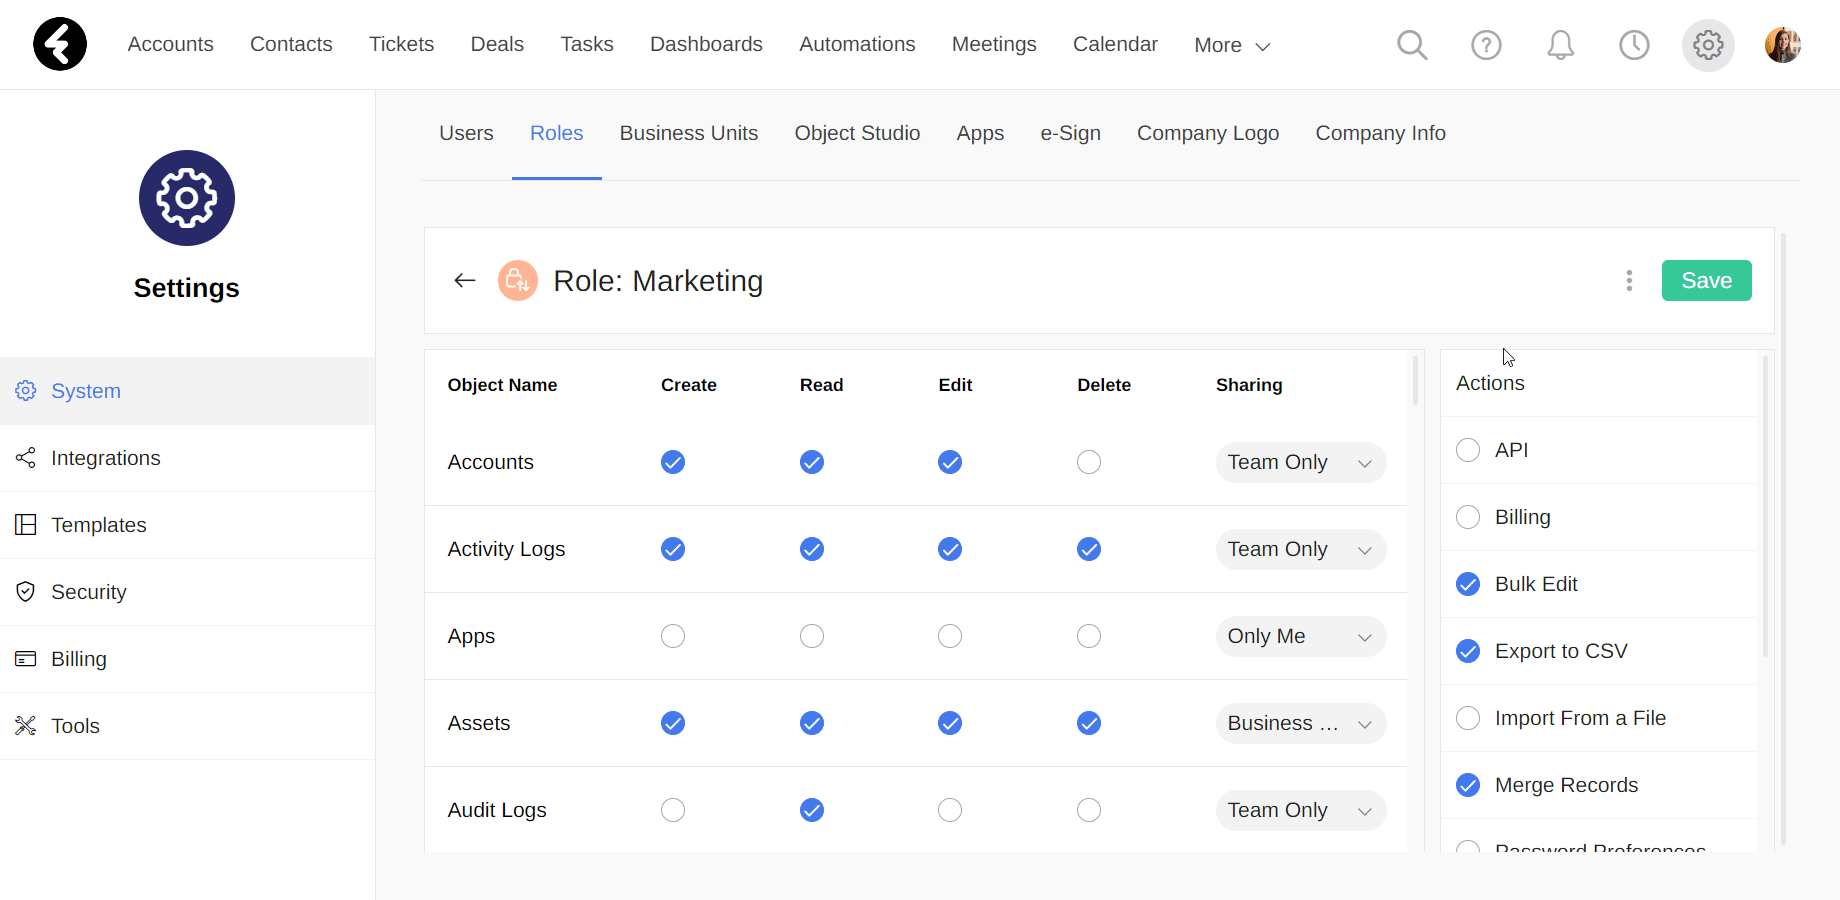
- Sharing: This section contains a dropdown list where you can choose which data will be accessible to users within the corresponding object. For example, by choosing the Only Me option, users will only be able to access accounts which belong to them.
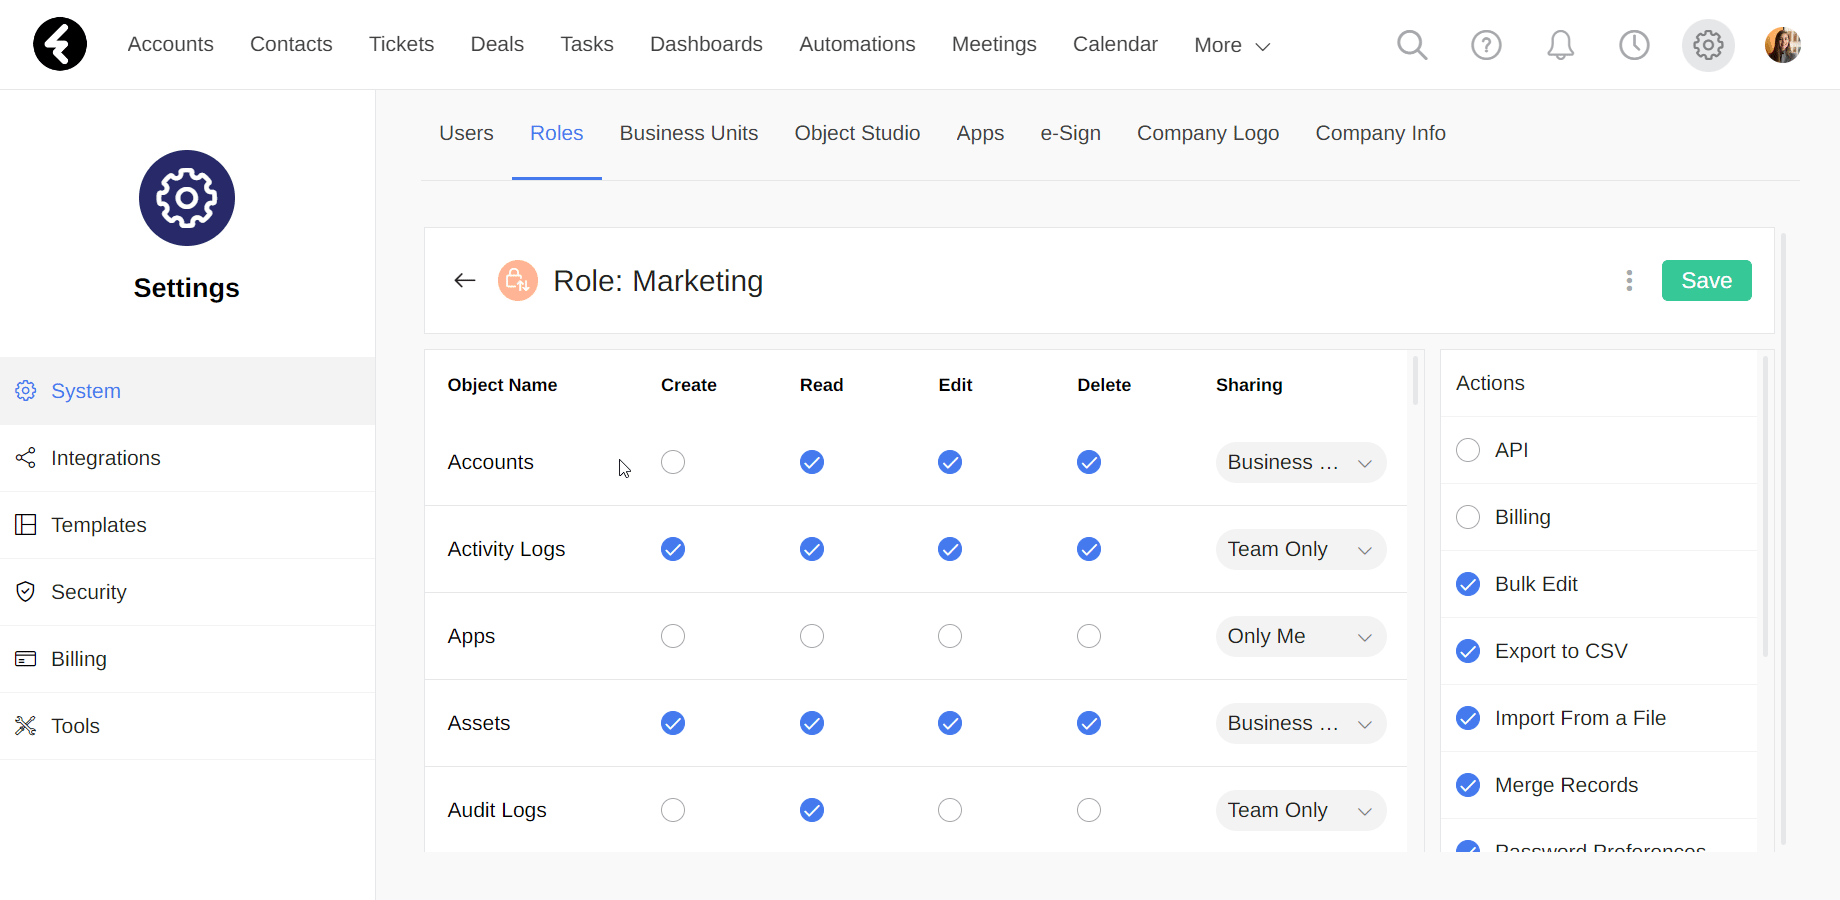
Action permissions
On the right of the page, you’ll find a list of actions which can be performed in the system, such as Merge Records or Bulk Edit. You’ll also see system pages, such as Billing or Settings.
By checking the circle next to a system action, you’ll allow the user to perform the action or view the page. For example, checking the Import From a File option will allow users to import data into the system. Unchecking the Settings option will remove user access to the settings page in the system. To learn more about managing role permissions, click here.
Once you’ve set up permissions for a role, be sure to click the Save button on the top right. This will save all your changes and apply them to any user who is assigned to the role.