Managing role permissions
Accessing role permissions
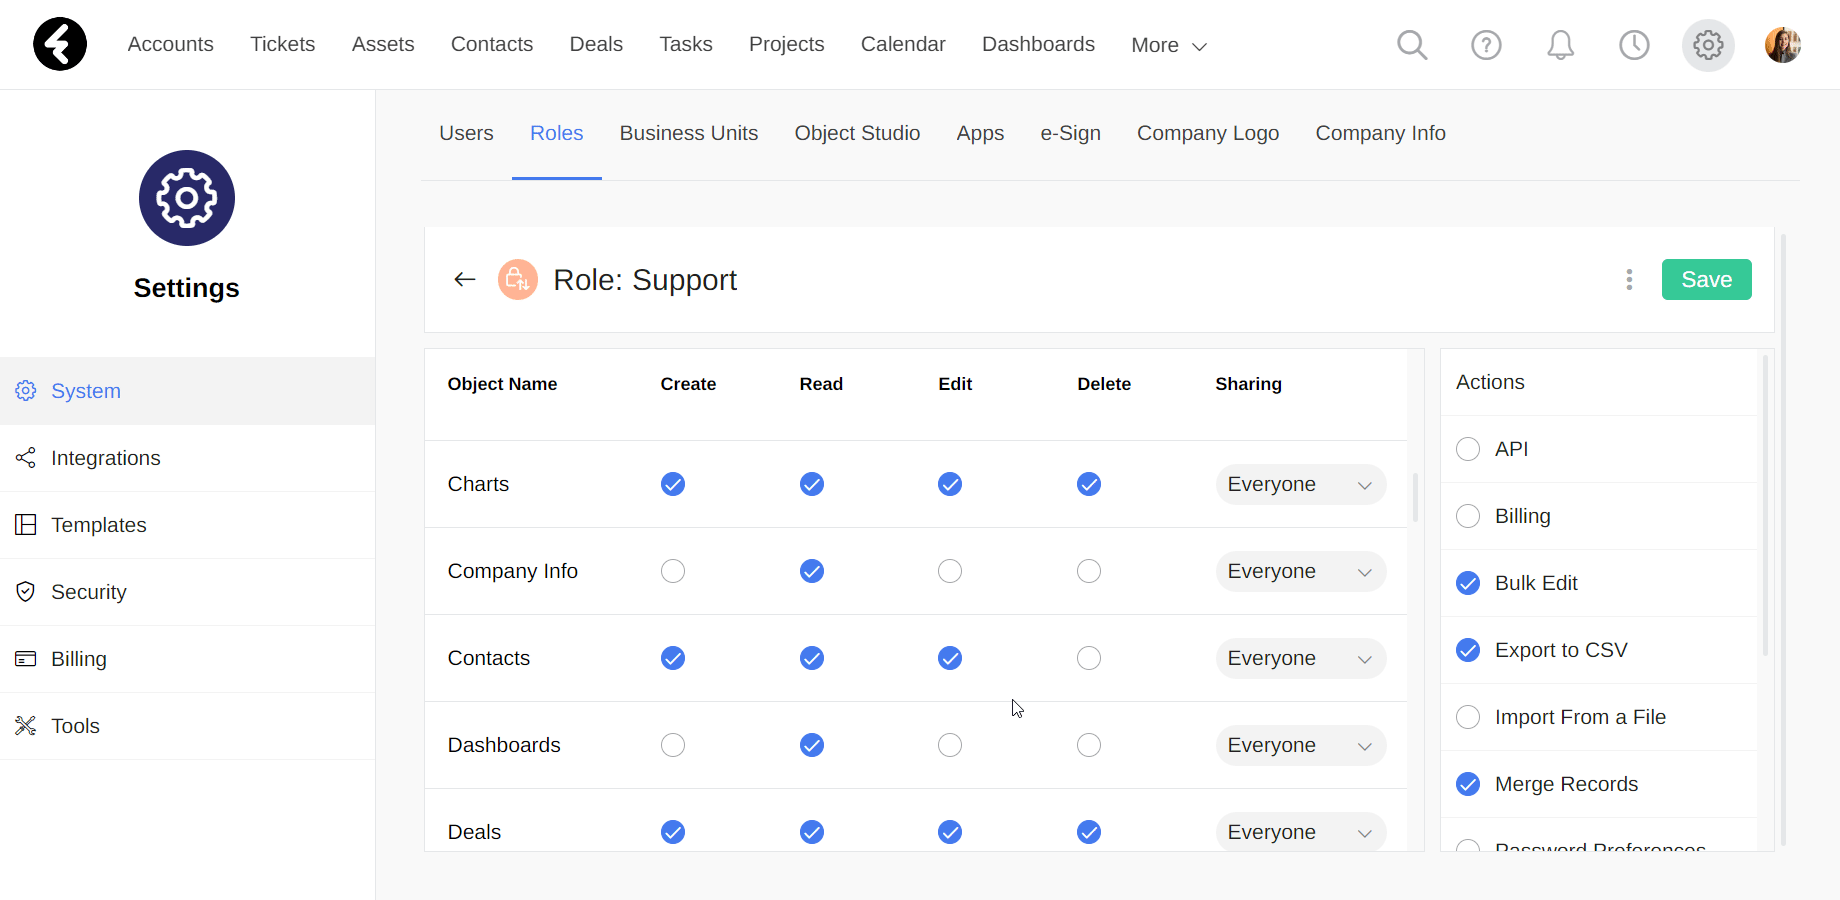
Each system user is assigned a role which controls their permissions. These roles can be assigned to multiple users, and will provide them with the same level of access to data. To edit the permissions, you’ll need to open the specific role’s permission page. Start by clicking the settings gear on the top right of any page, then select the Roles page from the top bar to open a list of all the system roles. Click on a role to open its permissions page. To learn how to create roles and assign them to users, check out the following article.
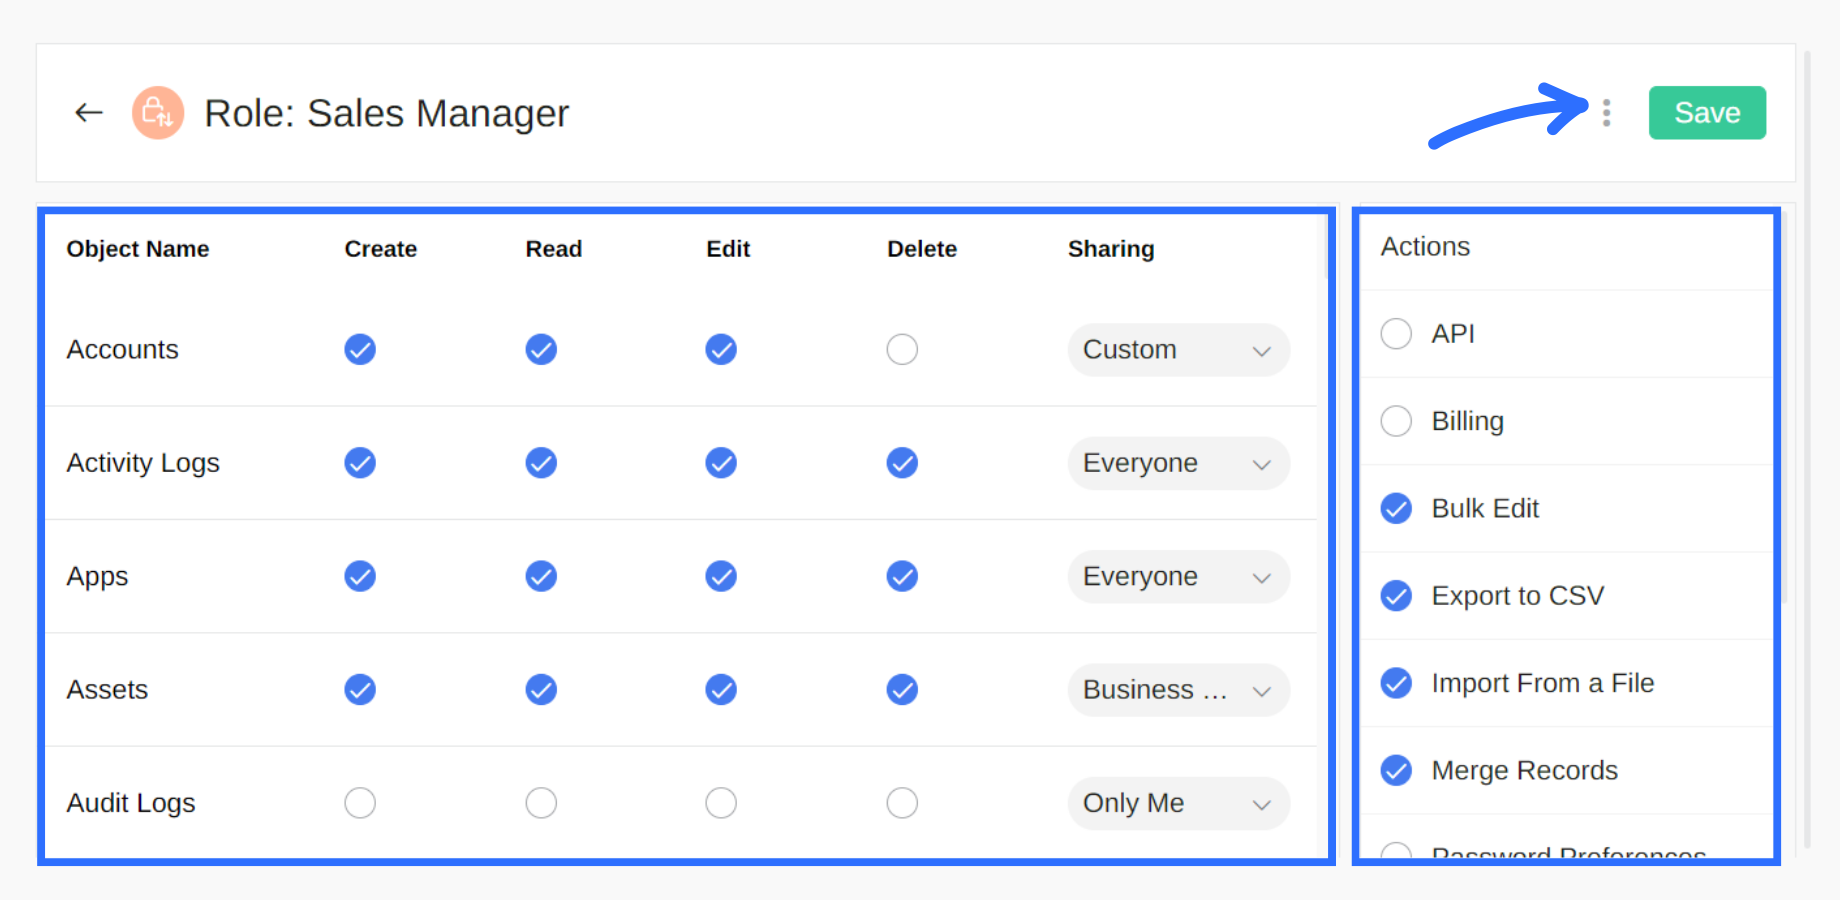
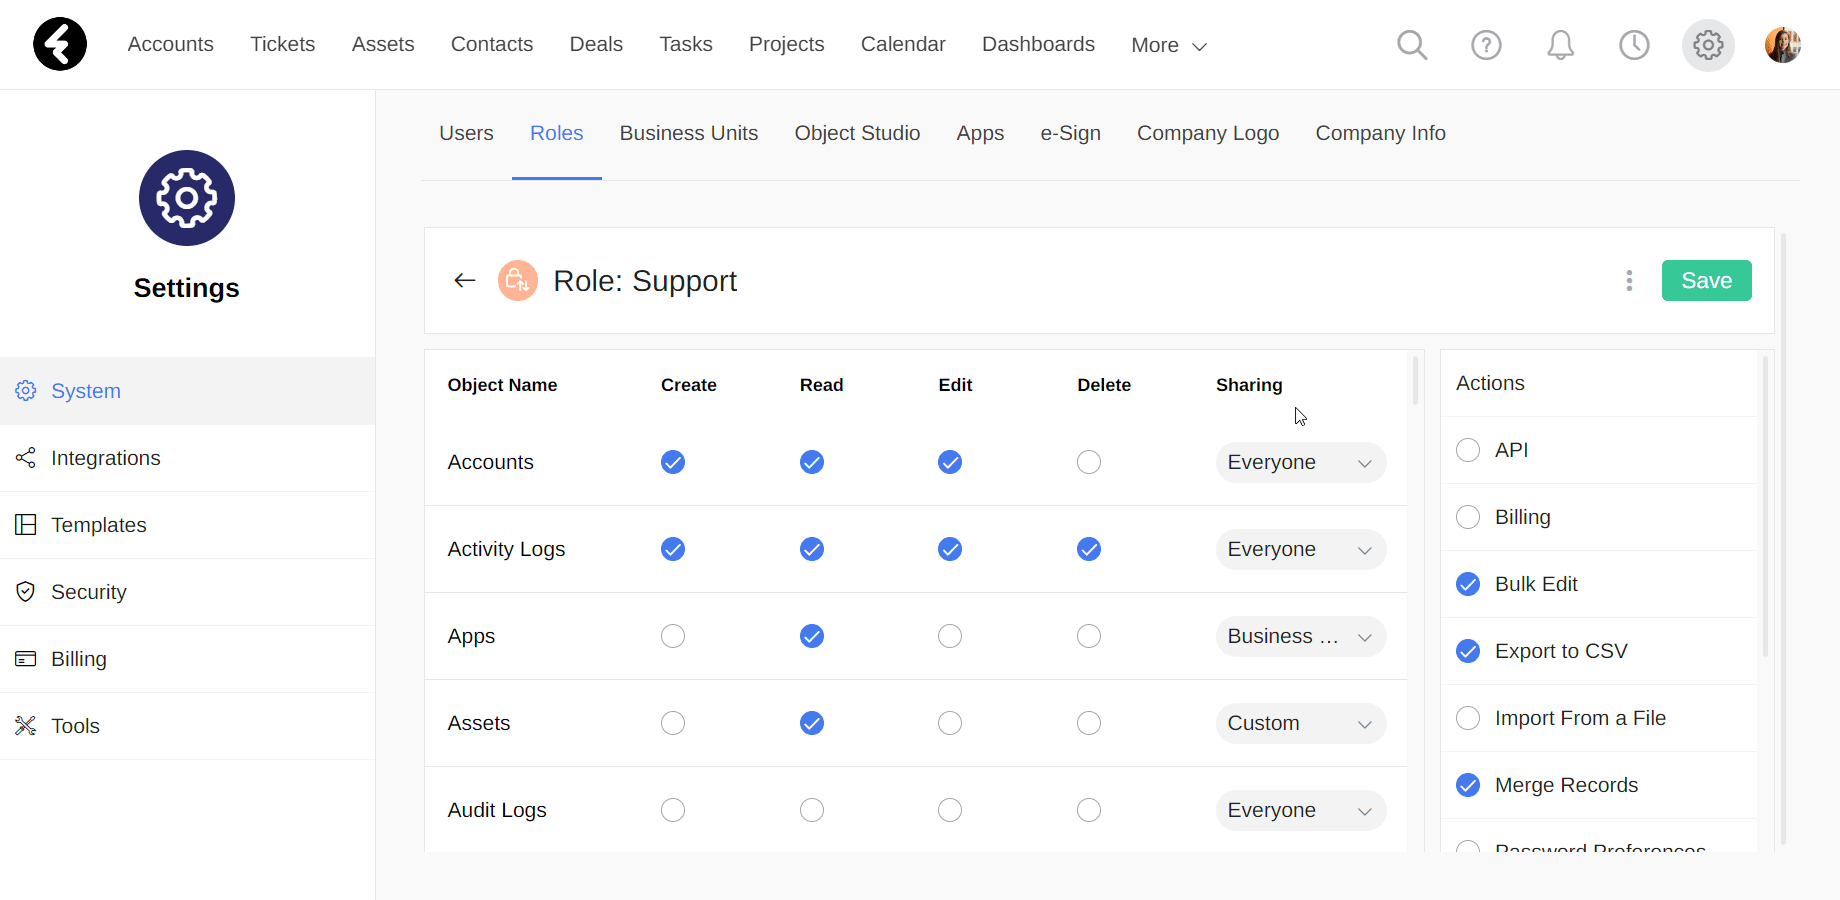
Once you’ve opened a role’s permissions page, you’ll see two sections. On the left is the object permissions where you can set each user’s access level to objects, and choose when the user can read, edit, create or delete records belonging to each object type. You can also set a sharing level to control which records within the object the user will have access to. On the right is the action permissions, where you can choose which system wide actions users can perform, such as imports and exports. These actions also allow you to provide access to system settings. For each role, you can also create a default top bar menu. Each permission option is explained in detail below.
Object permissions
Under the object permissions, you’ll be able to set which objects each role can create, read, edit, or delete, as well as the sharing level for each object.
Object types
You’ll find a list of all the objects in your system under the header Object Name. There are two types of objects you can set permissions for. The first is editable objects, such as Accounts, Deals, and any custom objects, which will all appear in the object studio. You can learn about the object studio here. The second is inner system objects such as Dashboards, Pages, Forms, View Designers, and more. These objects are used by the system to know when to allow access and customization of them. For example, if a user does not have permissions for the Pages object, they will not be able to change the pages of any object.
Permission types
There are five permission types which you can set for each object. The Create, Read, Edit, and Delete types control how the user can interact with the object, while the Sharing level controls which records the user has access to, and is explained below.
- Create: This allows the users to create new records of this object type.
- Read: This allows the users to see the object in their menu, open the object’s views, and see records of this object type.
- Edit: This allows users to change the fields within any of the object’s records.
- Delete: This allows the users to permanently delete records from the system.
If you create a new object, it will automatically have all the object permission types unchecked and the sharing set to only me. This is true for every role except for the admin role, which you can learn more about here.
Setting permissions
Under the Object Name header on the left you’ll find a column with all the objects in your system, alphabetized from A to Z. You can then choose the role settings for each object by selecting or deselecting the blue check on the relevant row. You can also bulk select or deselect any of the permission types for all the objects by hovering to the right of the header name and then clicking the circle that appears. Once you’ve set the permissions, be sure to click Save on the top right of the page.
For example, you may wish to create a Support role and allow them to see existing accounts and create new ones, but not edit or delete any existing accounts. To do so, select the Create and Read permissions for the Accounts object. You can then provide them with the Read option for Deals, so that they can see all the deals but cannot create, edit or delete them. In this way, anyone assigned to the Support role will be able to create new accounts if someone new reaches out, and will be able to find and provide information on deals to existing accounts. However, they won’t be able to change any existing information.
Owner ID field
The owner ID field is a built-in system field which can be found in every system object, and is important to many of the object sharing permissions. This field is required, and is a lookup field to the Users object. You can learn about lookup fields here. Below you’ll learn how to identify this field, and then understand how it affects the different sharing permission levels.
Identifying the owner ID field
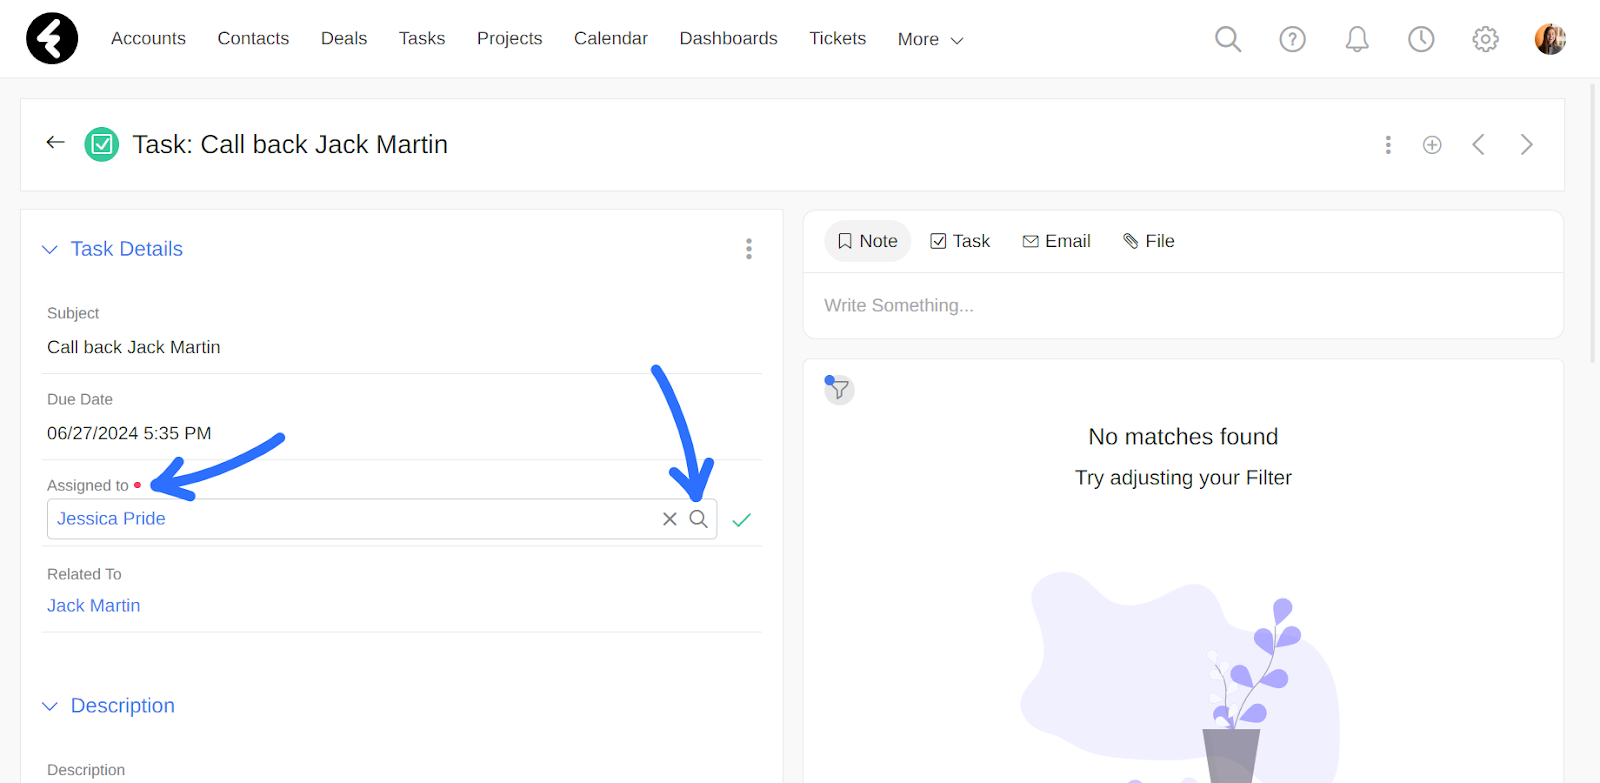
The owner ID field has different built in names in different objects. For example, in the Accounts object its built in name is Account Owner, while in the Tasks object its built in name is Assigned to. In custom objects the built in name will be Owner.
You can use two different methods in order to identify which field is the owner ID field. The first is to simply look for a lookup field to the Users object which is required. If a lookup field has the red dot signifying its required, and clicking the magnifying glass opens a list of users, it's very likely this is the owner ID field.
However, to confirm a field is really the owner ID field, you’ll need to check its API name. The API name of the owner ID field will always be ownerid, no matter which object it belongs to. You can learn more about API names here. To check the API name, open a field’s settings from the page editor and check that the API name is set to ownerid. For detailed instructions on accessing a field’s settings, click here.
Owner ID sharing permissions
The sharing settings of each object set which records users who are assigned the current role can access, and are explained in detail below. The access level of each individual record is based on the user set in its owner ID field. It will set both the associated user and the associated business unit. For example, Mark is the owner of the Investments by Eve account, and Mark is assigned the Manhattan business unit. The access level of the Investments by Eve account can be based on either Mark, as he is the owner, or Manhattan, as this is the owner’s assigned business unit. The sharing level selected for the Accounts object will set if the access level is based on the owner or business unit. If Mark’s business unit is changed to Queens, the business unit associated with Investments by Eve’s account will now be Queens. In this way the owner ID field will set who has access to the different system records.
Object sharing permissions
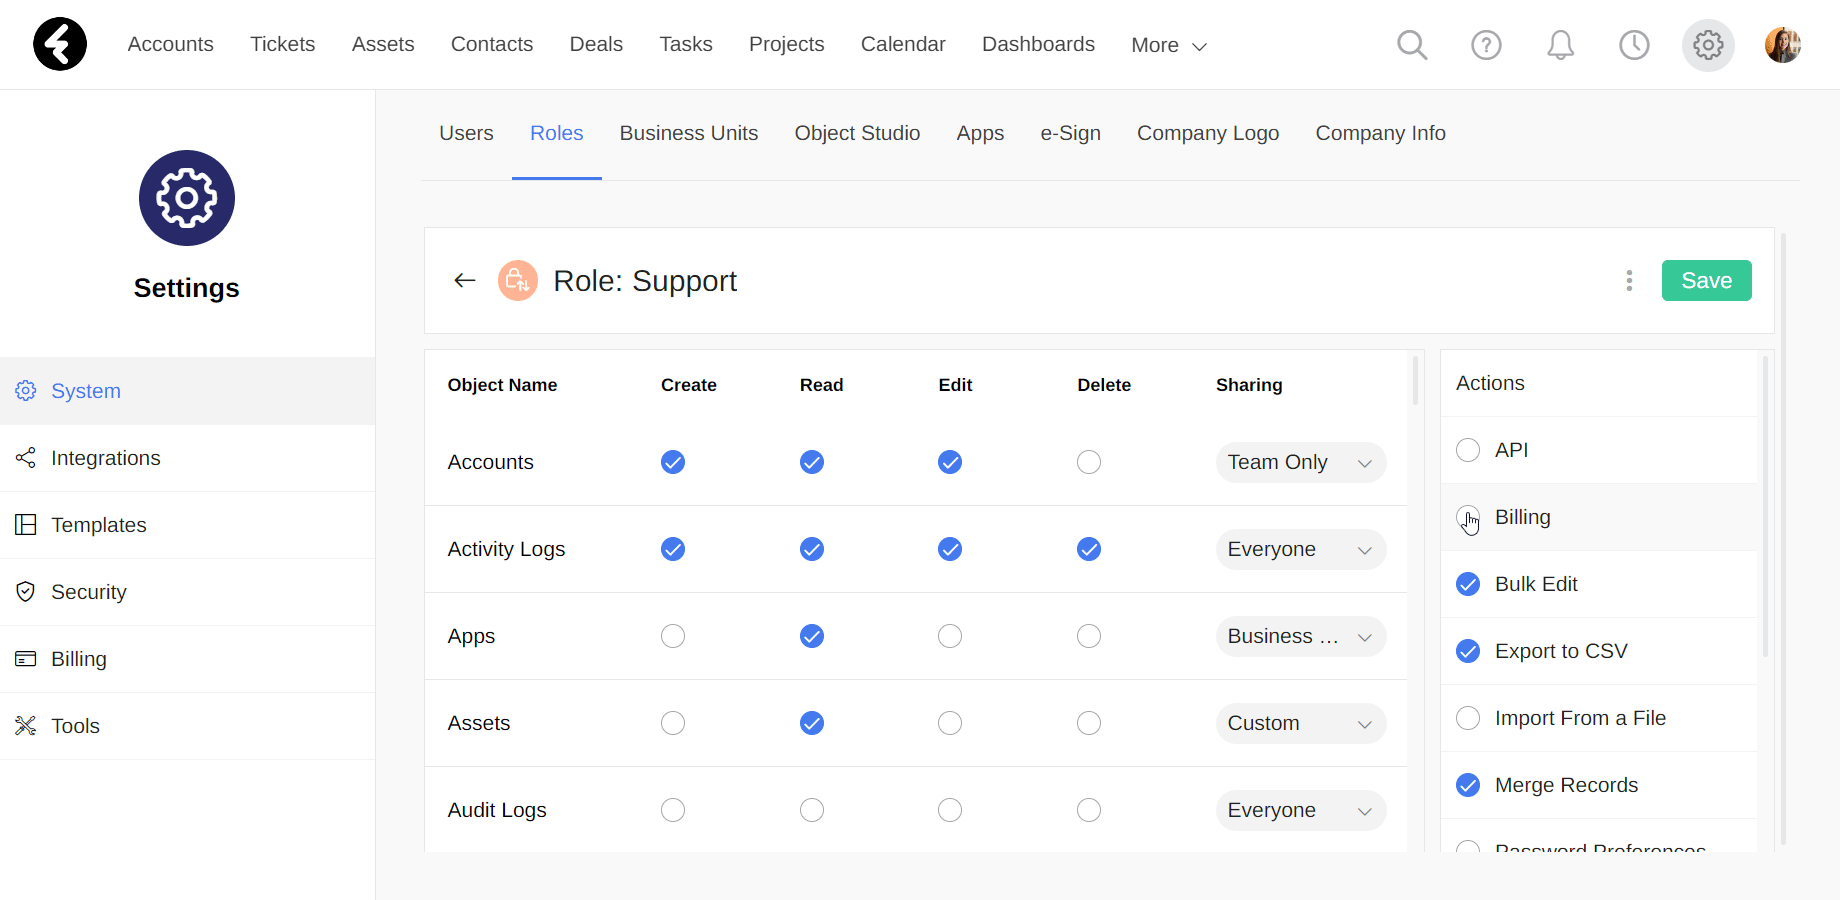
The sharing permissions use a dropdown list and allow you to set which records each role has access to. This is highly recommended when you want to keep information private and only accessible for relevant employees. Excluding the custom option, the sharing level of each record will be based on the owner ID field, as is explained above.
To select an option from the sharing permissions, first click on the currently selected option for an object under the Sharing header. This will open a dropdown list, where the currently selected option will have a gray background. You can select one of the displayed sharing permissions and then click Save on the top right of the page. Each option is explained in detail below.
Only me
By selecting Only Me, users will only see the records where they are set as the owner. This is a great option for objects which contain sensitive information which should only be seen by the owner. For example, you can select this option for the Accounts object of the Account Manager role. In this way, each account manager will only see and access the account records which they are the owner of.
Team only
The Team Only option is based on the business unit of the current user, which you can learn about here. It will share any records where the owner of the record is either the current user or has the same business unit as the current user. This is extremely useful when you’d like to share information between a specific team. For example, you can set this option for the Deals object in the Sales Rep role. Now each sales rep will only be able to access deals which are owned by them or by someone else who shares the same business unit as them. In this example, if you have both a North and a South business unit, sales reps in the north business unit will only see deals which belong to the North business unit, while sales reps in the south business unit will only see deals which belong to the south business unit.
Business unit
Like the Team Only option, the Business Unit option will provide users with access to all the records where either they or someone in their business unit is set as the owner. This option adds another level using the Parent Business Unit field, which you can learn about here. By selecting this option, users will also be able to access any records which belong to any of the child business units which belong to their business unit. For example, the Management business unit is set as the parent for both the North and South business units. If the Business Unit option is set for the Deals object of the Sales Manager role, users who are assigned this role and the management business unit will have access to deals which belong to the management, north, or south business units. However, they will not have access to deals which are assigned to outside business units, like the VIP unit. If you’d instead like the managers to only have access to deals which are in their specific management business unit, switch their sharing level to Team Only. In this way all your data will always stay in the hands of the relevant team or business unit.
Everyone
Selecting the Everyone option will allow access to any records in this object, regardless of who the owner is set to. This is great for upper management roles, and is the set option for the Admin role. To learn more about the admin role, click here.
Custom
The custom sharing option allows you to use an object’s fields to set conditions and filter when each record in the object will be displayed. This lets you fully customize the sharing level of records to your business needs. Unlike the rest of the sharing options, it does not use the owner ID field. To learn how to use custom sharing, click here.
Actions
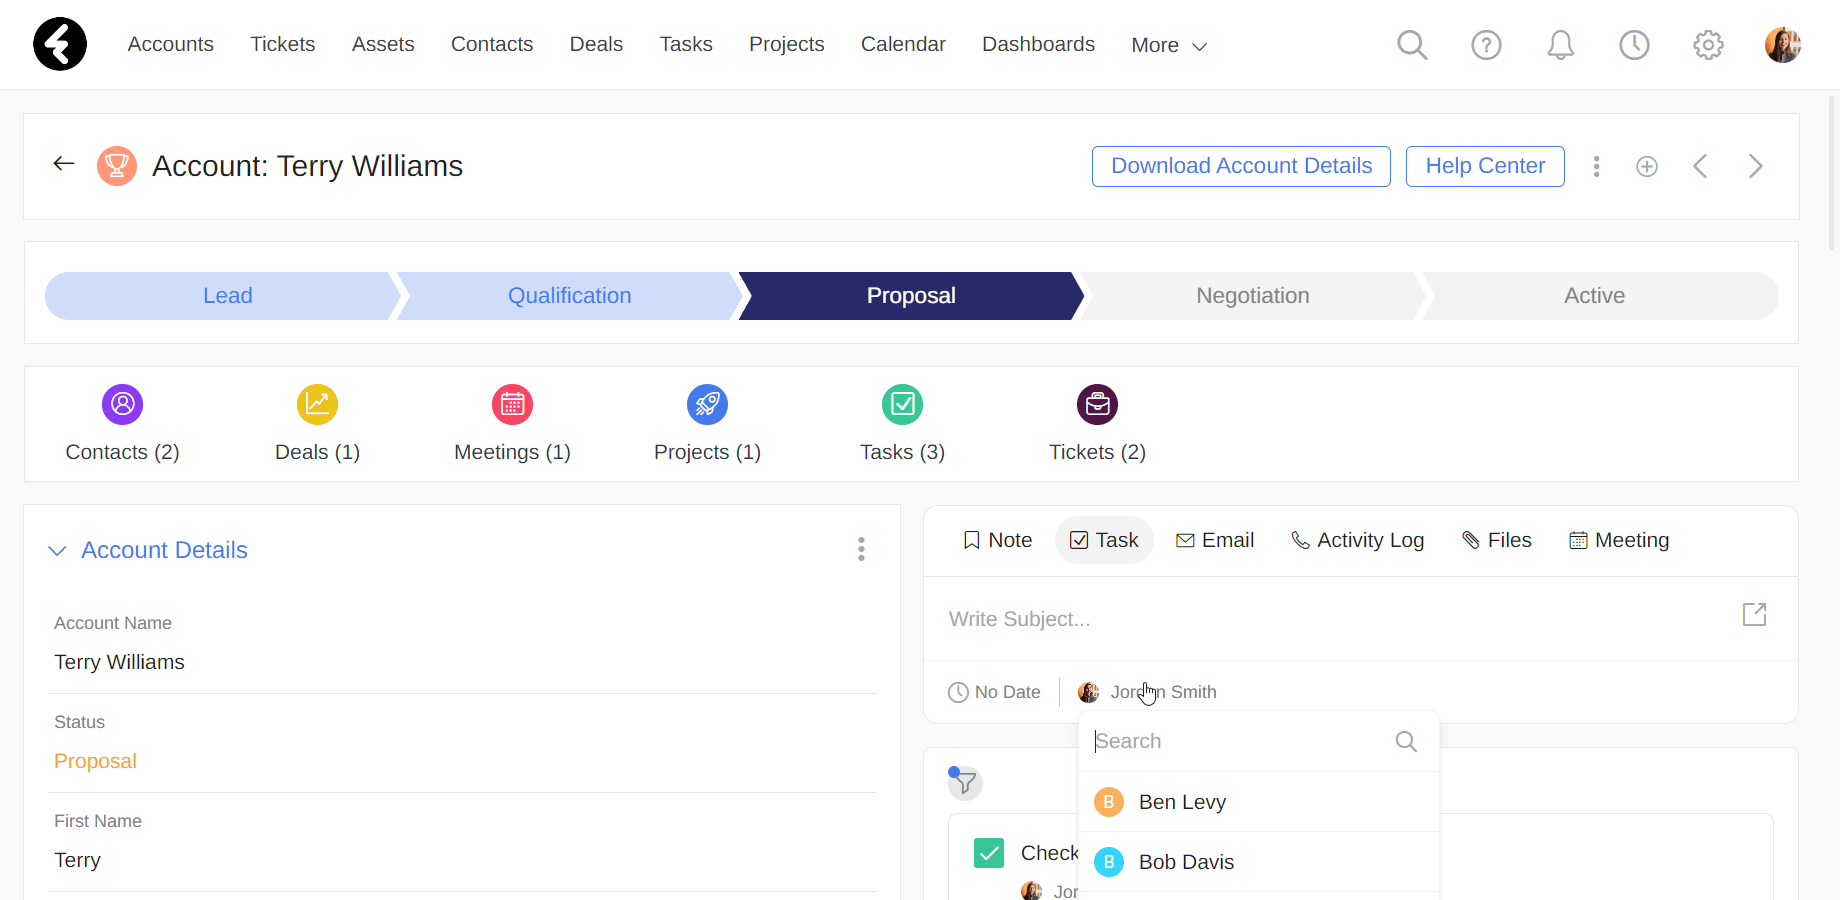
The Actions permissions can be found on the right side of the permissions page, and contain a list of system wide actions. You can select which of these actions the user will be allowed to perform by clicking the circle to their left. For example, by clicking the circle next to Bulk Edit, you’ll allow the current role to bulk edit records. To deselect an option, simply click on the blue check. Make sure to click Save on the top right once you’ve made any changes.
User permissions and access
The Users object sharing settings will control when system users are accessible on a system wide level. In this way, all the system users will not always be visible to other users, as it is completely dependent on the sharing level of the Users object. You can read more about each sharing permission above.
For example, the Support role may have access to users on a Team Only level. This means that they’ll be able to access any system users who share the same role and business unit as them. Any support team members will be able to tag each other and set each other as the owners of tasks, accounts, and more. However, users assigned to the support role will not see any system users who are not assigned to the support role or to the same business unit as them. In this way, they’ll only access and communicate with users who are relevant to them.
User sharing permissions become relevant in any locations throughout your system where you access users. One example of this is the Notes object of a stream. Users who you do not have permission to see will not come up after you type the @ symbol, which you can learn more about here.
Additionally, any users which you don’t have permission to view won’t be displayed as options in lookup fields throughout the system. For example, if your Users settings are set to Team Only, you won’t be able to assign tasks to users who aren’t on your team. This will apply to the owner fields of all system objects, such as accounts, meetings, and more. For this reason, it’s very important to choose the sharing level for the Users object which works best for your organization.