How do I manage my billing?
You can use the billing section in your settings to manage your subscriptions, company info, payment methods, and more. To open the billing section, first click the settings gear icon on the top right of any system page, and then select the Billing tab from the left navigation menu. Below you’ll learn how to use the different sections in the billing tab.
Subscriptions
The Subscriptions section will open by default, and consists of your licenses and billing data. It’s made up of the following subsections.
Subscriptions
This section will display the products and licenses you’re subscribed to. Within each subscription, you’ll find the following information:
- Product and license: The name of the product and then the name of the license associated with this subscription. For example, Sales Professional as is pictured below.
- Upgrade: Click this button to upgrade your license. You can learn about the different license options here. If you’re using the enterprise license, which is the all inclusive license, the upgrade button will not appear for your subscription.
- Manage Users: By clicking this button, you’ll be brought to your users page. You can learn how to manage users here.
- Users: Here you can see how many active users you currently have, followed by the total number of users included in your subscription. For example, 13 of 14 here would indicate you have 14 user slots available, and only 13 active users. You can activate another user without incurring any charges. If instead this section displayed 14 of 14, you are using all your user spots. You can of course choose to add more users to your subscription at an added cost.
- Status: This will indicate if your subscription is Active or Pending Cancelation. You can learn more about canceling your subscription below.
- Price per User: The USD price you’re paying per user in this subscription. To calculate the total cost of this subscription, multiply this price by the total number of users in your subscription.
- Three dot menu: Here you can click Invite Users to invite new users to your system, which you can learn about here, or choose to cancel this subscription, explained below.

Products
Under the products subsection, you can choose to add more subscriptions to your plan.
Overview
The overview subsection is made up of two sections containing important billing information. Under the Payment Plan section, you can see whether you’re in the Annual or Monthly billing plan, and check your Next Billing Date. You can also click the Change to button to switch your billing plan. These changes will only take effect on your next billing date. Learn more about billing plans here.
The second section is the Storage section, and will display the amount of storage you’re currently using, followed by the total amount of storage included in your plan. The amount of storage you have is the cumulative result of multiplying the amount of users included in each of your subscriptions by the license of the respective subscription. Check out our pricing page here for details on how much storage is included in each license. If needed, you can purchase additional storage; click here to learn more.

Company Info
Under this section you can view and change your company’s details, such as the name, phone number, address, and more. Click on a field in order to edit it. Remember to click on the green check after editing a field in order to save the new details. To learn more about when and how your company info is set, click here.

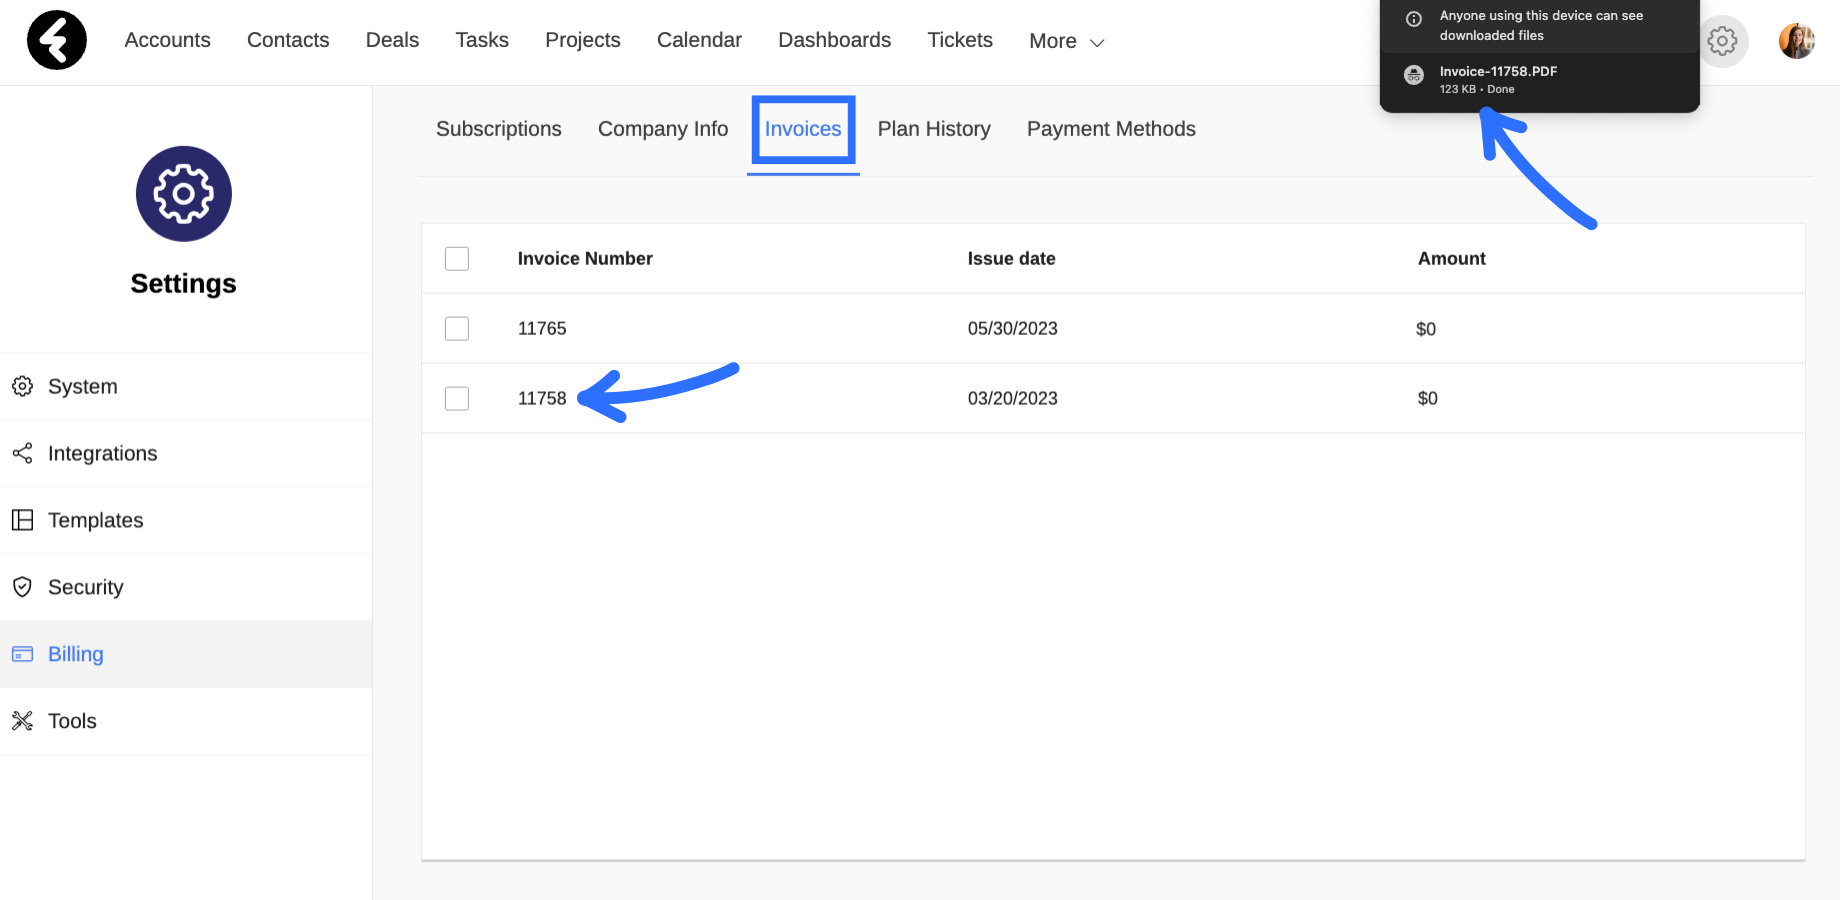
Invoices
The Invoices section includes a list with all the invoices you’ve ever received from Fireberry. In this way you can easily view a list of all the charges made by Fireberry. The invoice list is sorted by date, so that the newest is the highest in the list and so on. Each invoice displays the Invoice Number, Issue date, and Amount. You can easily download the PDF of any invoice by clicking on it.
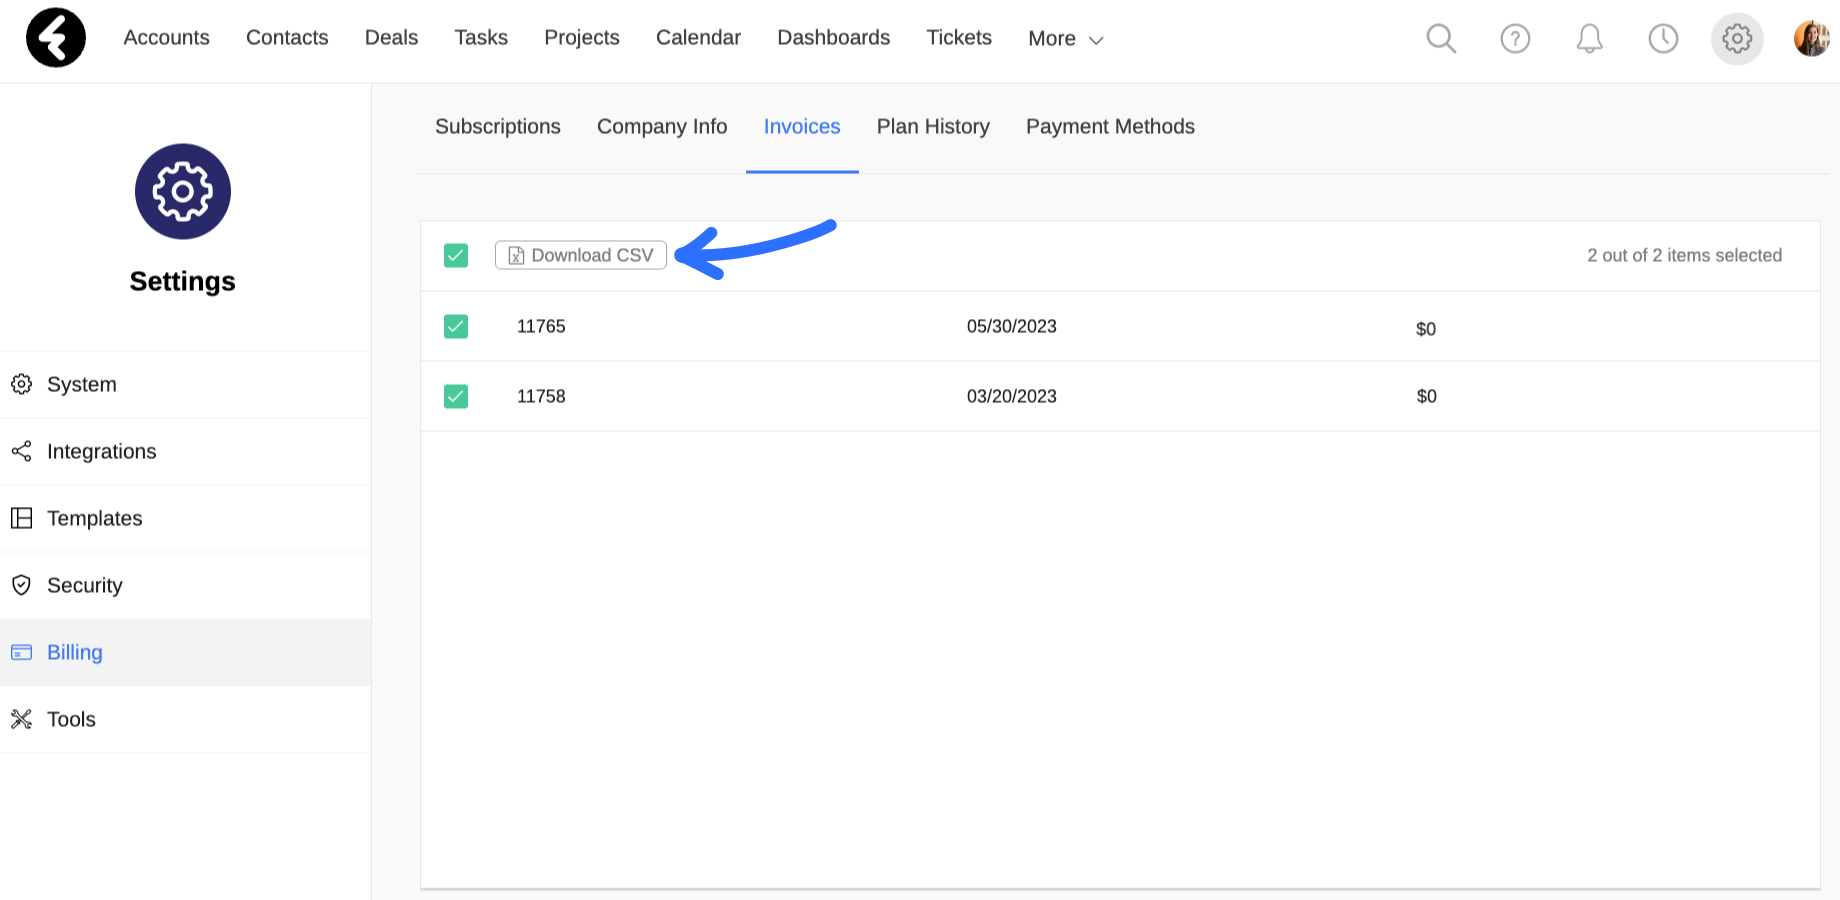
You can also export a CSV file with your invoice details. Simply select the invoices you’d like to export and then click Download CSV. This file will include the columns displayed in the system list, and a row for each selected invoice.
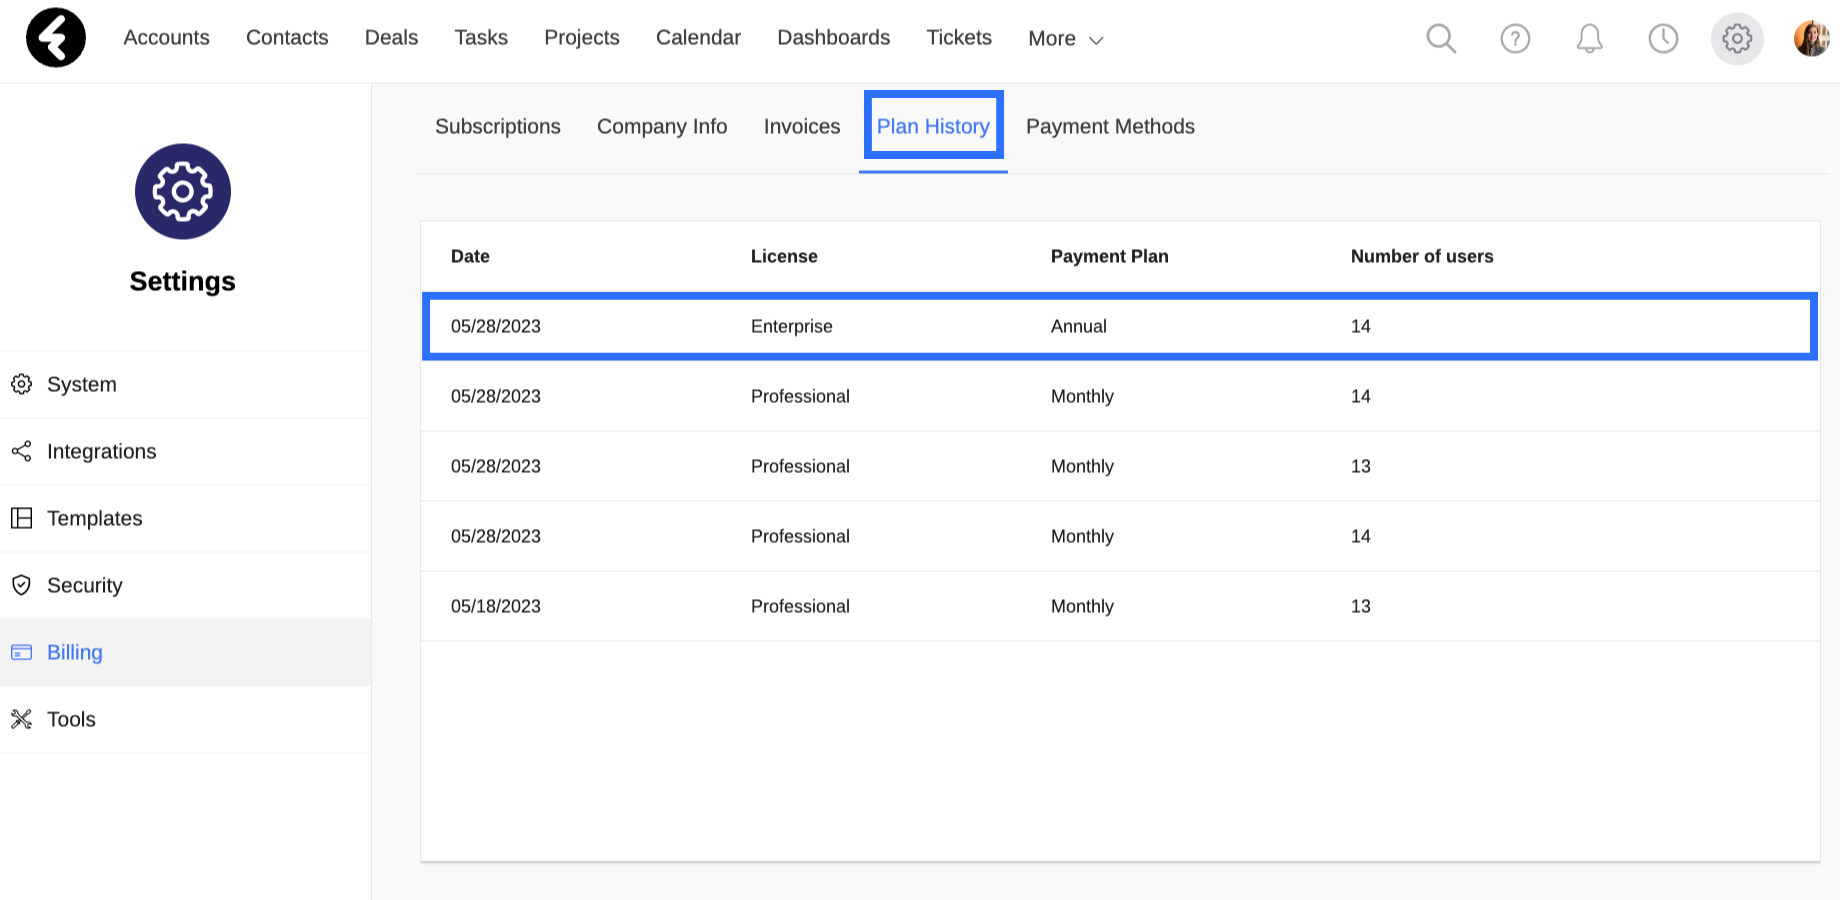
Plan History
The Plan History section automatically saves any changes that are made to your subscription. Specifically, if you change your license, switch payment plans, activate a new user, or deactivate an existing one, a new row will be added to the plan history list. Each row contains the Date of the change, and the License, Payment Plan, and Number of users immediately after the change is made.
Payment Methods
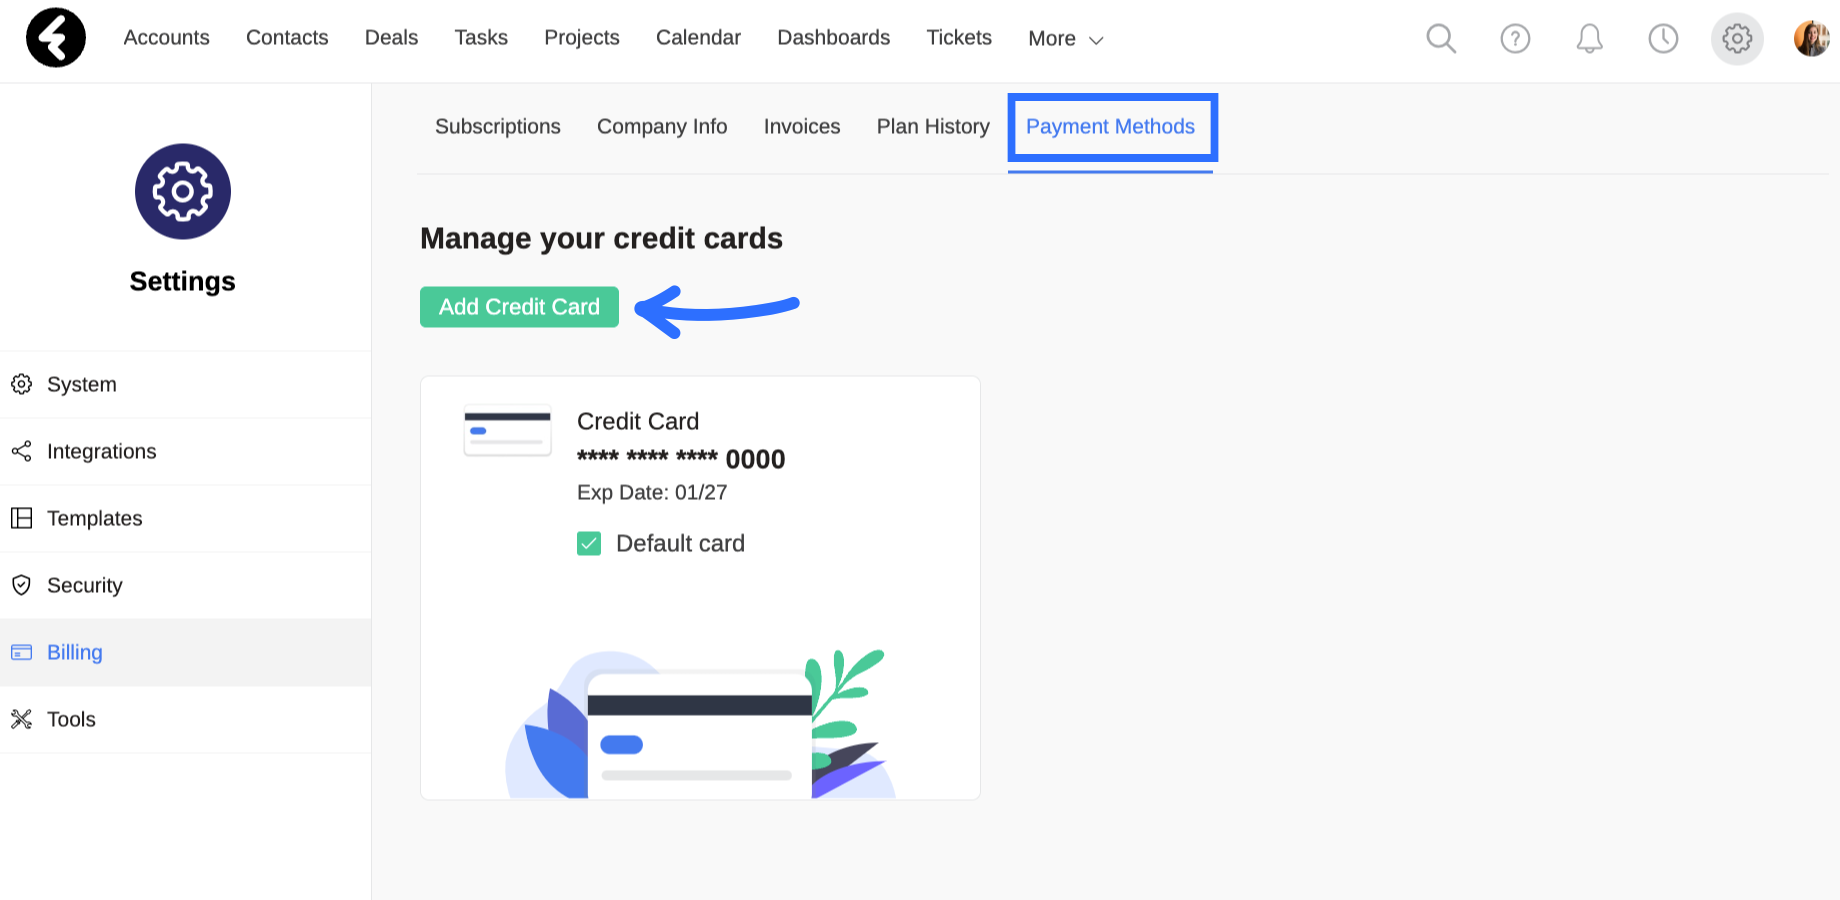
Under Payment Methods you’ll find any payment methods you have saved. You will be charged on the default credit card saved to your account. By clicking the Payment Methods option on the top menu, you can view or edit your credit card information or add additional credit cards.
To add another credit card, simply click on the Add Credit Card button, fill in the credit card details, and click Save.
Once you have more than one credit card attached to your account, two additional options will open:
- You can now choose which credit card will be used as the default for any charges; To do so check the relevant box.
- You can now remove one of your existing cards from the system; Simply click the three dot menu and then select the Delete option.
Canceling your subscription
If you decide to cancel one of your subscriptions, you can do so using the Subscriptions section of the Billing tab. First click on the three dot menu on the side of the subscription you’d like to cancel, and then choose the Cancel Subscription option. This will open a pop up with the exact date when your users will no longer be able to access the system. You can also provide feedback as to why you’re cancelling your subscription. Then click the Cancel Subscription button. Your subscription will officially be canceled and will automatically deactivate on your next billing date.
You can verify that your subscription is canceled by checking that the status has changed to Pending Cancelation. You’ll also see a note below the subscription with the exact date when your subscription will be removed. If at any point you’d like to undo the cancelation, simply click the Changed Your Mind? button and then click Reactivate Account. Your subscription will then continue on and you’ll be billed as usual on your next billing date.

After cancellation, you will be able to continue using the system until the end of your current billing cycle, which ends on your next billing date.
You will not be charged for any additional months, as license payments are always done in advance. If you decide to incur other charges, such as adding a user, upgrading your plan, using more than the allotted storage and so on, you will be charged for them. Monthly billing plan users will be charged on their next billing date, while annual billing plan users will be charged immediately at the time they make the change. To learn more, click here.
On a monthly plan, the next month's payment is already charged in advance and there are no additional charges during that month. Payments will be charged until the end of the billing period for the month in which the subscription was canceled.
An annual plan includes an advance payment for the following year, so there will be no additional charges in that year. You can use the system until the end of your billing period.
Blocked system
If your selected payment method does not process properly, Fireberry will update you immediately and try to process the payment multiple times over a three week period. This may happen if your credit card expires, the charge is blocked, your card was canceled, or any other situation in which your card could not be charged. You will be notified via email and system pop ups. If at the end of the three week period your payment still does not process, your system will be blocked and you will not be able to access it.
You’ll instead see the blocked payment screen, which will display the credit card which did not properly process. To regain access to your system, simply click Update, input a new credit card’s details, and then click Update. You’ll then be able to access your system.
.png)
If the credit card you add here does not process properly, your system will once again be blocked and you’ll need to add a new credit card.