How to export data from the system
Export a single view
You can use the system to export and download a single view as a CSV file. This is useful when you need to export only a single object or view. For example, an educational institute may want to print out an attendance list of all the students in a specific class.
In order to export a view, start by using the top bar menu to open the object the view is in. Then select the view you’d like to export from the list of views on the left. The fields you set as columns in the view will be the columns in your exported CSV. Make sure to include any fields you’d like to export as columns. You can add up to 20 columns to your view. The exported file will use the name of the view and include the records as they appear in the view, including the order of the columns, sorting settings, and more. To learn how to set up a view and add columns, click here. If you’d like to create a new view, you can find instructions here.

Once your view is set up, click the three dot menu on the top right of the view. Then click the Export to CSV option. This will download the selected view onto your computer.

Export all your data
You can choose to export all the information in the system. You will receive a CSV file containing all the objects in the system along with all the attached documents and files.
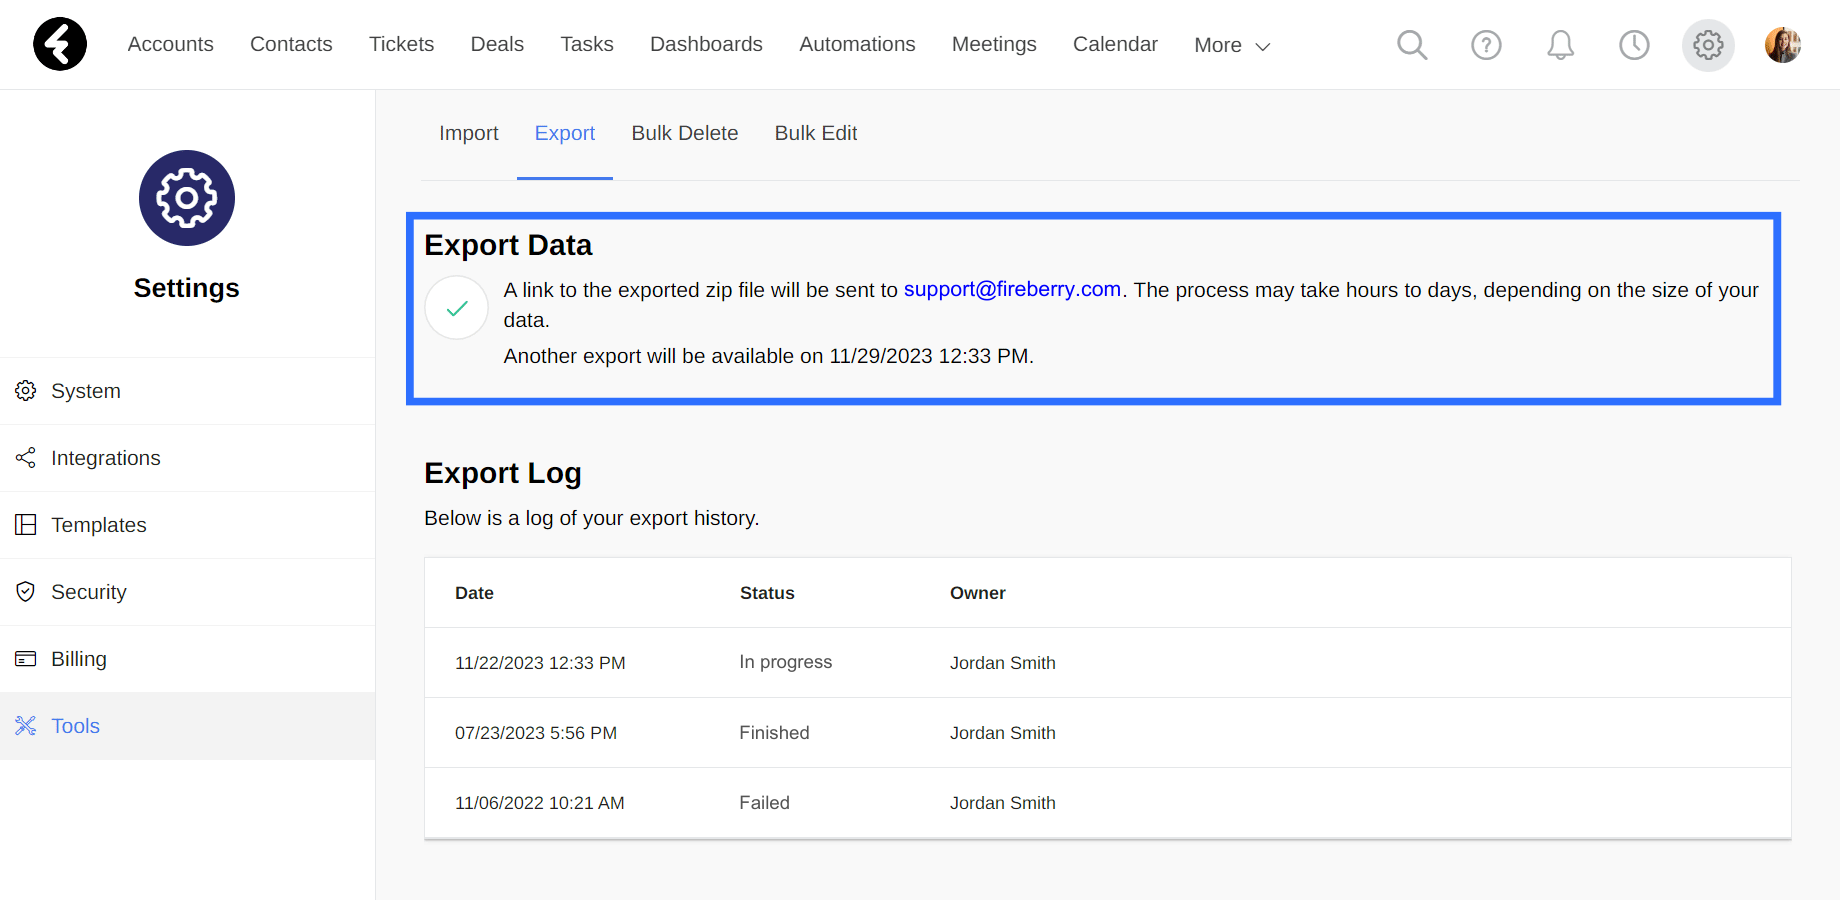
To export your data from the system, click on the settings icon in the top right corner of the page, select the Tools tab on the left, and then choose Export from the top bar. This will open the Export Data page. Under the Export Data heading, you’ll find a checkbox which gives you the option to include any attached files and documents in your exported data. This may slow down the export process. Click the checkbox to mark it and include your documents, or click it again to remove the check and exclude them.
Click the Export button to begin the export process.
Once you click the export button, an email will be sent to the primary user with a link to access the exported data. After 7 days, the link will expire and you’ll need to restart the export process. The email address of the primary user will be displayed under the Export Data heading, along with the next date and time when you can export data, which will be seven days after the original export.
In the email, you will receive a link to a ZIP file containing CSV files with all the exported data. A CSV file will be created for each object. If you’ve chosen to include your attached documents, they will be attached in a separate folder.
Export log
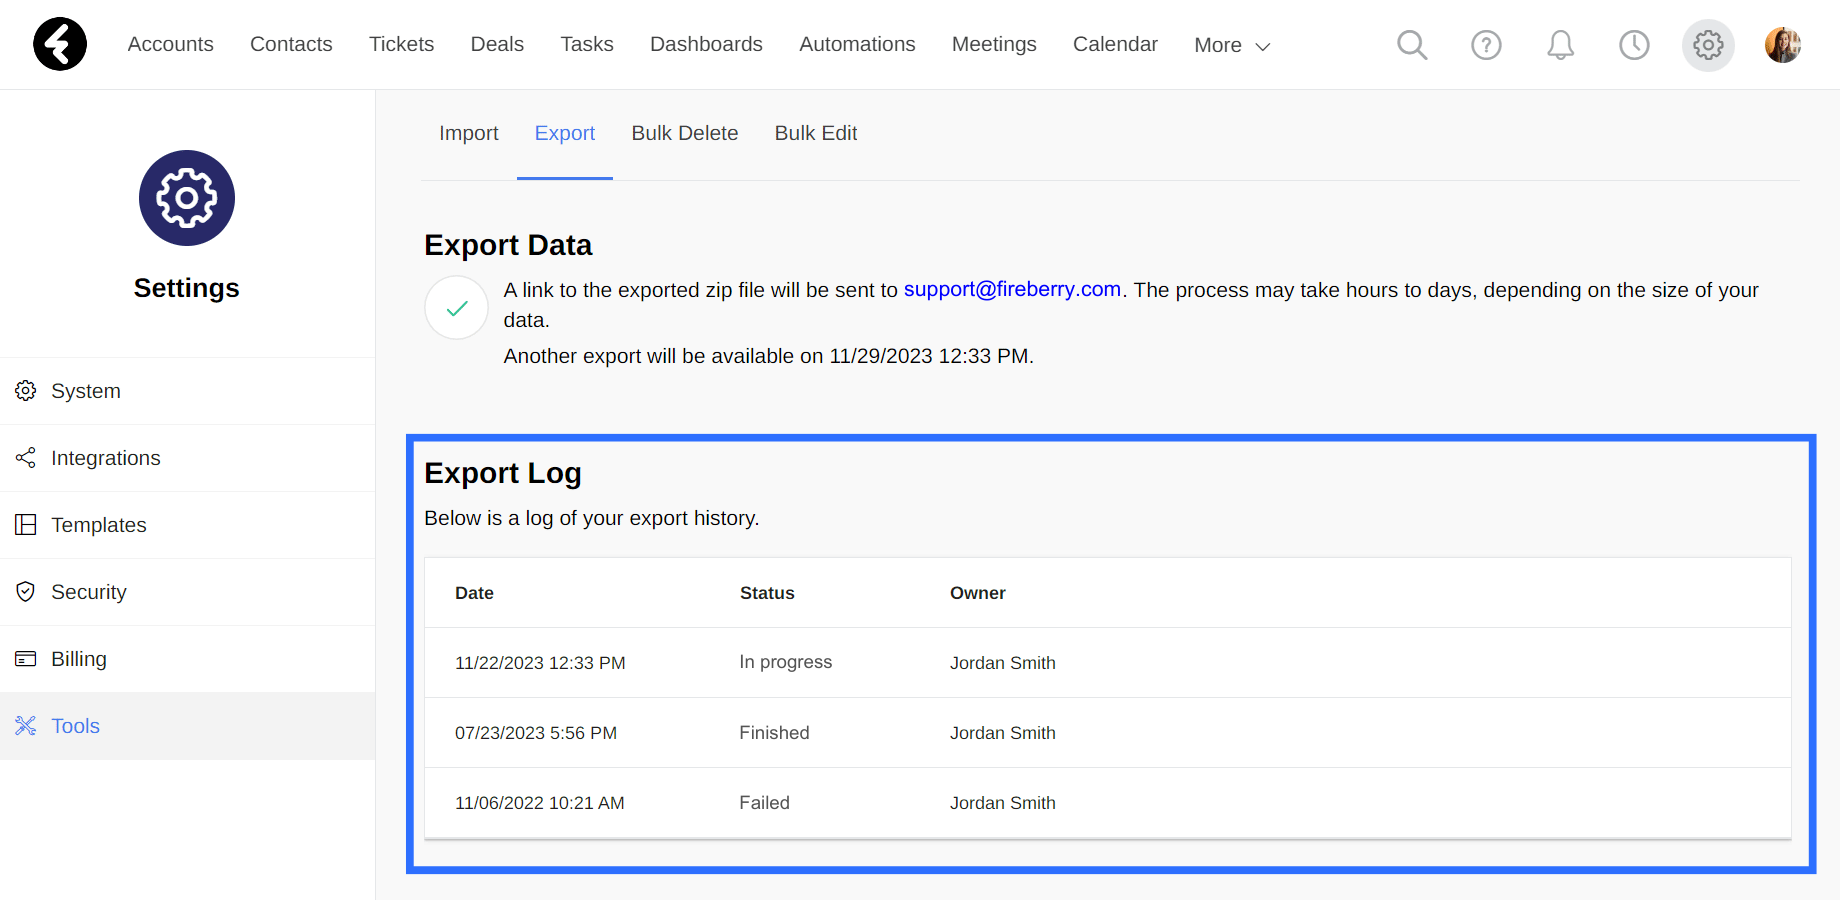
The export log can be found under the Export tab, which you can learn how to get to above, and keeps a list of every time all data is exported from your system. For each time data is exported, a row will be added to the top of the export log including the details of the specific export. In this way you’ll have a tracked history of all system exports. You can use the export log to stay on top of consistent backups, or to know which users are exporting all your data and when.
Each row in the export log will include the following three details:
- Date: The exact date and time when the export process started.
- Status: The current status of the export. It will be one of three options: Finished, Failed, or In progress.
- Owner: The name of the user who exported the data.
Export from blocked system
At times when your system is blocked for user access, you can still export all your data. To do so, simply click the click here link at the bottom of the message. This will send an email to the primary user with all your system data, as is explained above, and will include all your documents. You can learn why your system may be blocked and how to unblock it here.
.png)