Importing leads from Facebook
Fireberry helps you easily and efficiently track and manage new leads, so you can turn them into active clients. By integrating Facebook into the system, you can automatically add all your Facebook generated leads into the system and easily follow up with them. Follow the steps below to learn how to create the integration.
Connect to Facebook
To start, click the settings gear on the top right of any system page. Then select the Integrations tab from the left sidebar and open the Facebook page. Here you’ll see the Connect with Facebook box, which you can click on to open a pop up where you can log in to your Facebook account. Your account may require a two step verification process to log in, depending on your account settings.
If you’ve connected your account to Fireberry in the past, you may see a pop up with the header Reconnect — to Fireberry Leads Ads API? where the blank will be filled in with your Facebook account name. Simply click the Reconnect button on the bottom right to reconnect this account. If you’d like to connect to a different account, click Log into another account.
.png)
Once you’ve connected or reconnected your account, a confirmation page will open. Click Got it on the bottom right to complete the integration and return to Fireberry. The lead form page explained below will open automatically.
Select a lead form
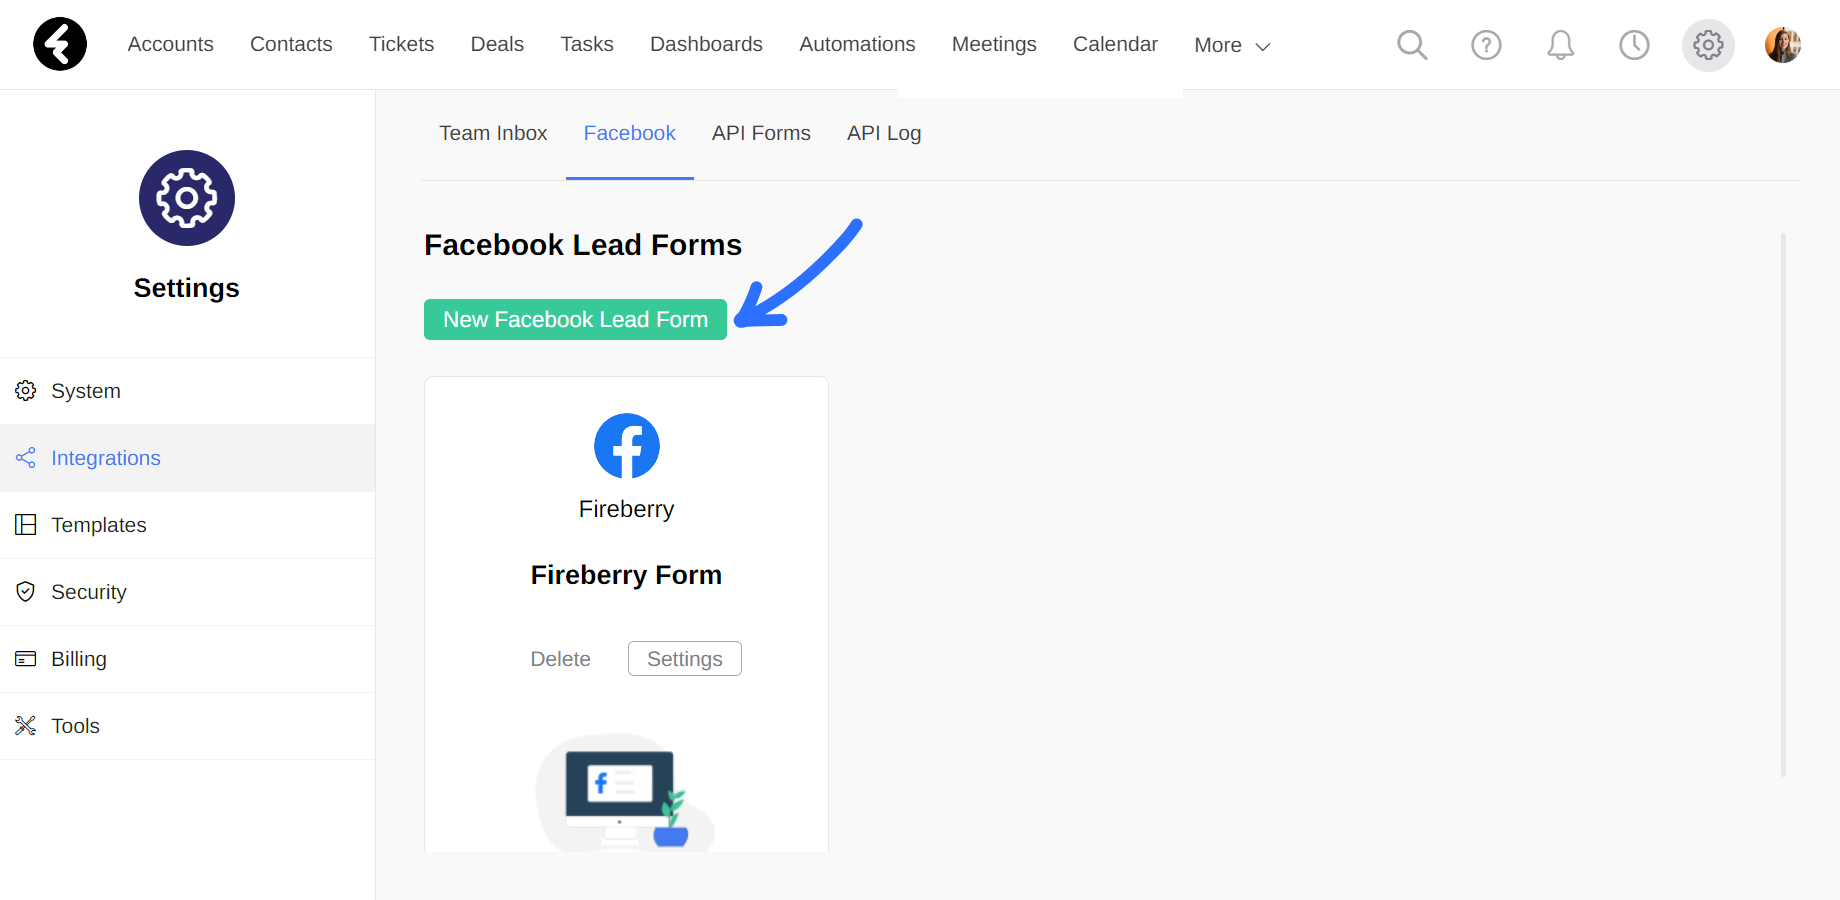
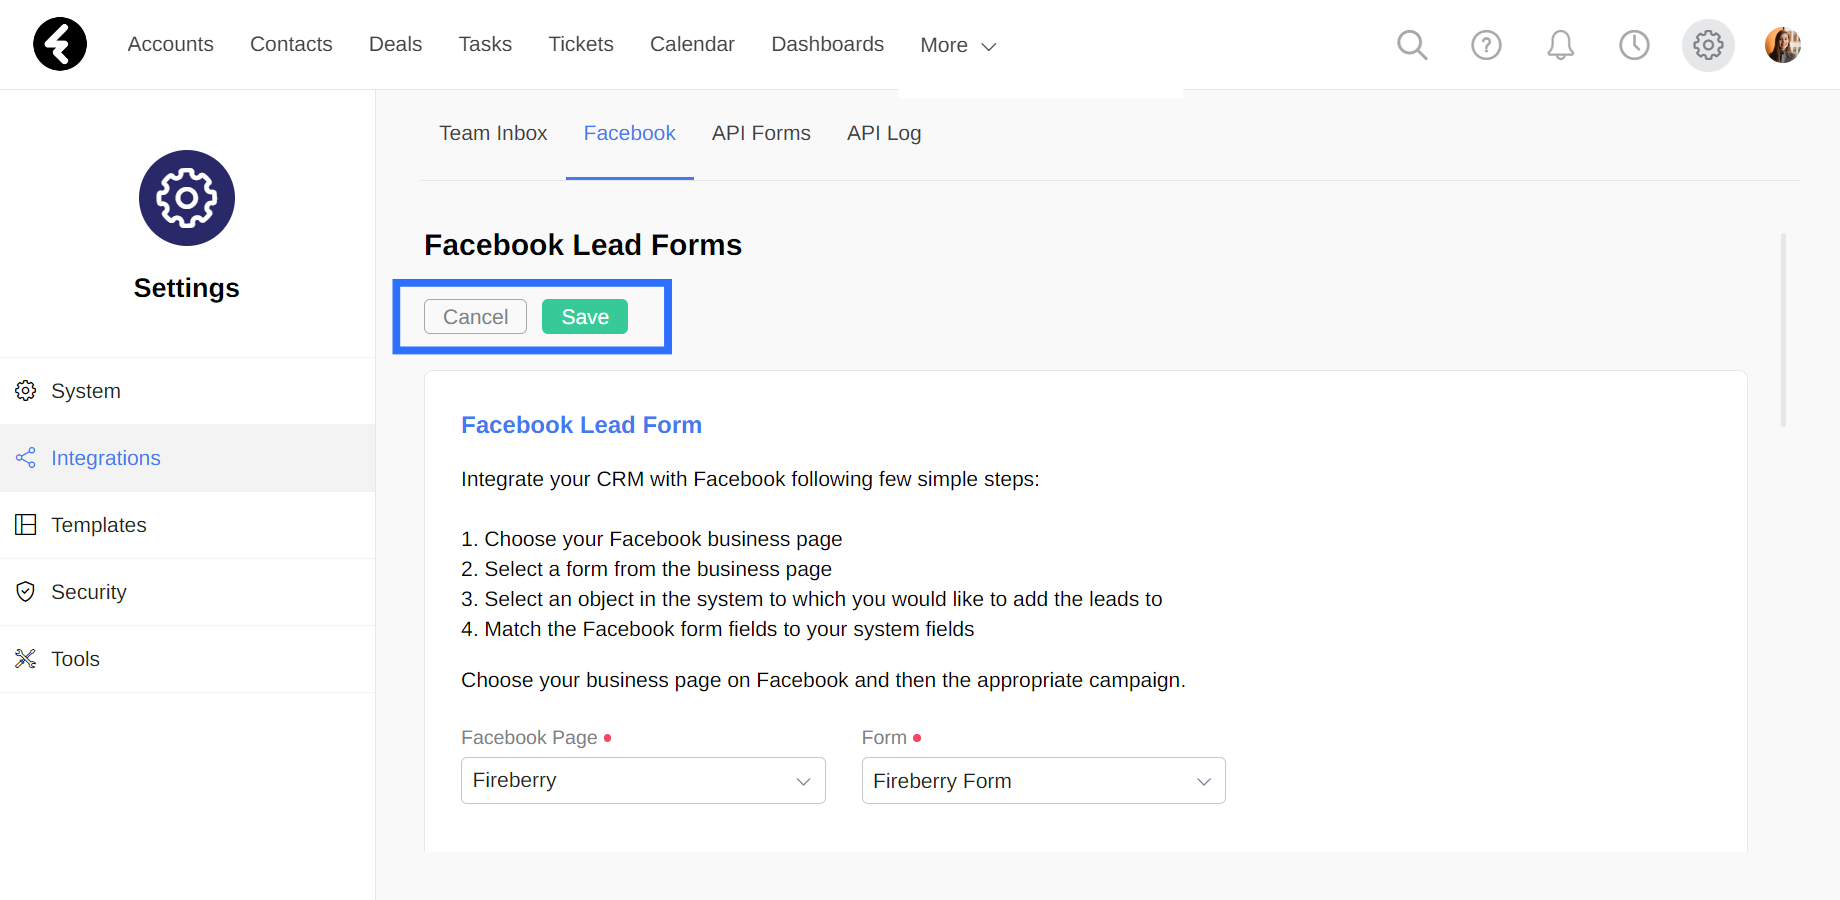
After connecting your Facebook account, the Facebook Lead Form page will open.
On the Facebook Lead Form page, select the Facebook page which your form is connected to. Under the Facebook Page dropdown you’ll find a list of all the pages connected to the Facebook account you logged into. After selecting a page, the Form dropdown will appear with a list of all the forms connected to the selected page. Select the form you’d like to import leads from. This will open the object and field settings, which you can learn about below.

Select a system object
Now that you’ve selected a form, you can choose which object type you’d like to import your Facebook leads into. Each Facebook lead will create a new record which belongs to the selected type. To start, go to the Match Form Fields to System Object dropdown. Next, select the system object which you would like to create new records in.
For example, if you’d like to create a new account record for each new Facebook lead, select the Account object. You can select from the built in Account, Contact, Deal, or Ticket objects, or select any custom object you’ve created. After selecting an object type, use the steps below to choose which fields will fill in for each newly created record.
Match Facebook fields to system fields
You can now choose which fields from your Facebook lead form you’d like to import into the system. Each Facebook field will be imported into a system field, such as importing the “Email” Facebook field into the Email system field. Your newly created record will then automatically have the email field filled out based on the data in the Facebook form.
To start, use the Match Facebook Form Fields to System Fields section, where you’ll find two columns. On the left, below the Facebook Form Fields header, you’ll find a list of all the fields in your Facebook form. On the right, under the System Fields header, you’ll find a dropdown list of all the editable system fields belonging to the object you selected.
For each Facebook field, select the system field you’d like to import its data into. For example, you can choose the Account Name field next to the “Full name” Facebook field. Every newly created account will have its name set based on the Facebook form field “Full name”.
You can click the + Advanced Fields button to import the built in Facebook fields, such as the Created Time, Form ID, and more. These fields are hidden on Facebook forms, and Facebook automatically fills them with relevant data. You can then choose to import them into any system field using the process described above. This helps you track all your information in one place and analyze it within the system. For example, you can import the Form ID field into a custom system field, and then easily track your imported leads based on the Facebook form they were imported from.
Add additional fields
You may wish to set certain fields consistently for all your imported leads. For example, you can choose to set an account manager who will automatically be assigned to all the new accounts which are created from this Facebook form. To start, use the Add Additional Fields to Object section. First click the green + Add Field option, and two columns will open. Under the Field Name column you can select any editable field belonging to the object selected above, such as the Account Owner field. Under the Value column you can select a value which will always be set in the selected field, such as the user Bob Davis. Now every newly created account record from this form will be assigned to the specified user. In this way you can set any system fields for your new records. To add new fields simply click + Add Field and to delete fields you’ve already added use the trash icon.
Another example is setting the City or County field automatically for each imported record based on the Facebook form they’ve filled out. In this way you can automatically set any information about the new record which will be true for any data coming from this form.
Once you’ve set all your system fields, be sure to scroll to the top of the page and click Save. You can click Cancel to stop the integration. If you’re editing an existing form, Cancel will revert the form back to the settings which existed before you opened the settings page.
Testing the integration
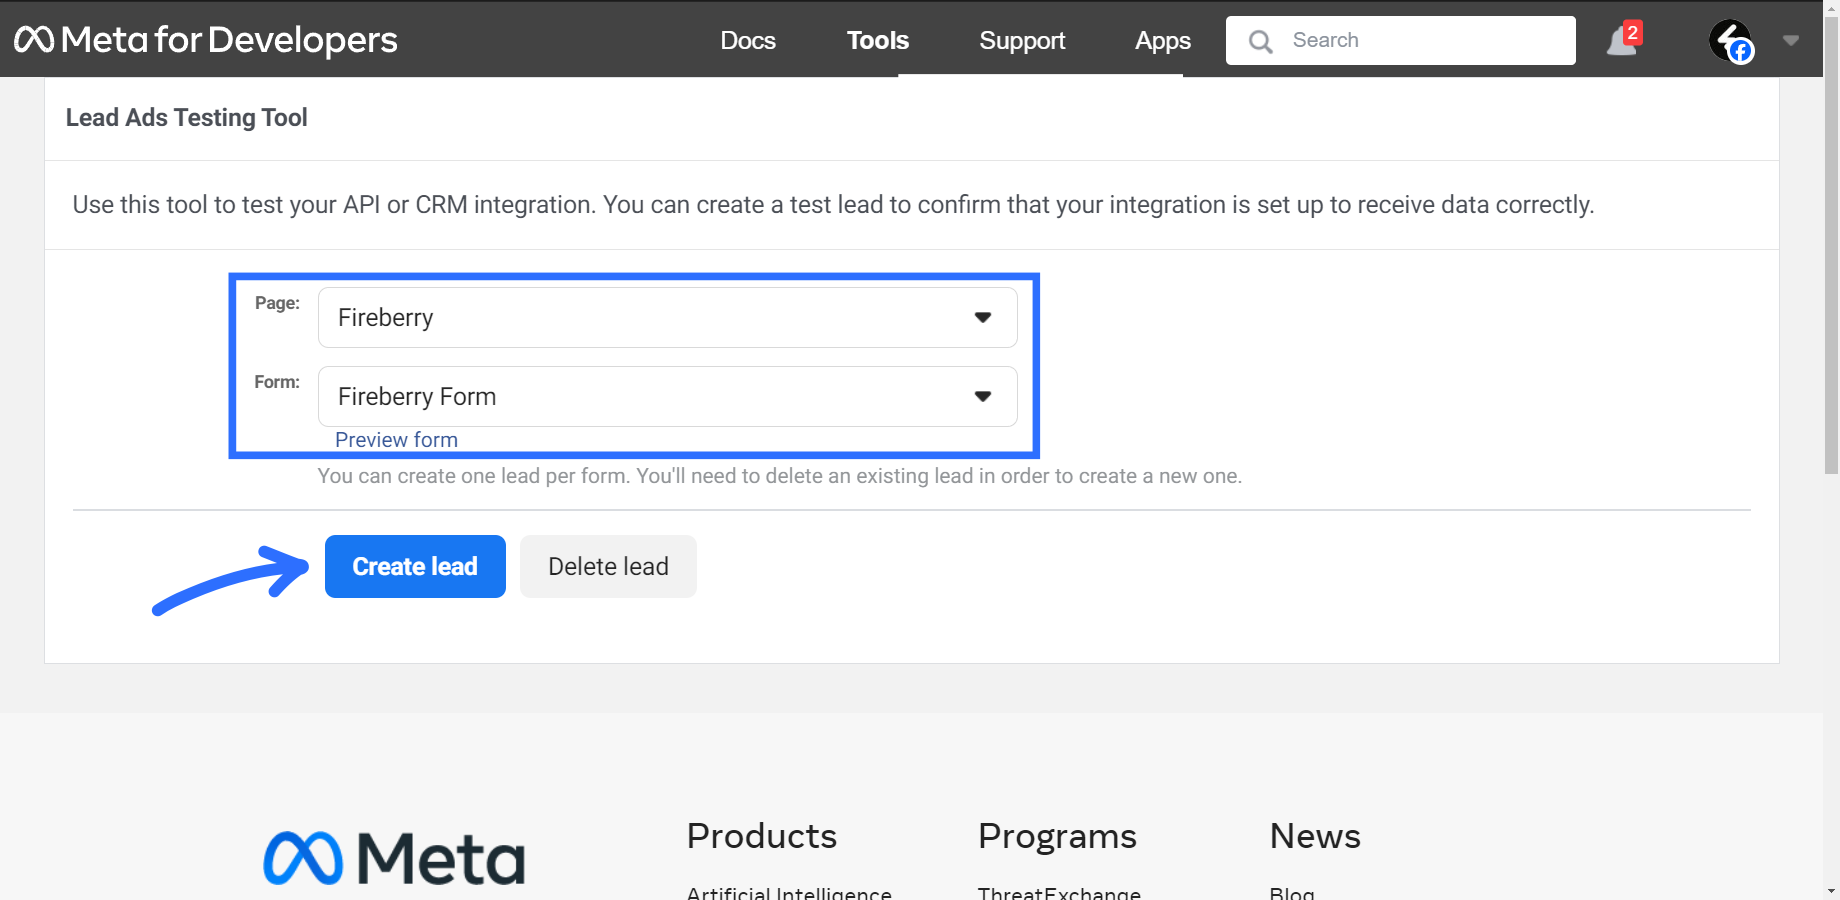
After integrating your Facebook lead form with Fireberry, you can use Facebook’s Lead Ads Testing Tool to make sure your leads are imported to the right place. To do so, first go to the following link: https://developers.facebook.com/tools/lead-ads-testing.
Then fill in the Page and Form fields with the page and form which you selected above. You can now click the blue Create lead button to create a test lead which will be imported into your system.
Wait a few seconds and then click the blue Track status button on the bottom left. Check that the Status field of your newly created lead is Success. If it still says Pending, wait a few seconds and click Track status again to refresh the status.
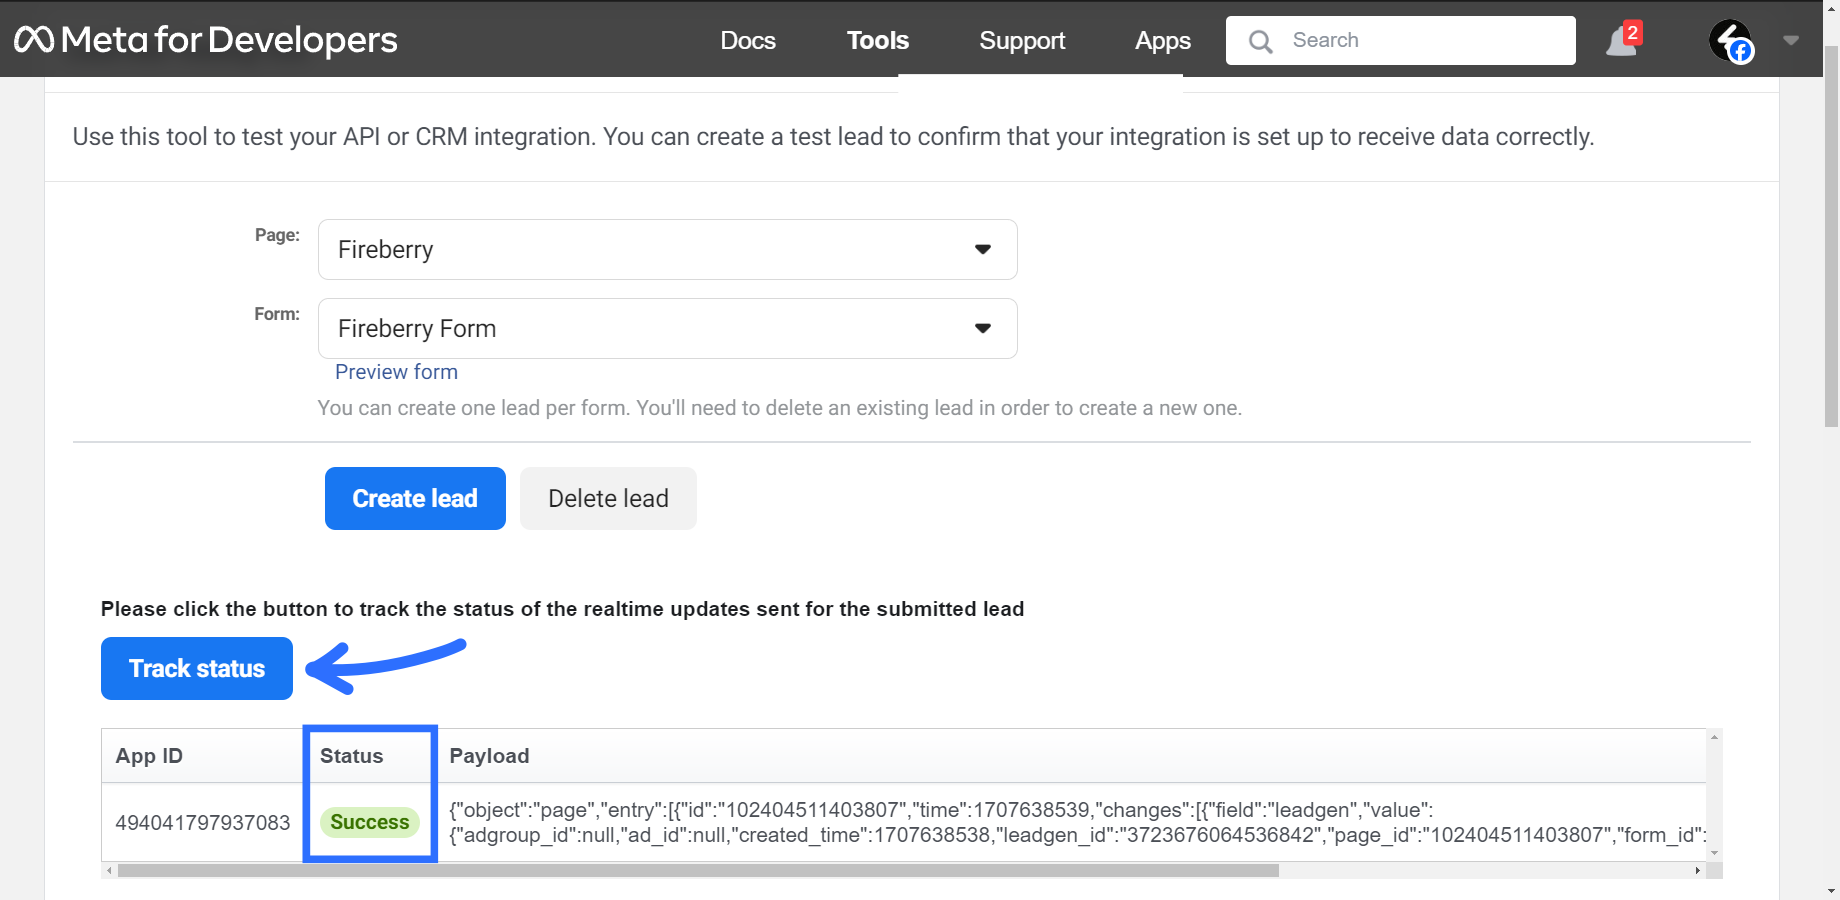
Once the status is set to Success, you can go back to your system and find the record with your newly created lead within the object you selected above. All the facebook fields which you set to import in this step will be filled out with dummy information. The format for most fields will be “<test lead: dummy data for full_name>” where “full_name” is the name of the Facebook field being imported from. Any additional fields you set in this step should be filled in with the values you saved.
Managing existing forms
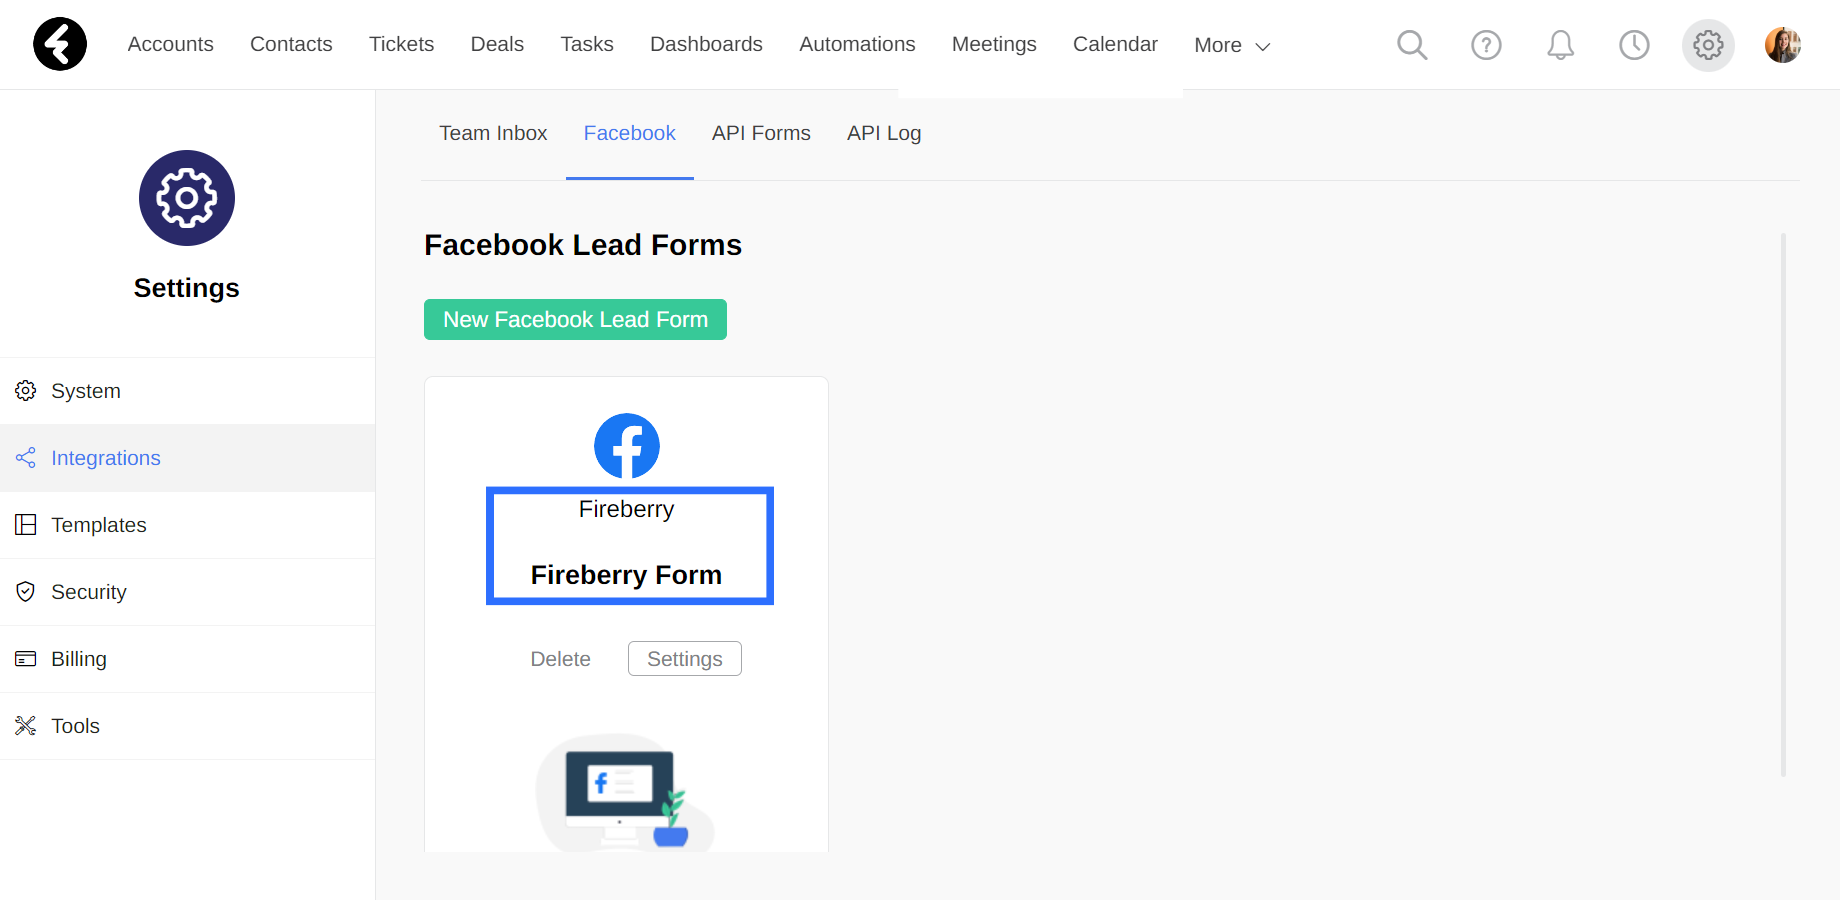
To open the page with all your connected Facebook lead forms, go to the settings gear, click on the Integrations tab, and then open the Facebook page. Each existing lead form will display the name of the page the form is connected to directly beneath the Facebook icon. Under this, the name of the form will be displayed in bold. In the image below, the page name is Fireberry and the form name is Fireberry Form.
Delete a form connection
To delete an existing facebook form connection, simply click the Delete button under its name. In the pop up that opens, click Ok. By deleting a connected Facebook form, data from this form will no longer be imported into the system.
Edit a form’s settings
To edit an existing form’s settings, simply click the Settings button under its name. Before being able to access the settings, you’ll need to sign into the Facebook account connected to the form. Once you’ve signed in, you can change any of the form settings listed above, or even change the page or form you’re importing. Be sure to save your changes once you’re done, or click the Cancel button to revert the form settings back to their previous state
Facebook token expiration
Facebook provides a token which allows Fireberry to import data from each form. This token will expire if a form hasn’t been used in over fourteen days. This means that if no new leads have been added through the form in the past fourteen days, your current token will expire and be deactivated. In this case, Fireberry will update you by displaying an orange pop up at the bottom of the screen when you first open your system.
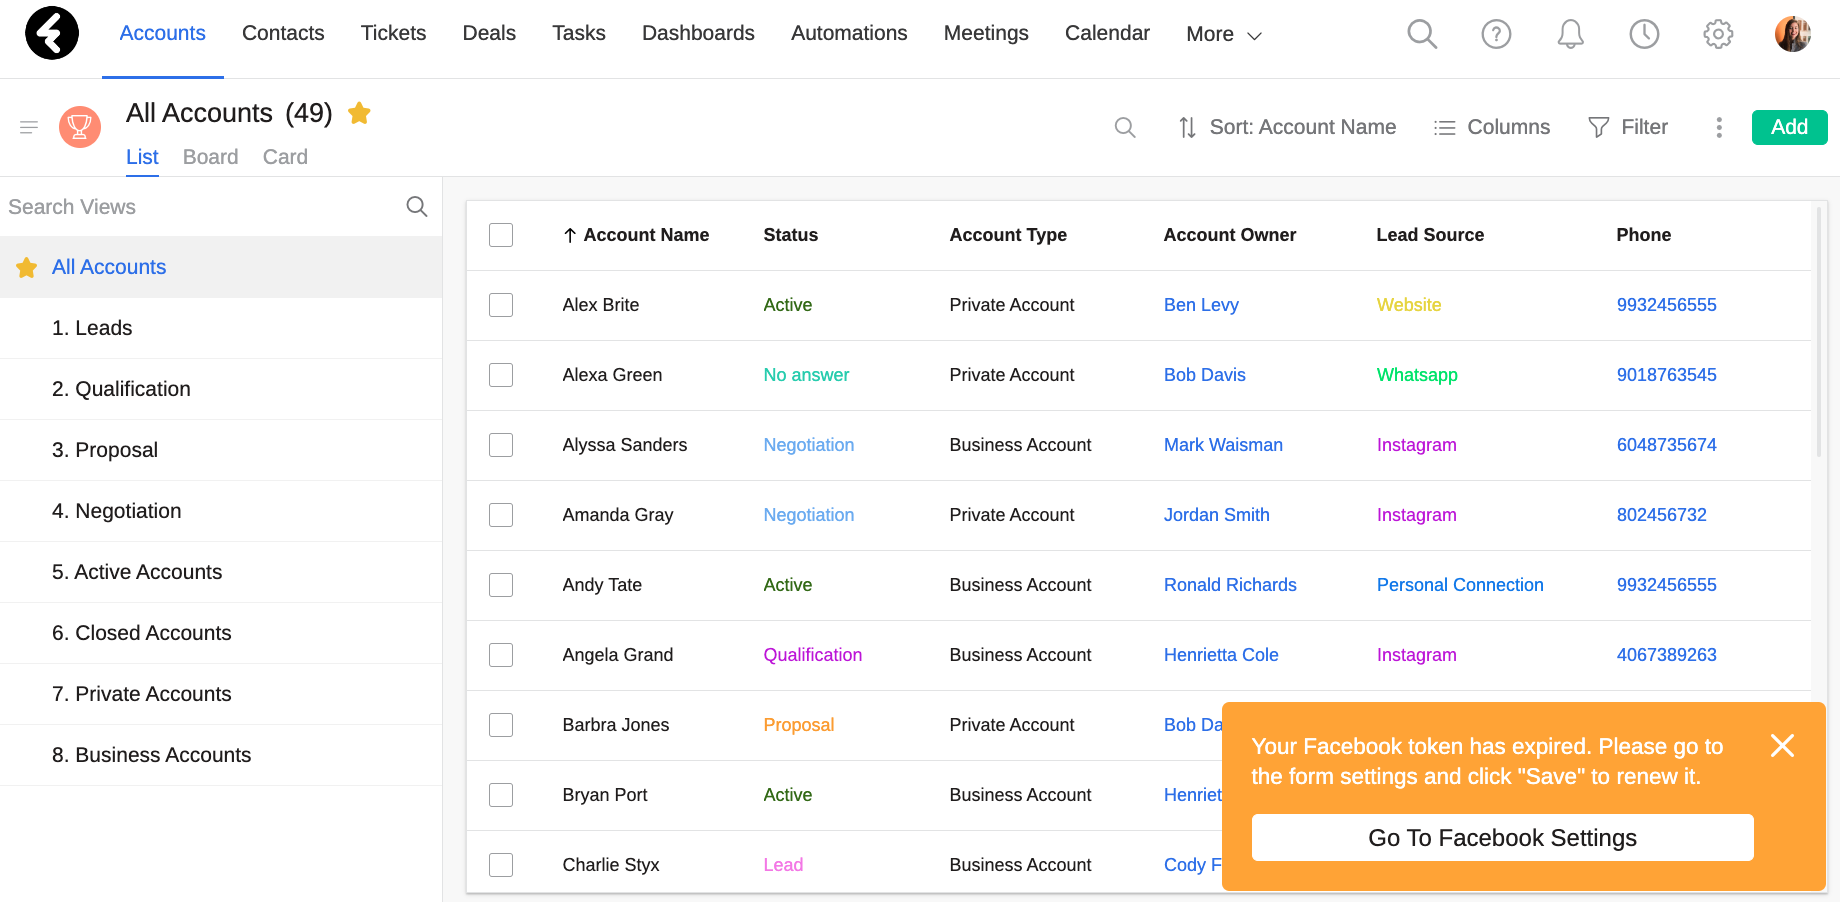
You will also see a notification within the Facebook system page on the box of the form with the expired token. If your form token has expired, you’ll need to set up your form again using the process detailed above.