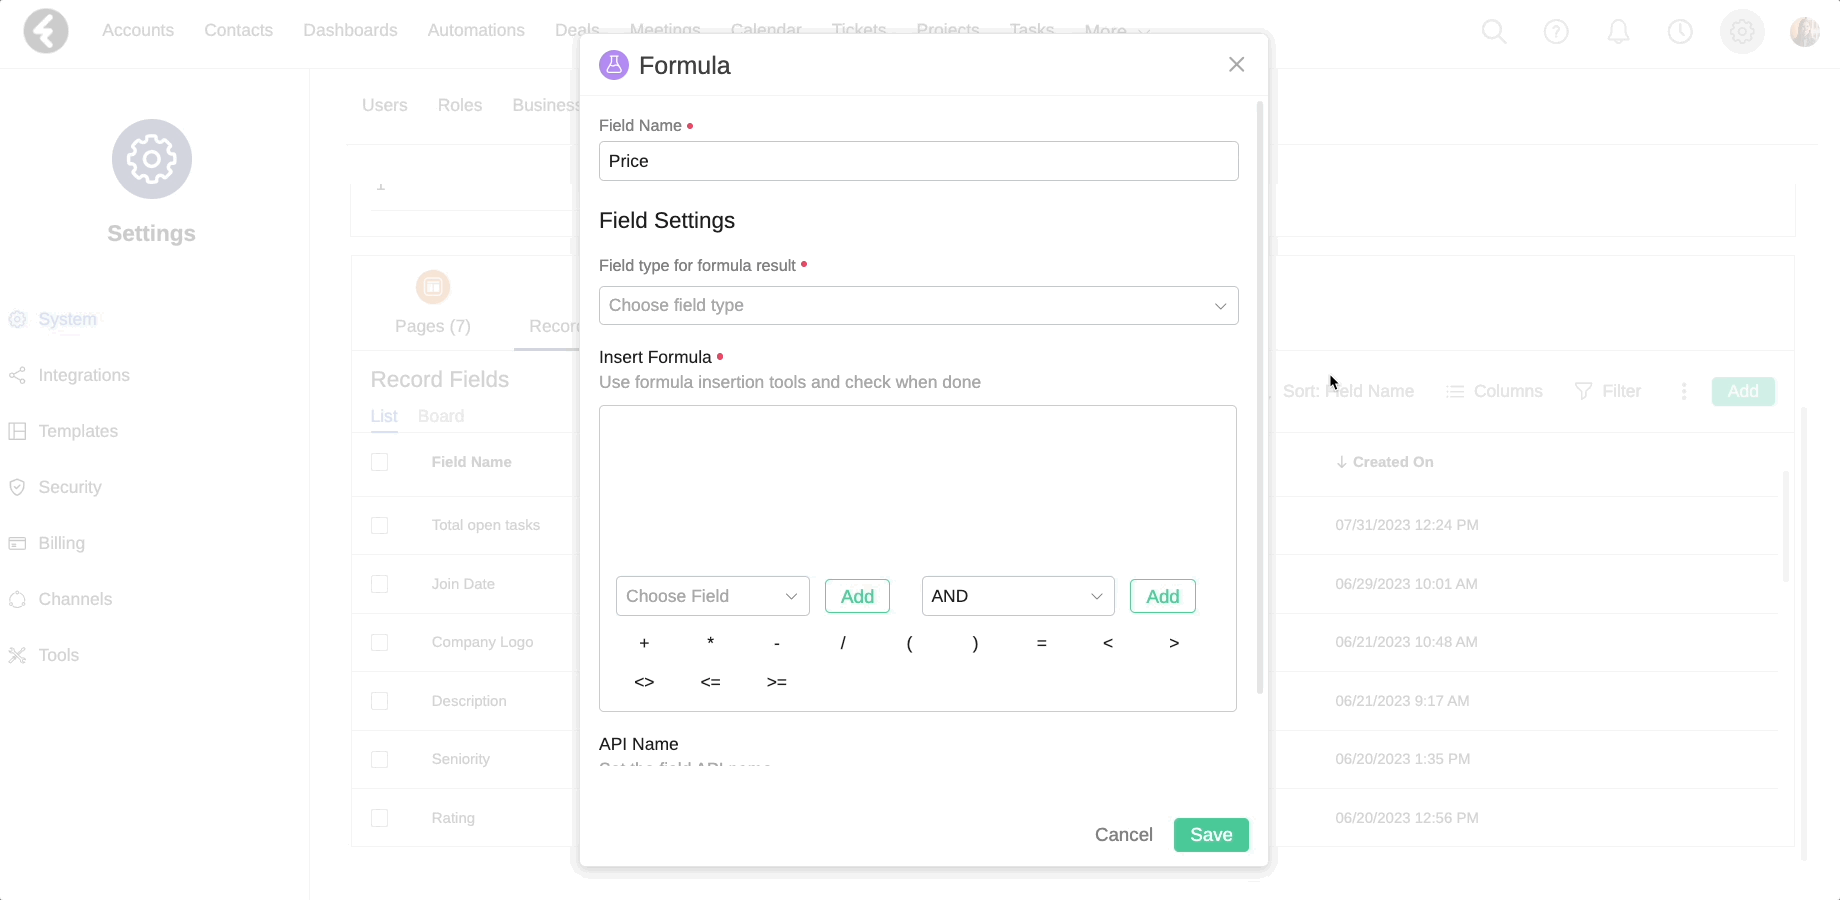
Formula fields
The formula field allows you to perform calculations based on values in other fields. This field can use mathematical functions and operators such as greater than, less than, IF, AND, OR, and many more. For example, you can create a formula field which calculates the seniority of an account in months, starting from the month they became an active account until the current month.
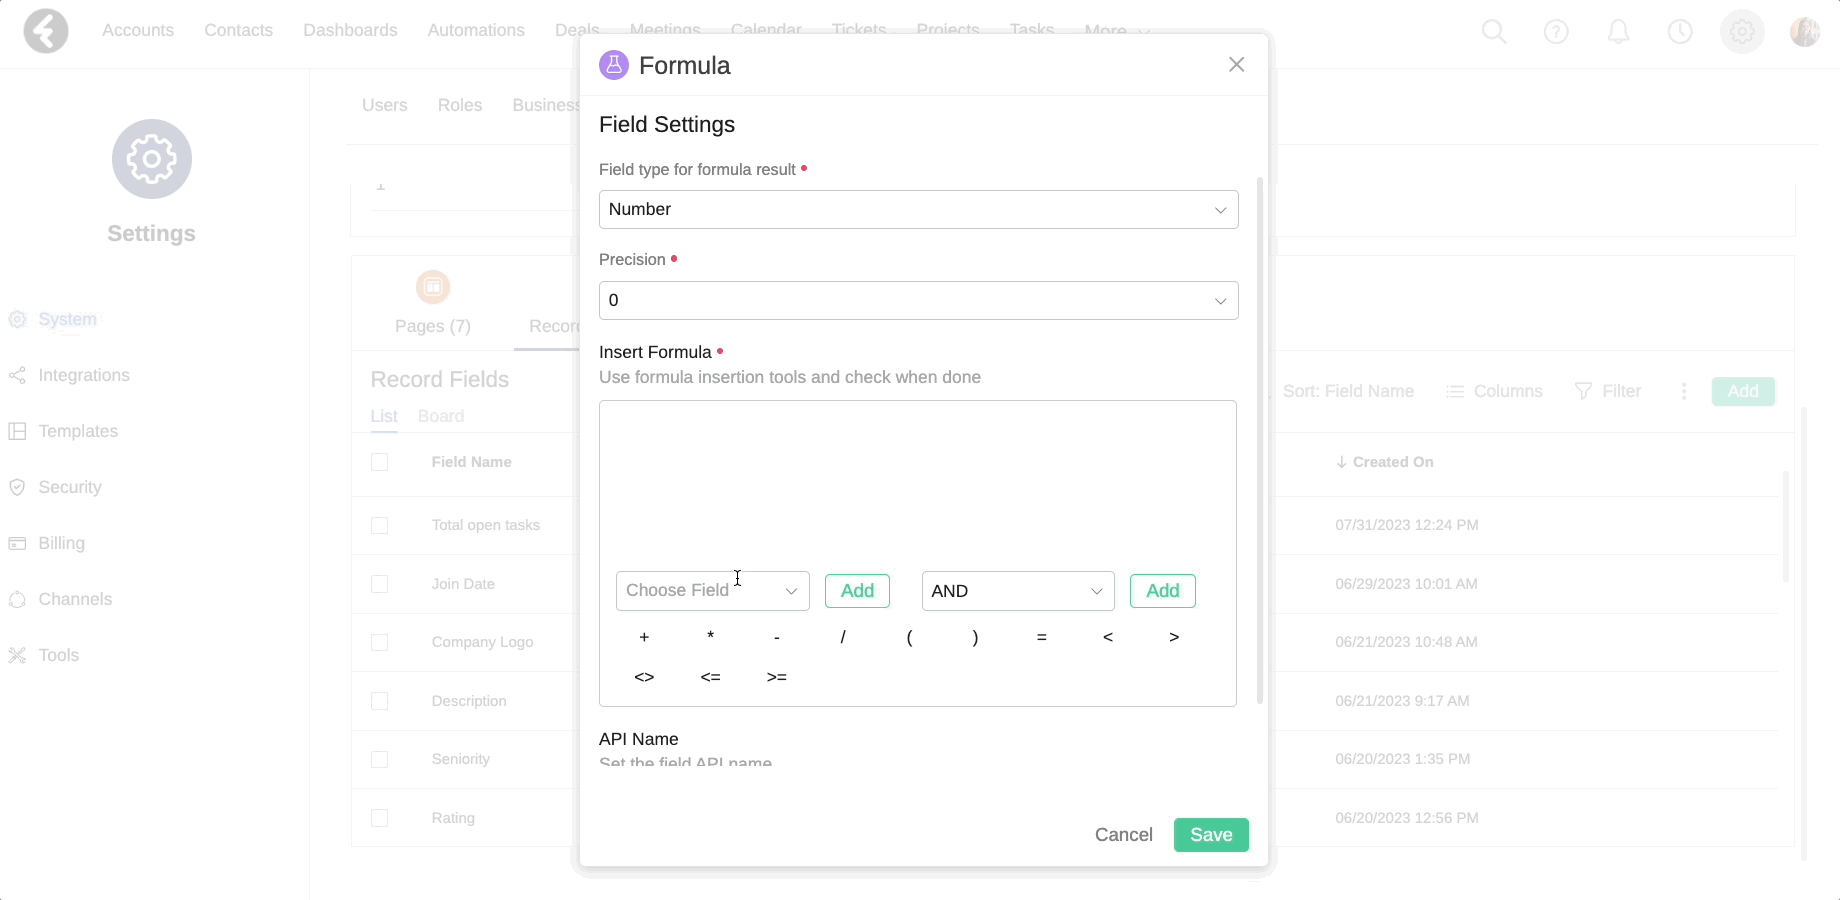
To create a new formula field, simply choose the Formula option when you create a new field. For details on how to add new fields or edit existing ones, see the following article. Once you have opened a formula field’s settings you can edit them using the explanations found below.
Field type for formula result
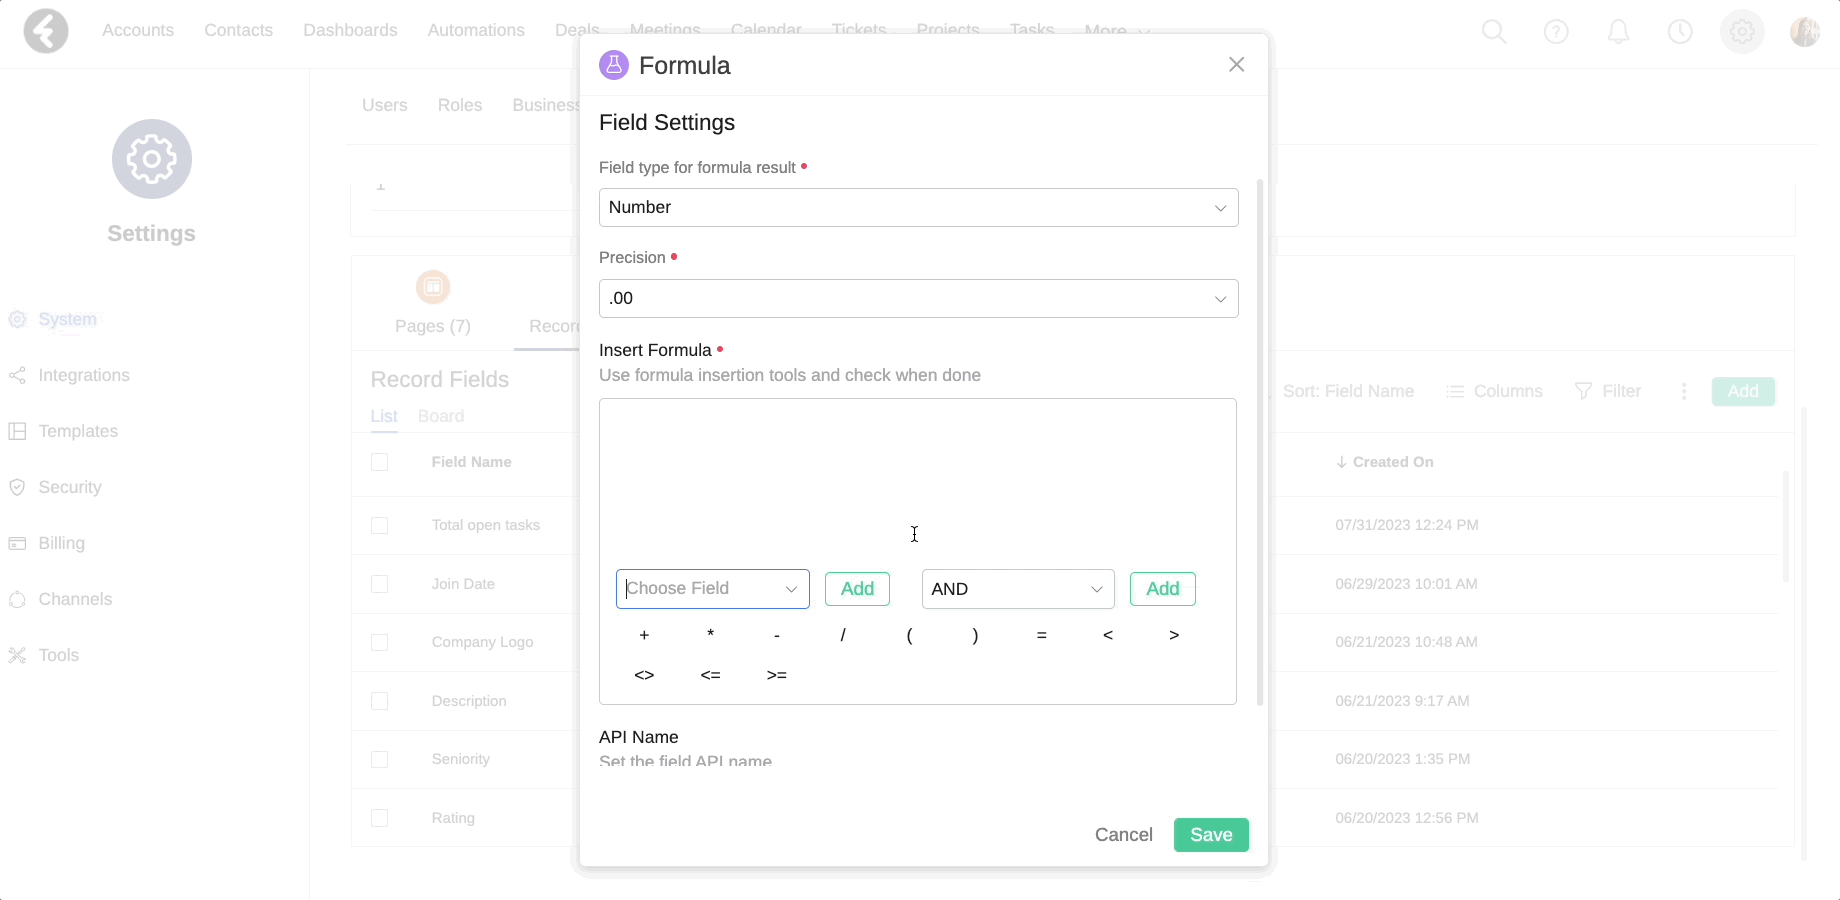
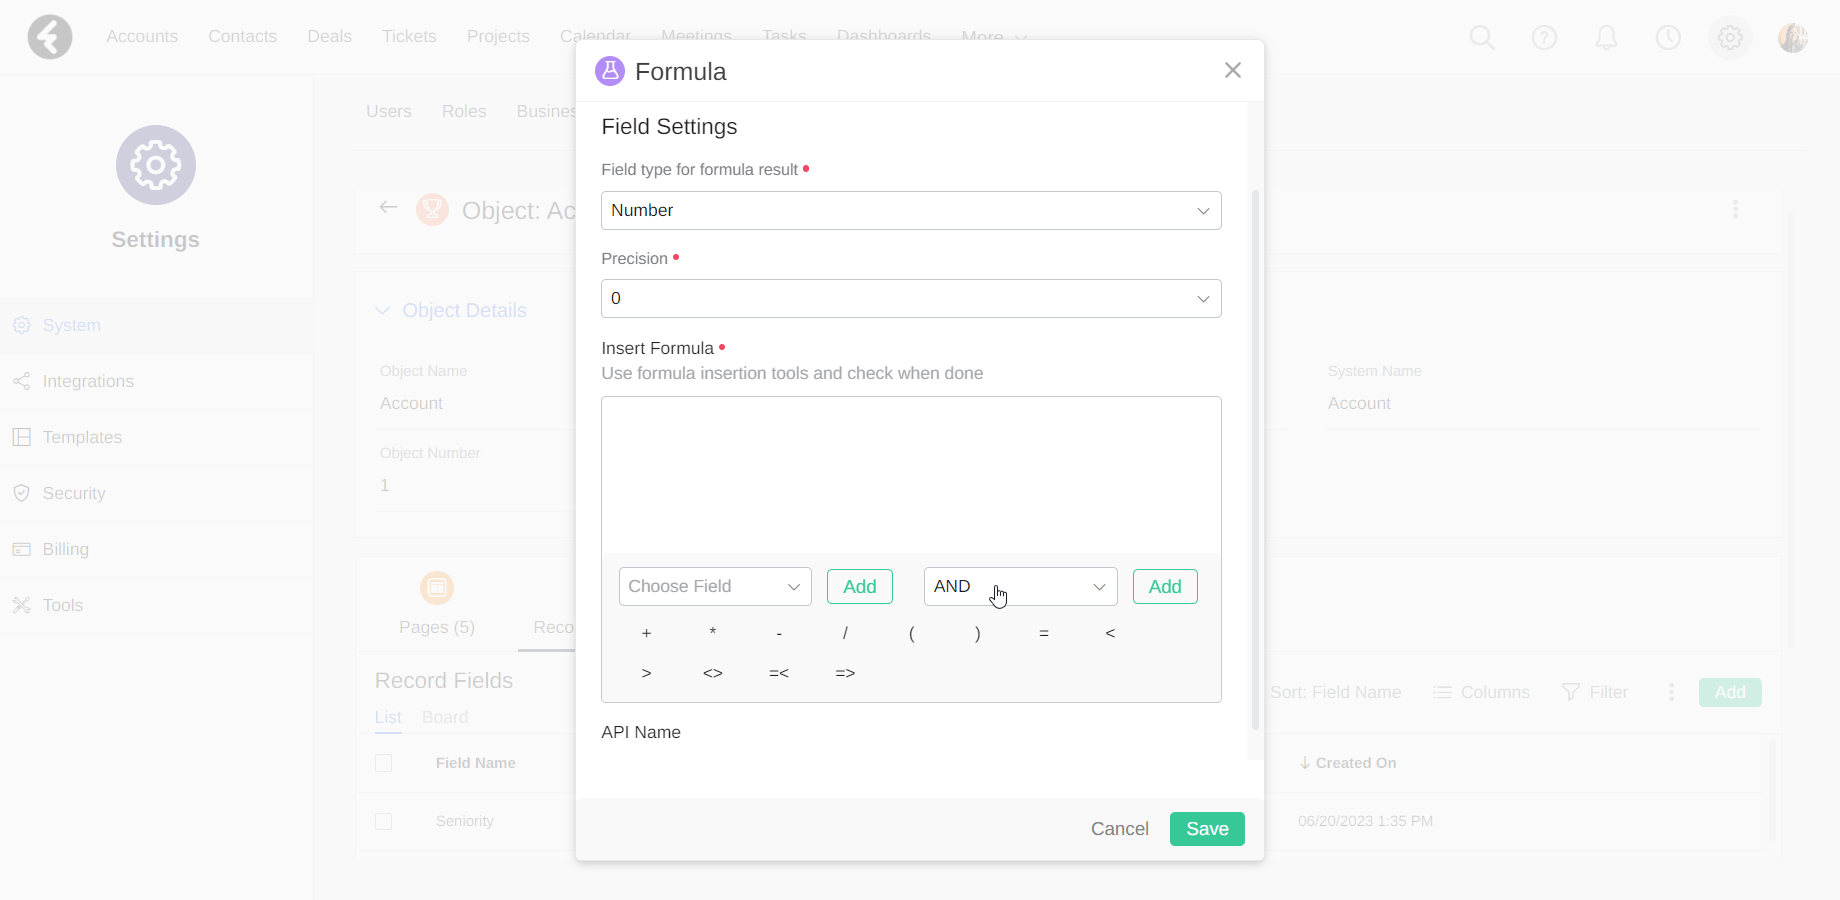
The Field type for formula result box contains a dropdown list of field types, is required, and allows you to choose the field type for the output of the formula. For example, choose Number if the result of your formula is an age or quantity. To learn more about the different field types, click here.
If you choose the number field type, you’ll also need to set the Precision, which is the amount of numbers which will appear after the decimal point. For more information, see the following article.
The field type chosen here must match the output of the formula. If it doesn't, an error will occur when you try to save the field. In order to save the field, you’ll need to change either the formula used or the field type. For example, the DATEDIFFDAY function calculates the difference between two dates in days and outputs the number of days. If you set the field type to Date, this will result in the error The type of the formula and the outcome have to be identical, and you will not be able to save your field. By changing the field type to Number, you can save your new formula.

Building a formula
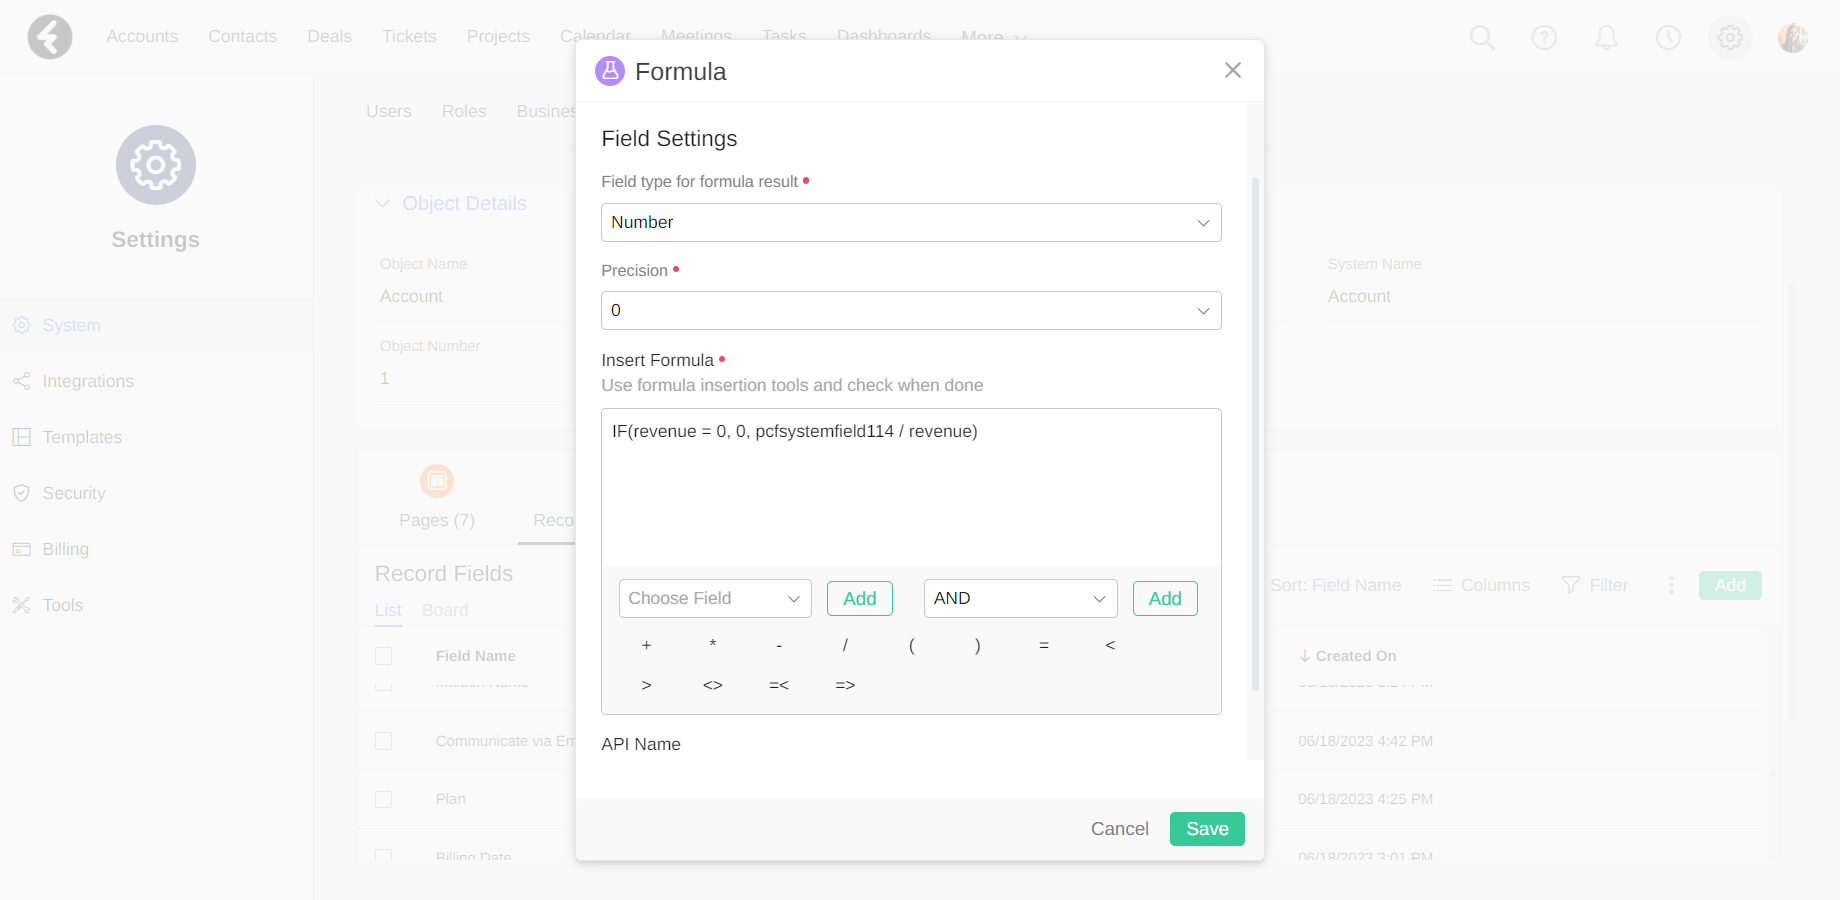
You can now use the Insert Formula box to build your formula, which contains a function and its parameters in the format of Function_Name(Parameter1, Parameter2, etc.). You can use the searchable dropdown lists to add parameters, functions, and operators to your formula. There are two dropdown lists; In each one you can search for an option, click it to set it as the displayed text in the dropdown box, and then click the Add button to add the selected option to the Insert Formula box. Below you’ll find explanations on the different options within each dropdown.
Choose formula
Using the Choose Formula searchable dropdown you can add operators such as IF and AND, or type specific functions such as DATEADDHOUR for date fields, POWER for number fields, CONTAINS for string fields, and many more. The operators which are listed under the dropdown lists, such as + plus or / slash, can be added by clicking on them. You can also simply type them into the formula editor.
To demonstrate, let's create a formula field that calculates the seniority of the account in days. For this purpose, you will need to create a formula which calculates the difference between the current day and the date the account was created. To start, search for the built-in function DATEDIFFDAY(startdate,enddate) in the Choose Formula dropdown list, and then click Add. It will appear as follows.
This function will calculate the difference between the startdate and the enddate parameters and output the number of days.
Choose field
Now that you’ve inserted a function, you can use the Choose Field searchable dropdown to add system fields into your formula. You can add fields which belong to the current object you’re in by clicking on them. To add related fields, use the arrows on the right of lookup fields, which you can learn more about here. By adding a field, the API name of the selected field will be inputted into the formula box. For an explanation on API names, click here.
Use the Choose Field dropdown list to replace the startdate placeholder with the Created On field. Then use the Choose Formula dropdown list to replace the enddate placeholder with the formula NOW(), which returns the current date and hour. In this way, the function will calculate the difference in days between the date the record was created and the current date.

To add your new formula field, click Save. This will also check if your formula is valid. If any errors are found, an indicator will appear and you will not be able to save your formula. Once you go back and fix your formula, you’ll be able to save it. In this way, you’ll only have working formulas saved in your system.
Using picklist options
You may wish to use specific picklist options within your formula. For example, you can check if an account’s status is set to a specific option. Each option in a picklist is automatically represented by a numeric API value which can be used to identify this specific option. For example, the Active option in the Status field is represented by the API value 1.
To add this picklist option into your formula, start by searching for the picklist field Status. Next, click on the arrow to the right of the Status field. This will open a list of all the options within the status field. By clicking on one of the options, you’ll insert an expression which represents this option into the Choose Field box. For example, by clicking on the Active option, the expression Status = Active will be displayed. By clicking the green Add button, the expression statuscode = 1 will be added to the formula. In this expression statuscode is the API name of the Status field while the number 1 is the API value of the Active option. The = equals creates an expression which will check if the status field is set to the active option. If yes, it will return true and if not the expression will return false.
To learn more about picklists, click here.