Sync calendars & contacts
Syncing your account
Your contacts and calendars can be synced to or from any Google or Office 365 account easily and conveniently. By integrating these platforms, you will be able to manage all your data in one place instead of working across multiple platforms.
In order to sync an account to Fireberry, first click on your profile picture in the upper right corner, and then click the green Profile button. This will open the profile settings. Choose the Sync Calendars & Contacts from the left sidebar and then click Connect under either the Google or Office 365 options, depending on the provider you want to sync.

Clicking the Connect button will open an authentication page where you will be prompted to log into your account. Once you log in, click the Allow access button to allow Fireberry to access and then sync your contacts and meetings.
Google sync
After going to the Sync with Google option and clicking Connect, you’ll open Google’s authentication pages; follow the steps below to finish the sync process.
If you’ve already synced your Google account and would like to change the data access level, see the add and remove subsections below.
Signing in
The first page you’ll see is the Sign in page, where you can enter the details of the Google account you’d like to sync with Fireberry. Type in the relevant information under the Email or phone section, and then click Next. This will bring you to the Welcome page. Here you can set your password under Enter your password and then click Next.
Provide initial access
You’ll be brought to the Sign in to Fireberry page. Click Continue to allow Google to share your information with Fireberry. This will bring you to the Fireberry wants access to your Google Account page. Here you can select which data you’d like to share with Fireberry by checking the relevant boxes.
- Select all: This will select and provide Fireberry with access to both your contacts and your calendar.
- Contacts: This will provide Fireberry with access to your contacts exclusively.
- Calendar: This will provide Fireberry with access to your calendars exclusively.
After selecting the data you’d like to provide access to, click Continue to finish the sync process. You can also click Cancel at any time to stop the sync process.

You’ll now be brought to the sync settings, which are explained below.
Add additional access
If you did not select all the options in the initial access section, you can add additional access to either your contacts or calendars. To start, you’ll need to disconnect your Google sync by following the steps below. Now follow the steps in the Signing in section above to reconnect your Google account. This time when you get to the Provide initial access stage, only the option you did not select last time will be shown. For example, if you allowed access exclusively to your contacts last time, now only the calendar option will be shown. Click Continue to allow access to the new type of data. Now you’ll be brought to the sync settings page, where you’ll be able to select the new option.
Remove provided access
If you’d like to remove one or both access permissions which you’ve previously added, you can do so using your Google account settings. To easily access these, first disconnect your Google sync, which is explained below. Next follow the steps above to sign into your Google account. When you reach the Fireberry wants additional access to your Google Account page, go to the Make sure you trust Fireberry section. Here click the Google Account blue link at the end of the paragraph.
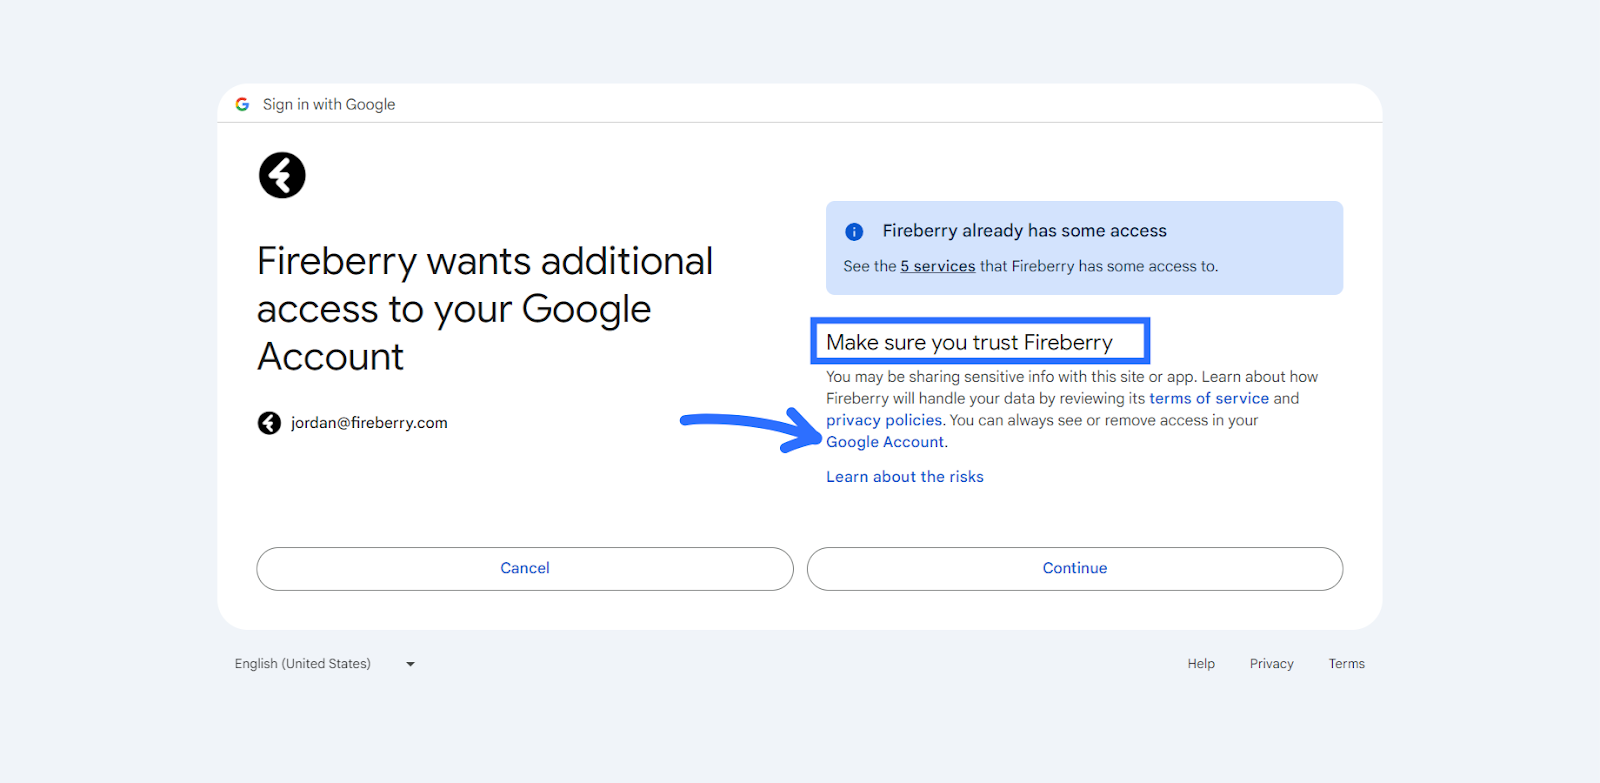
This will open the Third-party apps & services page in your Google account. Find and click the Fireberry option here to open its settings. Then scroll to the bottom of the page and click Delete all connections you have with Fireberry. In the popup that opens, click Confirm. Now Fireberry will no longer have access to any data in your Google account. If you choose to resync your account, you’ll once again see the initial access options.
Data transfer
As soon as you save your sync settings, your data will begin to sync. The synchronization process will then continuously update your platforms based on the sync type and direction you chose. Each sync type and direction has specifications of what will be synced and when.
Contacts
If you’ve chosen to sync your contacts, they will be transferred in the direction you set once a day. This means that every time you create a new contact, it will be transferred to the chosen platform within 24 hours. In this way, your contacts will stay up to date between platforms, and you’ll easily be able to contact people you’ve been in touch with.
Each contact which is synced will transfer the following three fields: First Name (firstname), Phone (telephone1), and Email (emailaddress1). If you’ve changed the names of these fields you can use the API names found in the parentheses above to uniquely identify each field. To learn how to view a field’s API name, click here.
Calendar
If you’ve chosen to sync your calendar, the initial sync will transfer all your future meetings. However, past meetings, meaning those that occurred before the current date, will not be transferred in either direction. When transferring meetings into Fireberry, the initial sync will consist of the 500 meetings which were most recently created or updated.
Each meeting which is synced will transfer the following five fields: Subject (subject), Start Date (scheduledstart), End Date (scheduledend), Location (location), and Description (description). If you’ve changed the names of these fields you can use the API names found in the parentheses above to uniquely identify each field. To learn how to view a field’s API name, click here.
Your meetings will then continuously sync whenever a meeting is created, updated, or deleted from a platform. Fireberry will transfer your meetings to the selected email account immediately. Meetings which are created, updated, or deleted in your email provider will be transferred to Fireberry once an hour. By continuously updating your calendars, you’ll be able to stay on top of your schedule and never miss an important date or rescheduled meeting.
Sync settings
Once you’ve connected a Google or Office 365 account to your system, you can choose the type and direction of the sync. The Sync Settings will open automatically when you set up a new sync, and can be changed at any time.
Sync type
You can choose to sync your contacts, calendar, or both. To select your sync options simply click on the circle next to the Contacts option, Calendar option, or both. This will color the circle green and add a checkmark. To deselect an option, simply click the green circle.
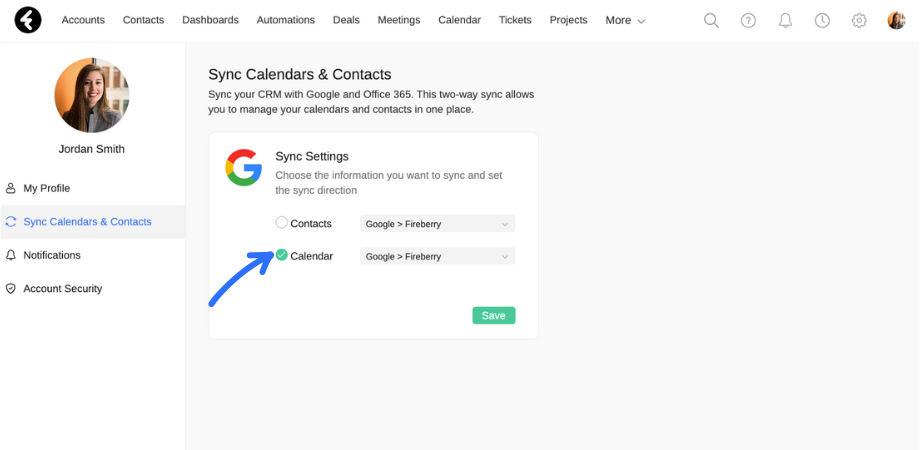
Now that you've chosen the information to sync, you can set the direction of the sync.
Sync direction
For each sync type you select, you’ll also need to set the direction of the sync. The direction options are as follows:
- Fireberry > Google / Office 365: Data will only be transferred from Fireberry to the selected email provider. For example, if you create a contact in Fireberry, it will be added to your email account.
- Google / Office 365 > Fireberry: Data will only be transferred from the selected email provider to Fireberry. For example, if you create a contact in your email account, it will be added to Fireberry.
- Full Sync: Data will be transferred in both directions between Fireberry and the selected email provider. By selecting this option, your contacts and meetings in both your email account and Fireberry will correlate.
To select a sync direction, simply click on the box to the right of the Contacts or Calendar option and then choose your preferred direction.

Once you’ve chosen your sync settings, be sure to start the synchronization by clicking Save.
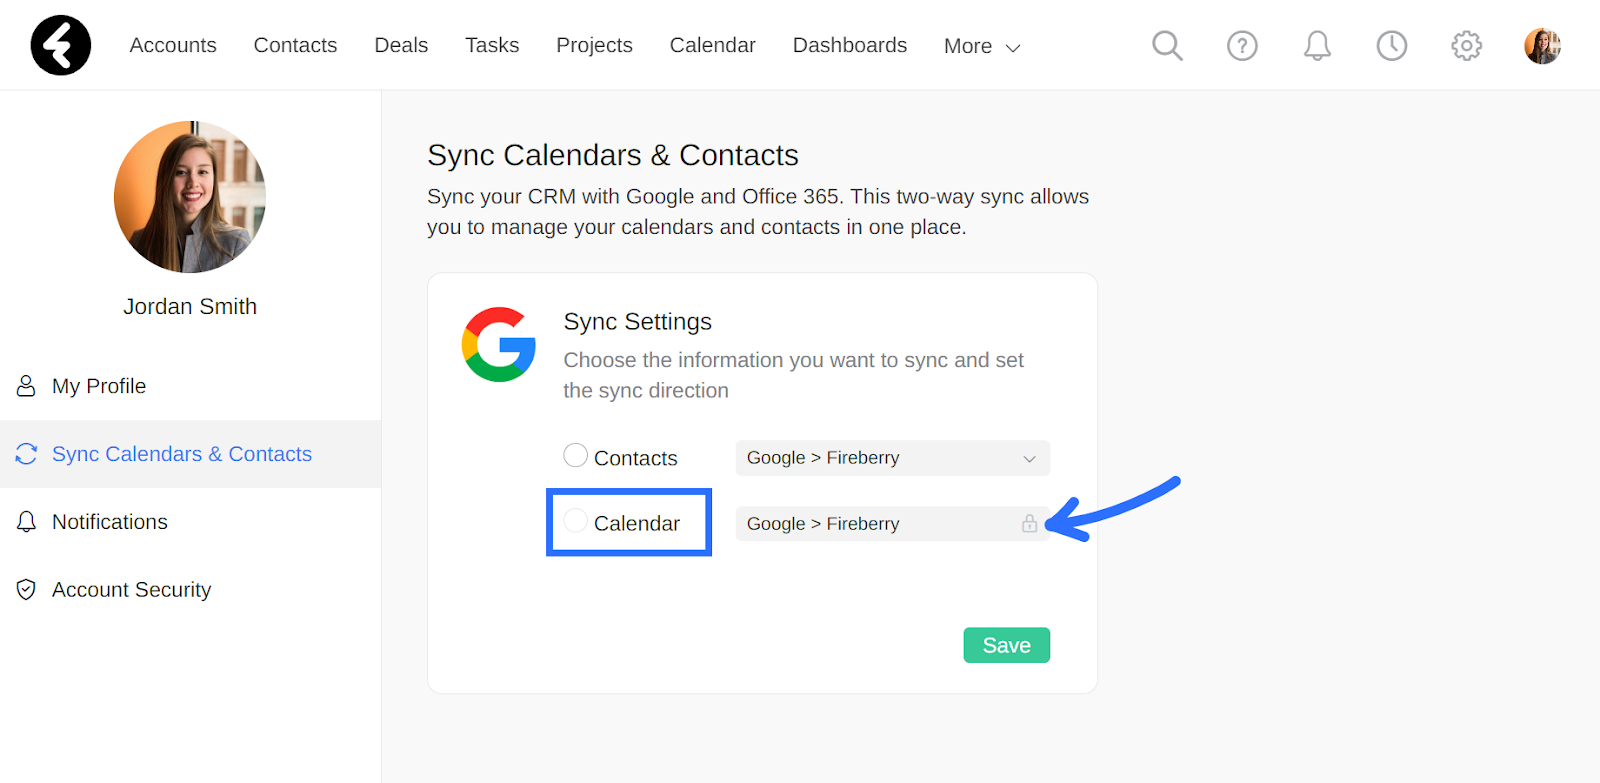
Blocked sync
If you connected a Google account, one or more of the sync types might be blocked, meaning you won’t be able to check the circle next to it and the direction will have a lock icon. This is because you haven’t provided Fireberry with access to this type of data. See above for details on how to allow or change the provided access.
Edit or disconnect a sync
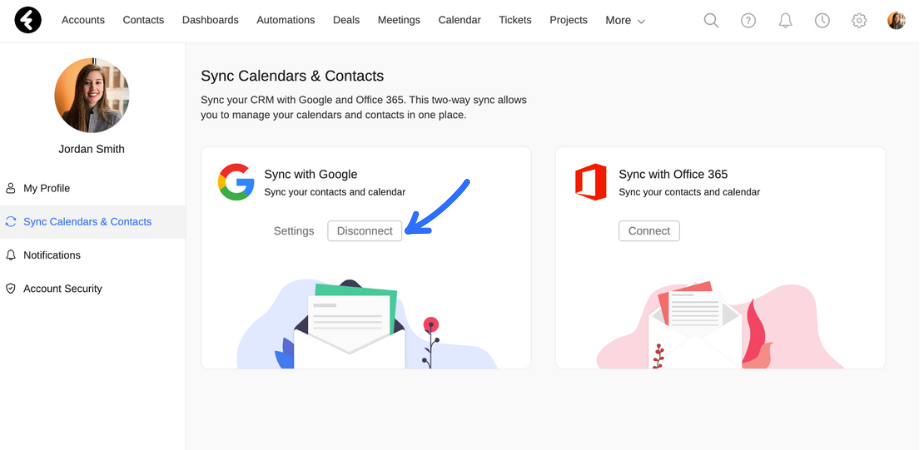
You can edit or disconnect a sync at any time. Start by navigating to the Sync Calendars & Contacts tab of your profile, which is explained above.
Editing the sync settings
To edit an existing sync’s type or direction, start by clicking the Settings button.
You can edit a sync by selecting a new type, selecting an existing type, or changing the sync direction of a sync type. By adding a new type or changing the sync direction, you’ll start the initialization process for that sync option. If you remove a sync type or change the direction to anything besides Full Sync, you will stop the transfer of this data, but no existing data will be changed or deleted.
Be sure to click Save once you’ve changed your settings.
Disconnecting a sync
To disconnect an email provider, simply press the Disconnect button. A pop up will appear where you will need to click Ok to confirm that you’d like to disconnect your email provider. By disconnecting your account, you’ll stop the input and output of any data, but any previously synced data which is already in either system will not be changed or removed. You can easily connect a new email provider by clicking Connect.