How to allocate records
Fireberry allows you to allocate records to system users. For example, you can assign new leads to different sales representatives within your company. When allocating records you can choose exactly which records to allocate, to which users, and how many records each user will be assigned.
Records allocation will replace the owner field of each selected record with a new owner, based on the users you choose to allocate the records to. For example, allocating accounts to sales representatives will update the accounts’ Account Owner fields.
Record allocation setup
To allocate records, first open the object which contains the records you’d like to allocate. For example, if you’d like to allocate new leads, open the Accounts object. Next, create a view which includes all the records you would like to allocate, such as an accounts view where all the statuses are set to Lead. You can learn how to set up a view here.
Once you’ve created a view which includes only the records you’d like to allocate to new owners, you can open the record allocation option. Start by opening the object where the view is. Next, click the three dot menu and select the Records Allocation option.
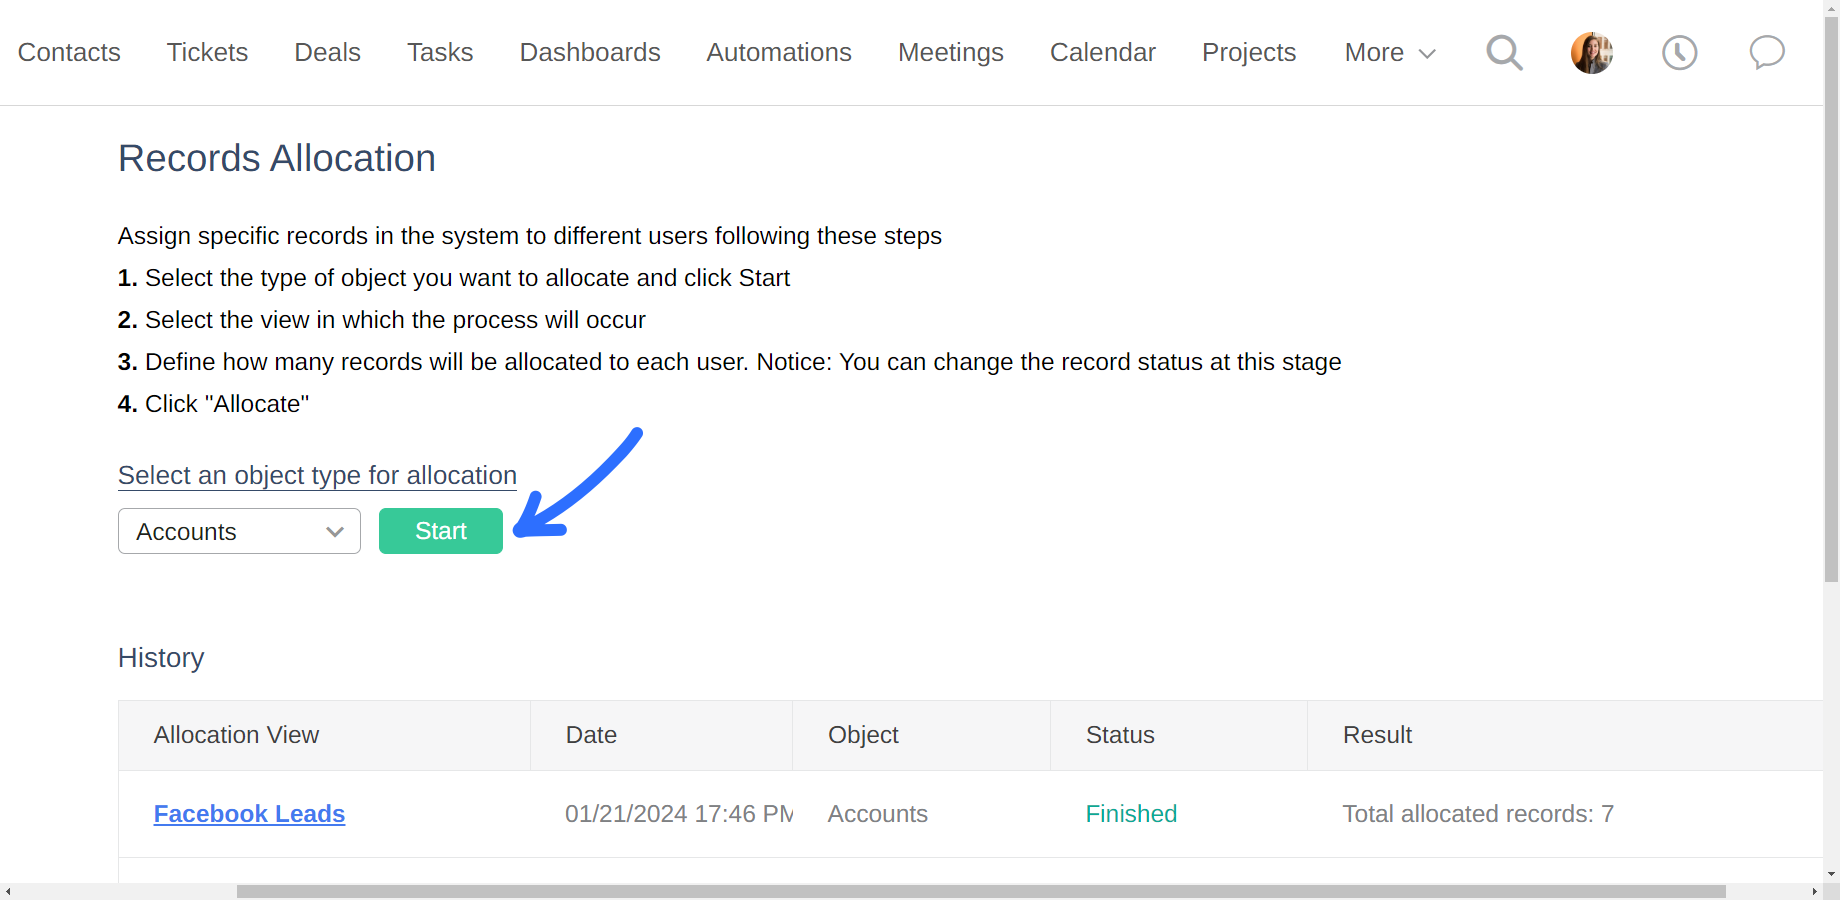
This will open up the Records Allocation page. Now check that the object selected under the Select an object type for allocation heading is the object with the view you’ve created and would like to allocate. If you’d like to select a different object, simply click on the current object and then search for and select a new object. Once you’ve selected the relevant object, click the green Start button. This will open the Records Allocation popup.
Select a view to allocate
Now that you’ve opened the Records Allocation pop up, you can set which records you’d like to allocate and to who. Under the heading Select a view to allocate, you’ll find a searchable dropdown list of all the views which belong to the object selected in the previous step. Select the view you previously created which contains only the records you’d like to allocate. After you’ve selected a view, you’ll see text appear immediately underneath the view box letting you know how many records are in the selected view. This lets you confirm you’ve selected the correct view, and be sure to allocate the correct number of records.
Select users
Once you’ve selected a view, the Select users heading will fill in with a list of system users. You will only see the system users you have access to, which are based on the sharing permissions of the Users object explained here. You can decide which users will participate in the allocation and which will not by checking or unchecking the box next to each user’s name. The system will automatically divide the records equally between the selected users.
In addition, you can choose to manually set the number of records allocated to each user. Simply click on the Amount box next to each user’s name and set the amount of records you’d like assigned to them.

Change status
Under the list of users, you’ll find the Change status option. Here you can choose to switch the status of the allocated records as soon as they’ve been allocated. For example, when assigning new leads to sales representatives, you can change each account’s status from Lead to Assigned Rep. In this way you can easily move records along to the next stage as soon as they are assigned a new user.
To change the status of all the allocated records, simply mark the checkbox of the Change status box and then search for and select the desired new status from the dropdown list.
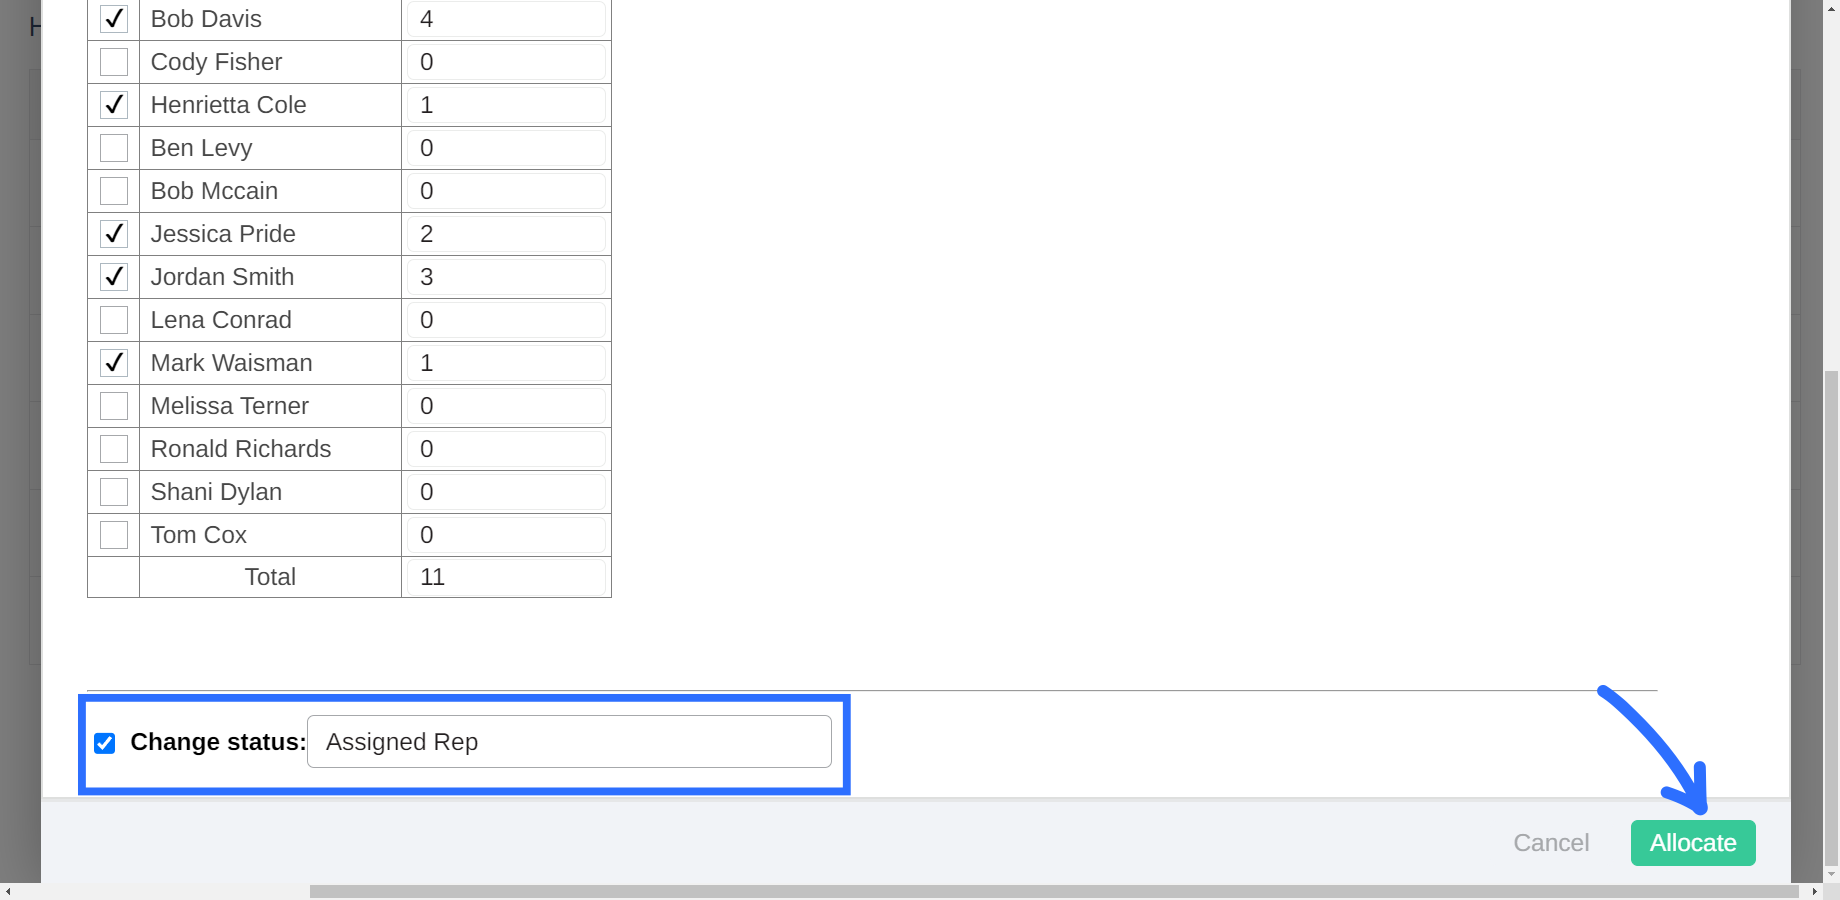
Once you’ve finished setting up your allocation, click the green Allocate button to allocate the records and, if selected, update their status.
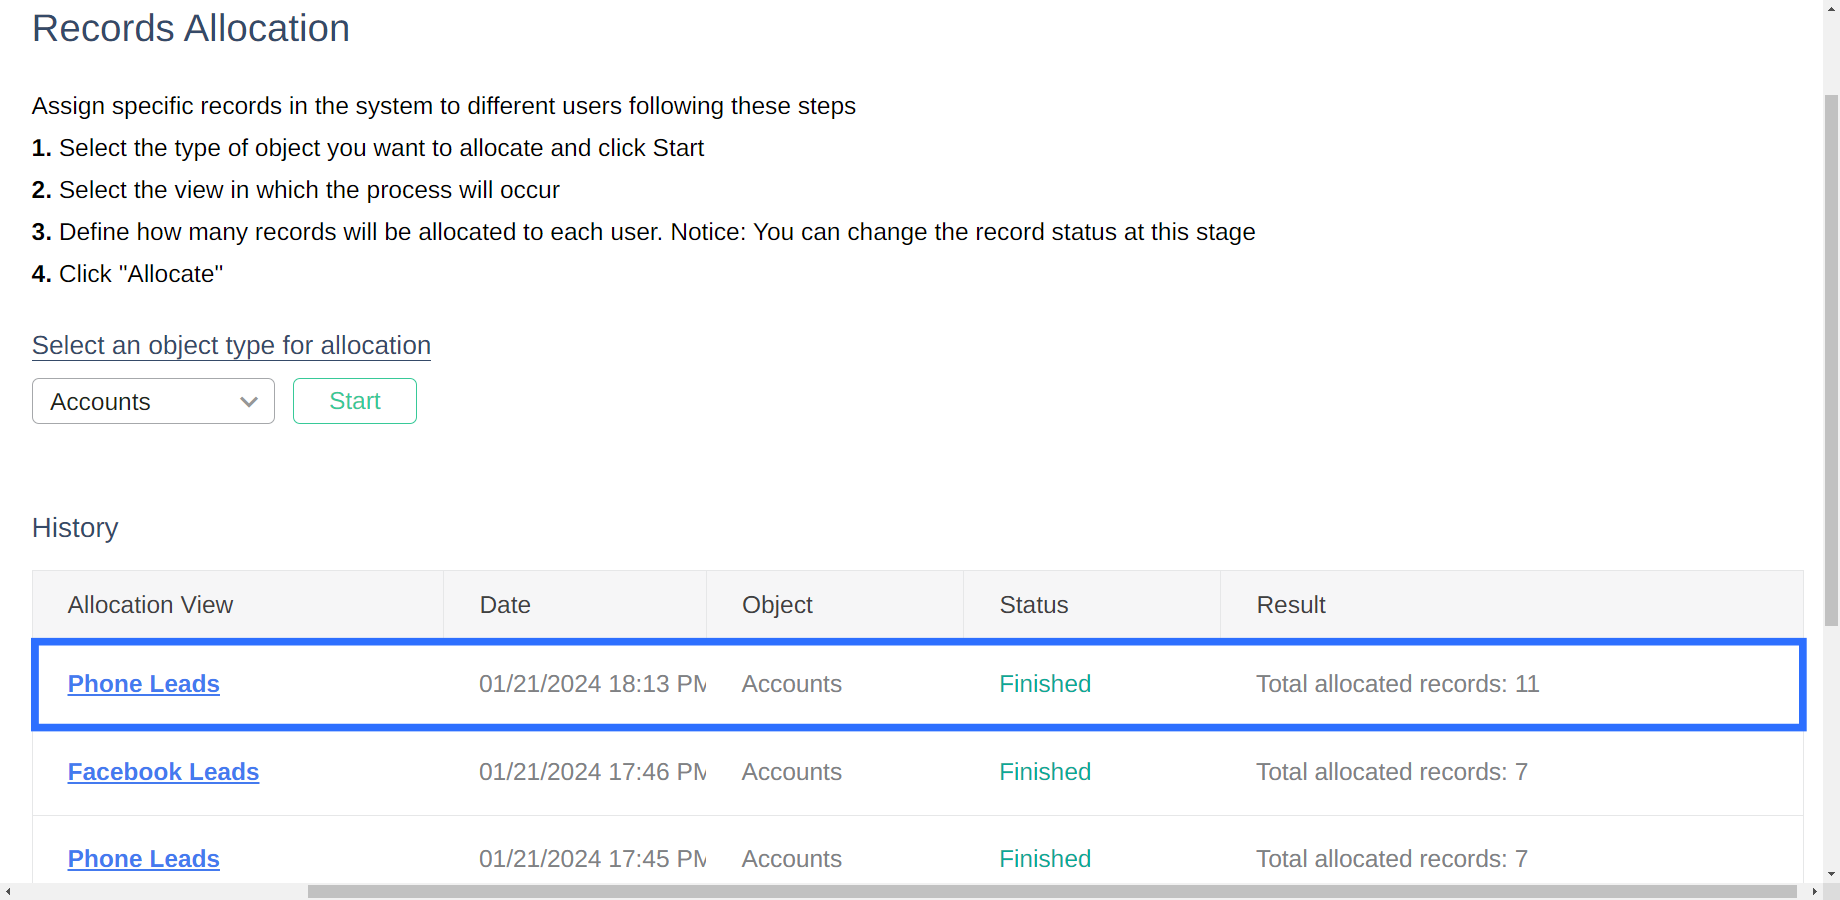
Records allocation history
Once you’ve allocated your records, you’ll be returned to the main Record Allocation page. At the bottom of the screen, you’ll find the History section. Here you’ll find a table with a row for each allocation processed in your system. Each row will include information such as the object and view which were selected, as well as the date, status, and amount of records which were allocated. In this way you can easily keep track of which records were allocated and when.