View settings and types
Creating and renaming views
To add a new view, simply click the three dot menu on the top right of any view and then select Create New View. Your new view will immediately open and appear in the list of views on the left under the name Untitled View.
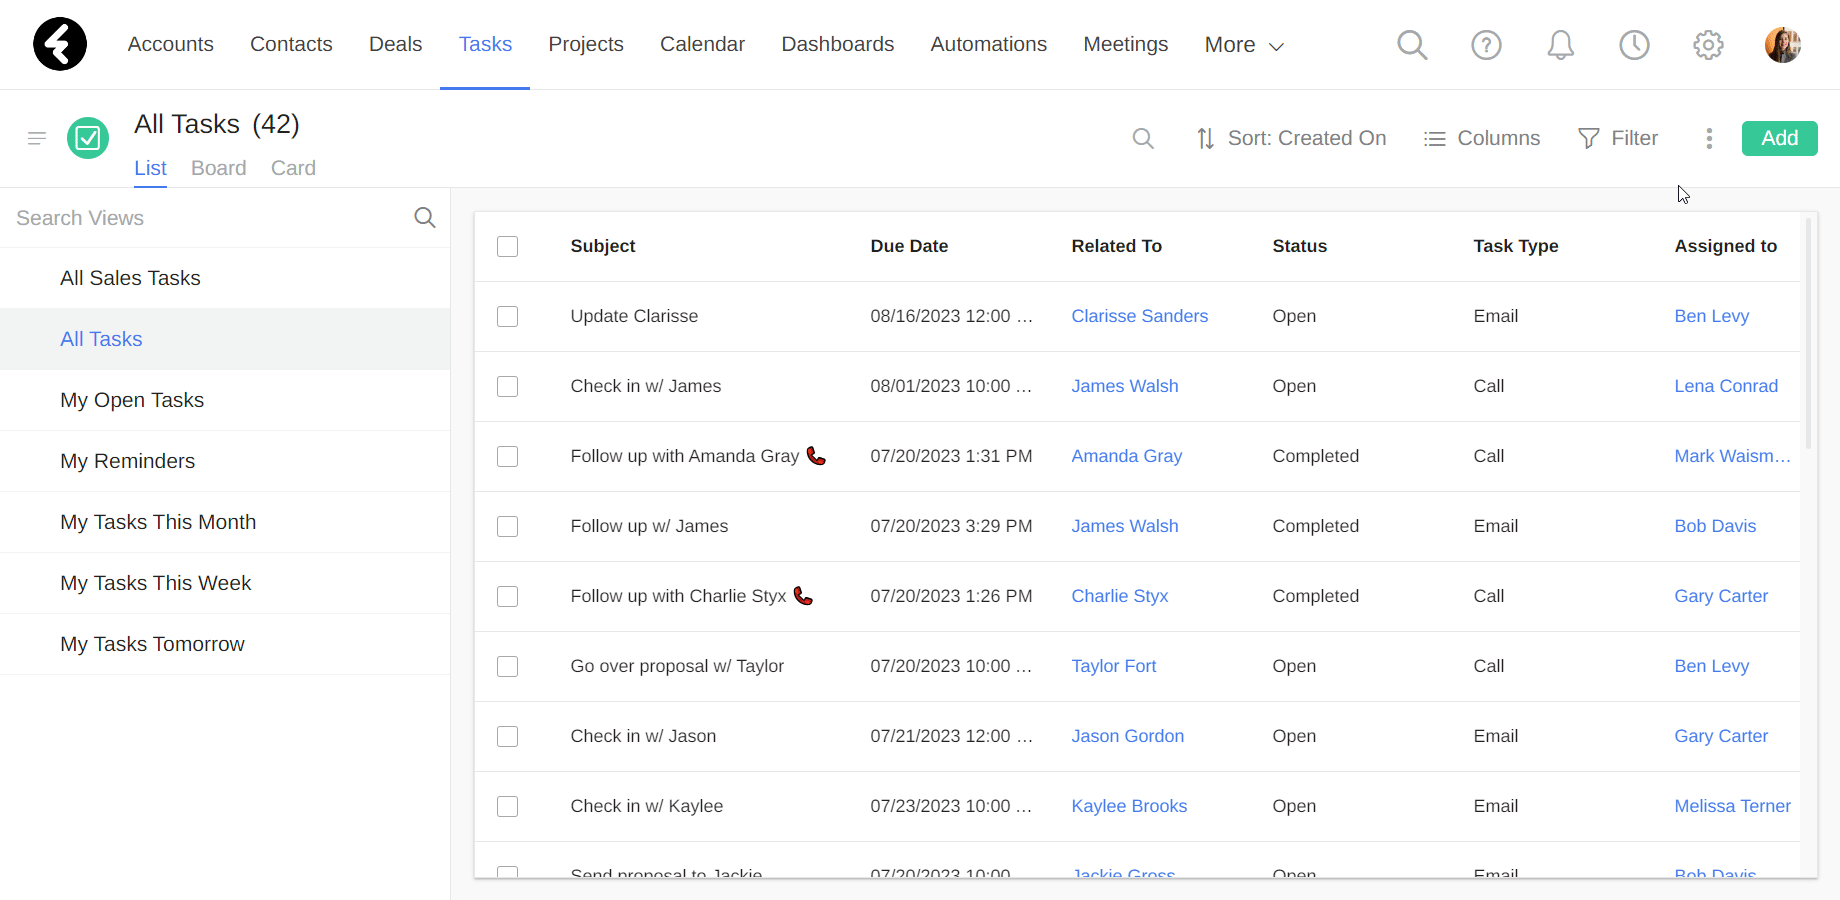
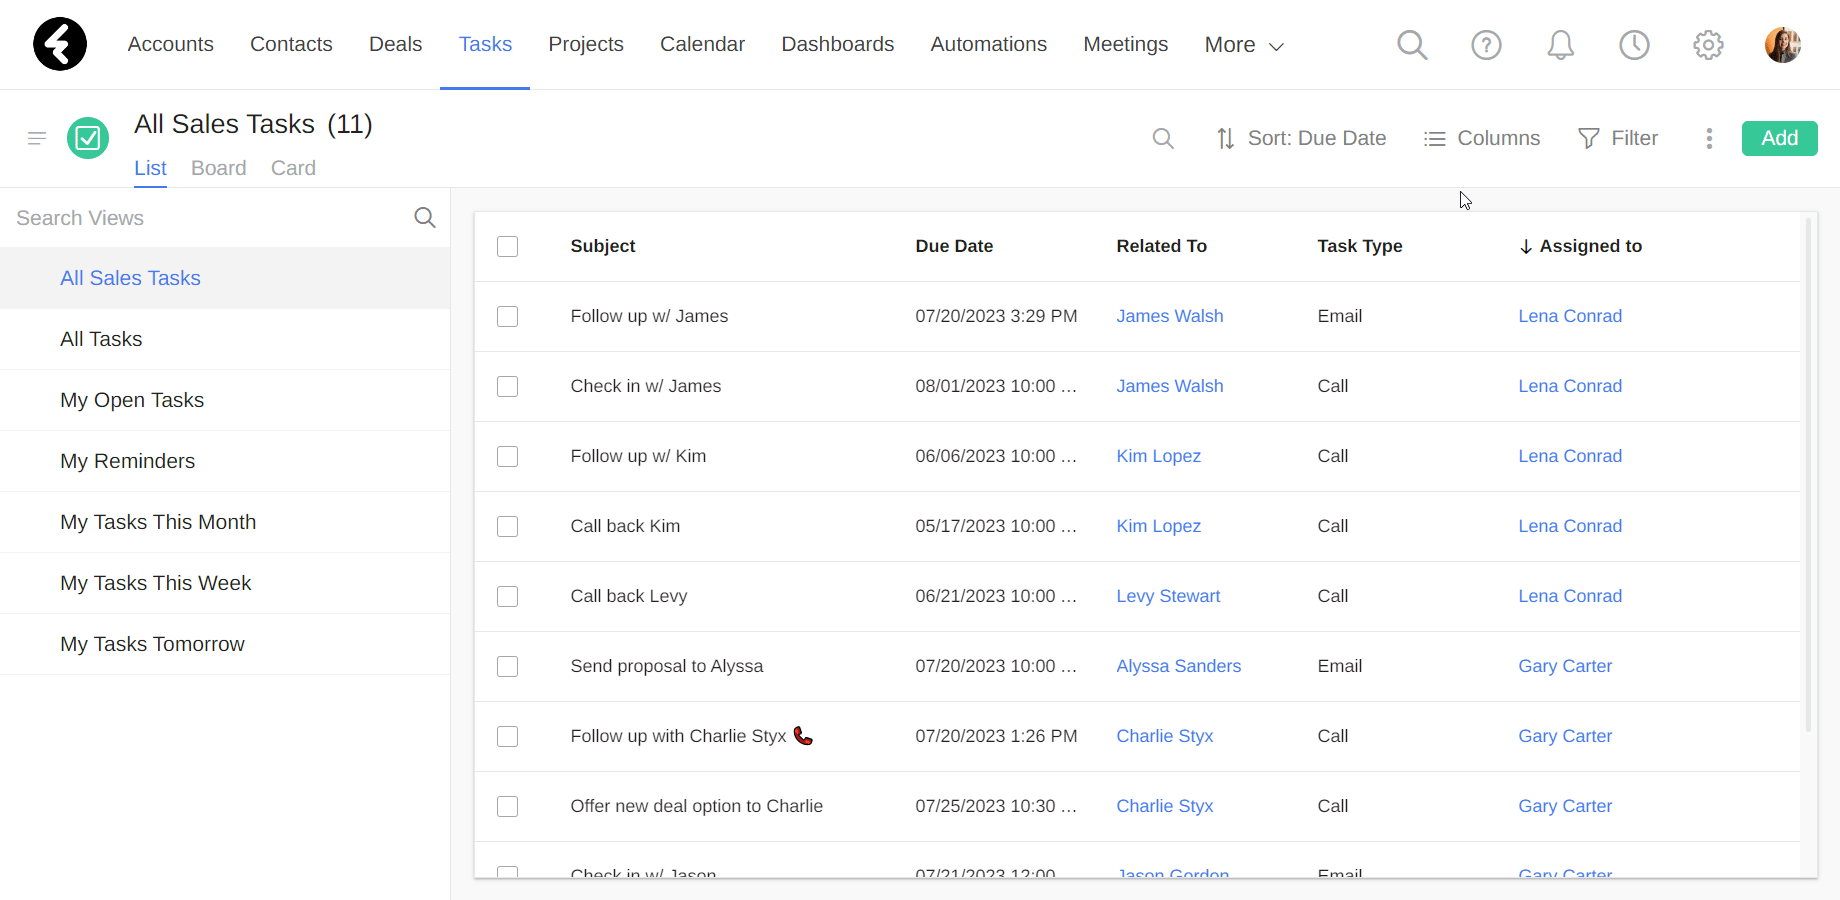
You can now rename your view by clicking on the name on the top of the page. Type in the new name and then use the Enter key or click anywhere else on the page to save your new name. You can rename a view in this way at any time. By using relevant names, you’ll be able to easily understand the purpose of each view and maximize its use by your system users. Your newly created view will by default display the name, created on, and owner columns, and contain all the records which belong to the current object.
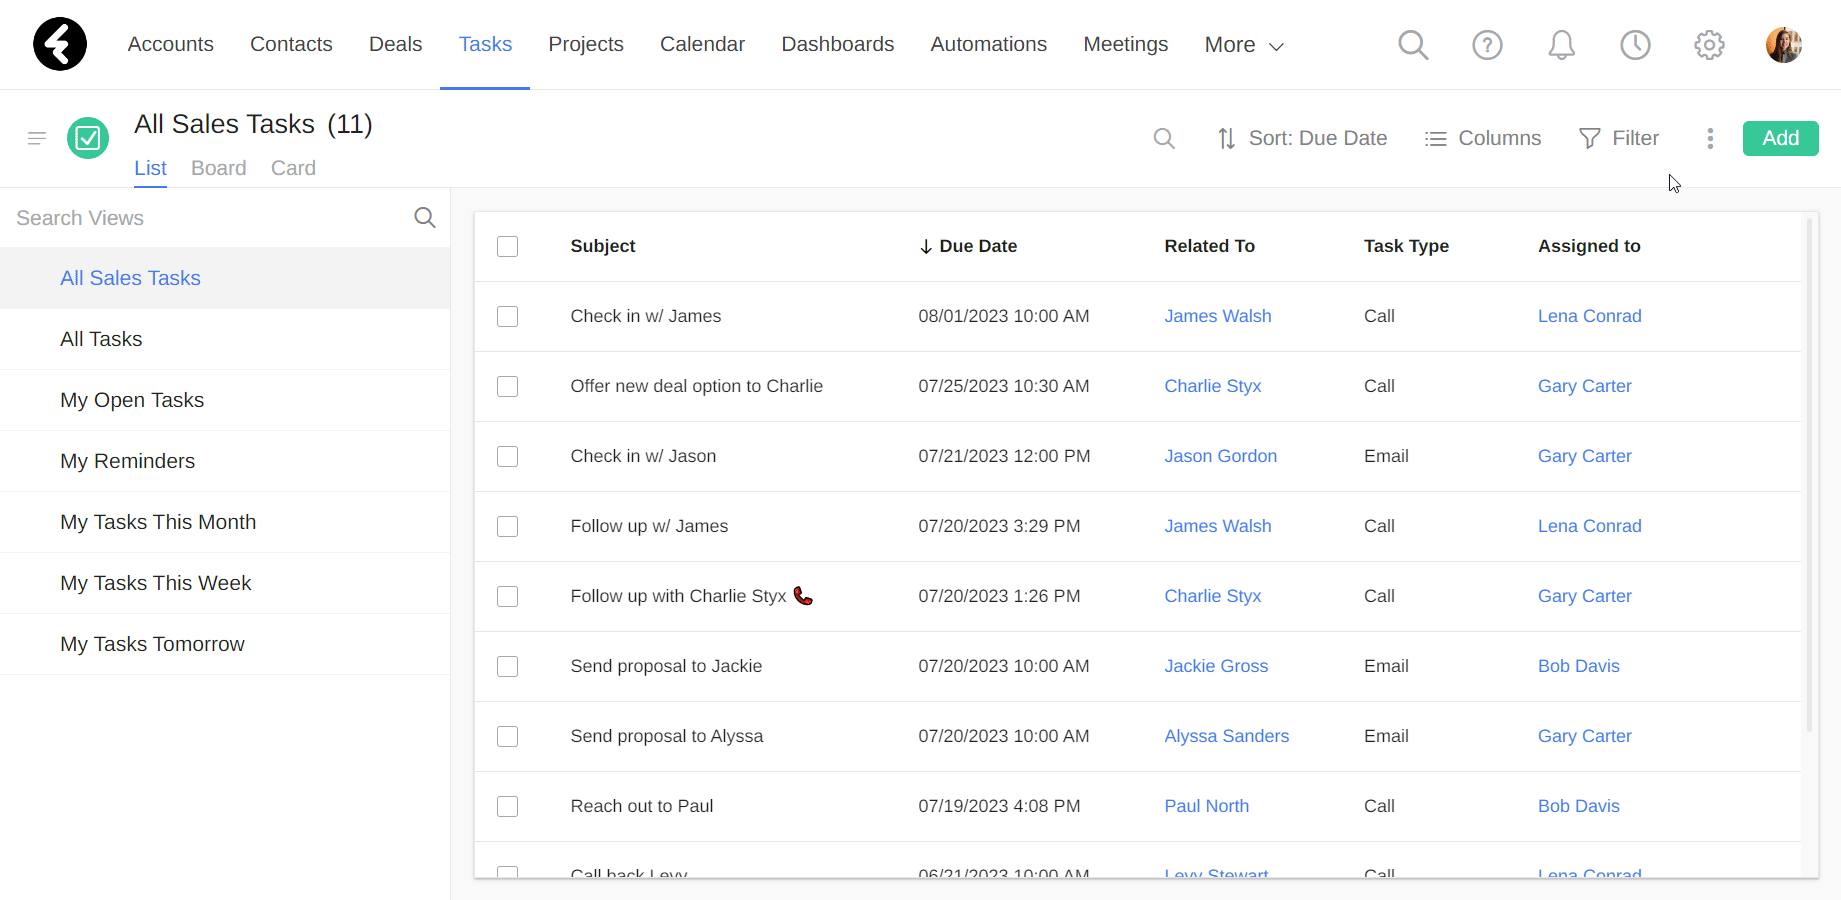
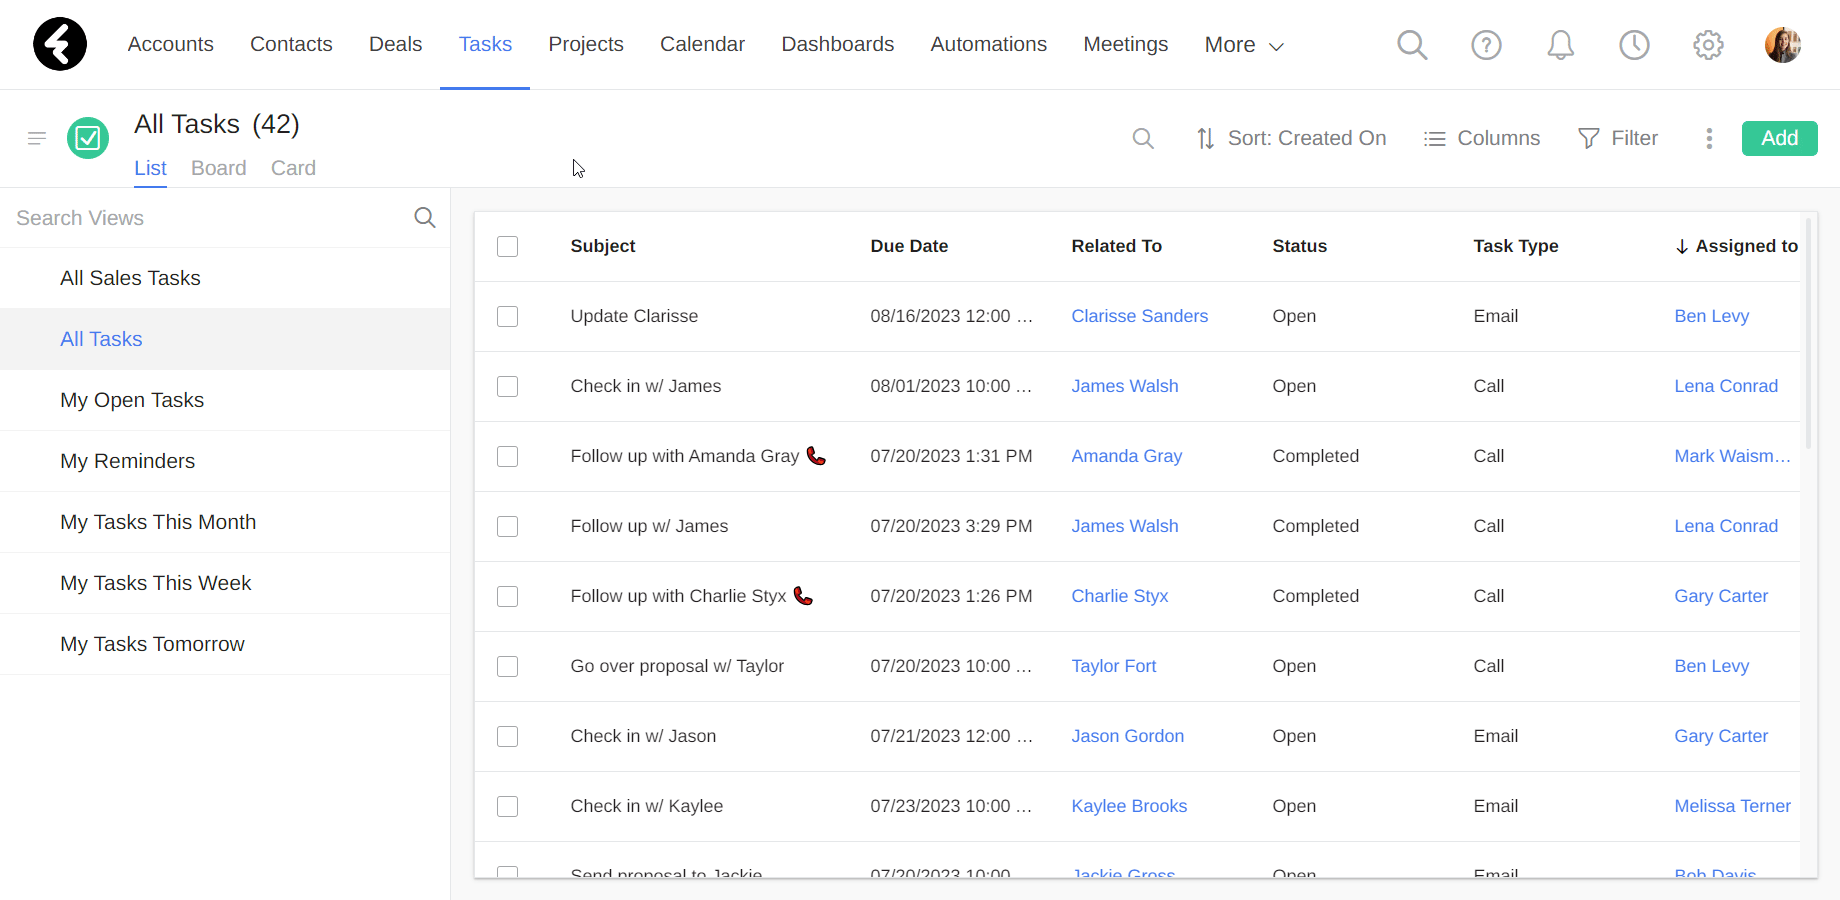
The number displayed in parentheses beside your view signifies the amount of records displayed in your view. For example, the name My Open Tasks (5) signifies that the view “My Open Tasks” has five records displayed within it.

To learn how to set up your view using sorting, columns, filters, and more, click here.
Duplicating and deleting views
You may wish to create a view with settings which are very similar to an existing view. In this case, you can use the duplicate option to save time. Duplicating a view will duplicate all its current settings, including the columns, filters, share permissions, and more.
To start, simply open the view you’d like to duplicate, click the three dot menu on the top right, and select the Duplicate View option. This will create and open an identical copy of the current view, and will title the new view as the title of the original view followed by the word Copy. You can now change the name of this view, and set columns, filtering conditions, and more.
If you’d like to delete a view, simply select the Delete View option. Then click the red Delete button in the popup. This will delete the view itself and all of its settings. The records which were displayed within the view will not be deleted or changed in any way. Note that you will not be able to delete the default view. If you need to delete this view, first set another view as the default view. Then go back and delete the view. For more information, check out our default view article here.

Share permissions and details
Each view has its own set of share permissions where you can choose who will be able to use it. Anyone who the view is shared with will be able to create, read, edit, or delete the view according to their role permissions.
To set a view's permissions, click the three dot menu on the top right and then select the Share Permissions option. Note that this option will not exist for the default view, as it is automatically shared with everyone in your organization.
Under these settings you can choose to share this view with Everyone, which will share the view with all the users in your system. This is the default for all views. You can also choose to share the view with specific Business Units, Users, or Roles in the system. To do so simply click the dot next to one of these options and then search for and select any options you’d like to include. For example, you can select the Role option and share the current view only with users whose role is set to either Sales Rep or Sales Manager. Be sure to click Save once you’re finished setting the share permissions.
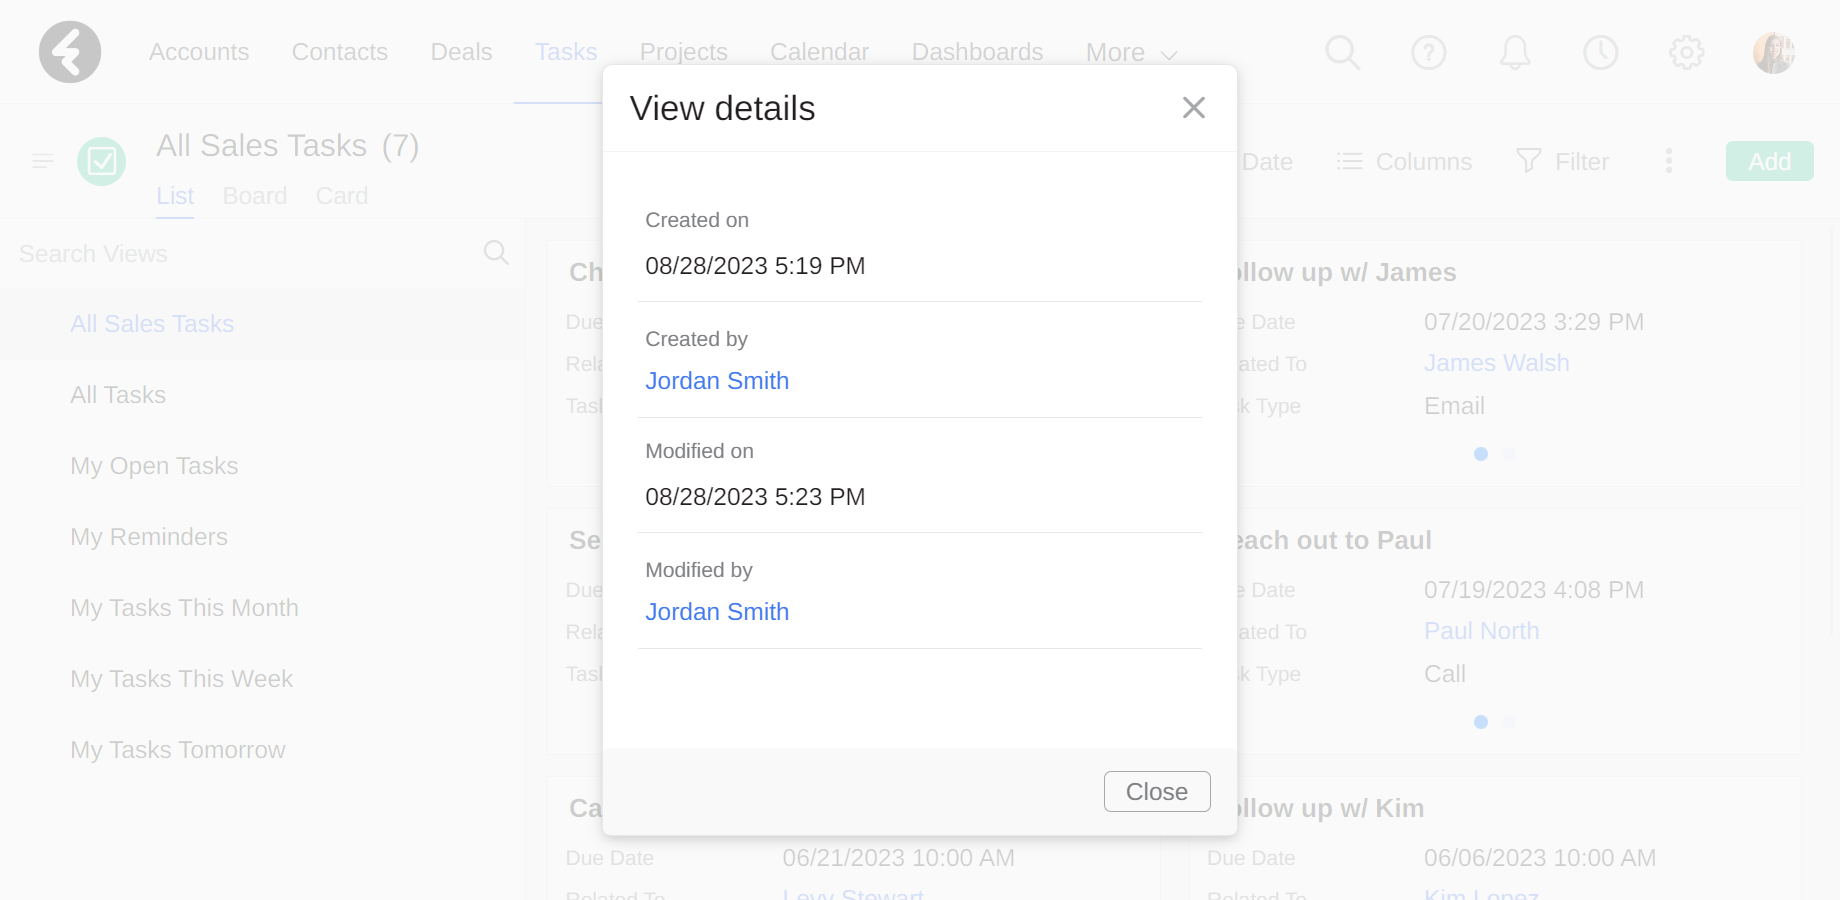
If you’d like to check when a view was created or last modified and by who, you can do so at any time by clicking the Details option in the three dot menu.
Share permissions and details
Each view has its own set of share permissions where you can choose who will be able to use it. Anyone who the view is shared with will be able to create, read, edit, or delete the view according to their role permissions.
To set a view's permissions, click the three dot menu on the top right and then select the Share Permissions option. Note that this option will not exist for the default view, as it is automatically shared with everyone in your organization.
Under these settings you can choose to share this view with Everyone, which will share the view with all the users in your system. This is the default for all views. You can also choose to share the view with specific Business Units, Users, or Roles in the system. To do so simply click the dot next to one of these options and then search for and select any options you’d like to include. For example, you can select the Role option and share the current view only with users whose role is set to either Sales Rep or Sales Manager. Be sure to click Save once you’re finished setting the share permissions.
If you’d like to check when a view was created or last modified and by who, you can do so at any time by clicking the Details option in the three dot menu.
Reports & graphs
If you’d like to easily access information regarding a specific object, you can use the Reports & Graphs option found in the three dot menu. By clicking this option, you’ll open a page where you can create and view widgets which summarize the current object. Under the View chart by: heading on the left you’ll find a list of all the existing widgets, which you can click on to view. The widget you are currently viewing can be identified by the blue line and bolded title. Use the Add new chart button at the bottom to add new widgets to this list.
On the right you’ll find the widget you are viewing, such as the tasks bar graph Tasks by month and status. You can hover over a section in a chart to display its parameters. For example, hovering over the July open tasks section will display 2023/07 Open: 14.
By clicking on any of the sections in this chart, you’ll open a list of all the tasks which belong to the selected section. For example, by clicking the July open tasks section, you’ll open a list view of the 14 tasks which are open and have their due date set to July.
If you’d like to edit the widget, click the settings gear on the top right. You can also export any widget to an excel file by clicking the excel button next to the settings gear. To learn how to set up a new widget or edit an existing one, see our widget types article.

Additional settings
Within the view settings you’ll find many options you can use to work with your view. These options are more complex and thus each one has its own article to explain it in more depth. They will each be described briefly below.
Export to CSV
Any view can be individually exported to a CSV. Before exporting it, make sure all the fields you would like to export are set as columns in the view. You can include up to twenty columns. The sort settings you are currently using will also be exported to your CSV file. To export a view, simply click the Export to CSV option. This will open your computer files, where you can choose where you’d like to export your file to. The name of the file will be set to the name of the view, but you can rename the file on your computer files before saving it. Click save to download your exported view to the selected location. To learn more about exporting data, click here.
Import Data
You can import data to your system at any time. Each excel or CSV file must be individually imported, and you’ll choose the object you’d like to import into. By clicking the Import Data option, you’ll be brought to the import page in the system. For the next steps, click here.
Records Allocation
By using the record allocation option, you can easily assign records to system users. Each allocation takes one view and distributes the records within it, so it’s important to have a view ready which contains only the records you’d like to allocate. For example, you can choose to allocate the records in a view which contains all the accounts which are leads from Google. In this way you can evenly and quickly assign leads to sales representatives. Select the Records Allocation option to start the distribution process. For an in depth explanation, click here.
Set as Default
Each object will always have one default view. This view will be used to display the object’s records in different locations throughout the system. The default view cannot be deleted, and is automatically shared with everyone, so it does not have share permissions. You can set the default view at any time by clicking the Set as Default option. For a more detailed explanation, as well as details on how to set a favorite view, click here.
View types
There are three different view types which you can choose in order to display records. The first is list view. This is the default view type used, and displays all the records in an easy to use table. List view is recommended when looking over large amounts of records at once. You can find a detailed explanation of the list view below.
The board view presents the records according to the value of a specific field. It's useful for visualizing information and analyzing records throughout different stages. For example, you may display records according to the Status field and thus easily see how many records belong to each status. In addition to clearly displaying where your records are situated, you can also easily switch the records between statuses by dragging and dropping them.
Card view allows you to keep a list of all the accounts in your view as a sidebar, while providing you with access to the full page of a selected record. In this way you can easily look over and edit individual records while navigating through a list.
You can easily navigate between the different views at any time by clicking on their names, found immediately under the name of the view.
List view
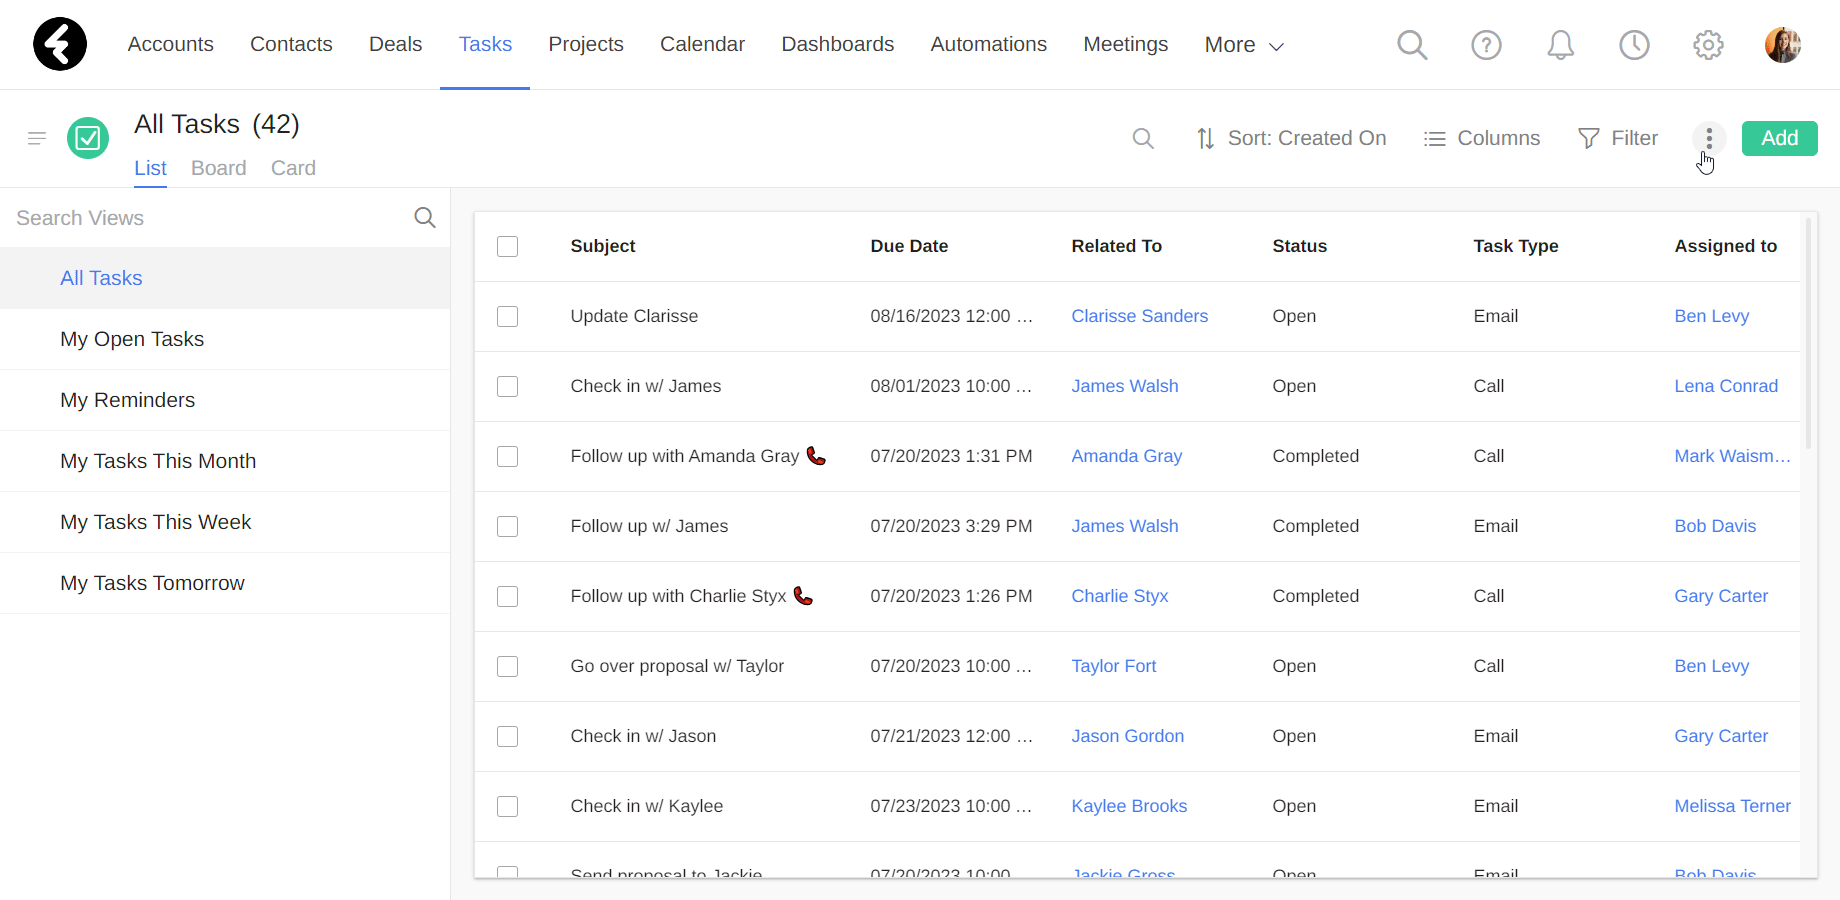
The list view is the default view which opens for any object. It is the best way to display a large number of records at once, as it presents an editable table with all the relevant records. Each row in the list view represents a record in the object, while each column represents a field in the object. Using the list view you can select up to 20 different fields to display at a time. To learn how to set fields as columns, as well as many additional settings, see our editing views article.
Column size and sorting
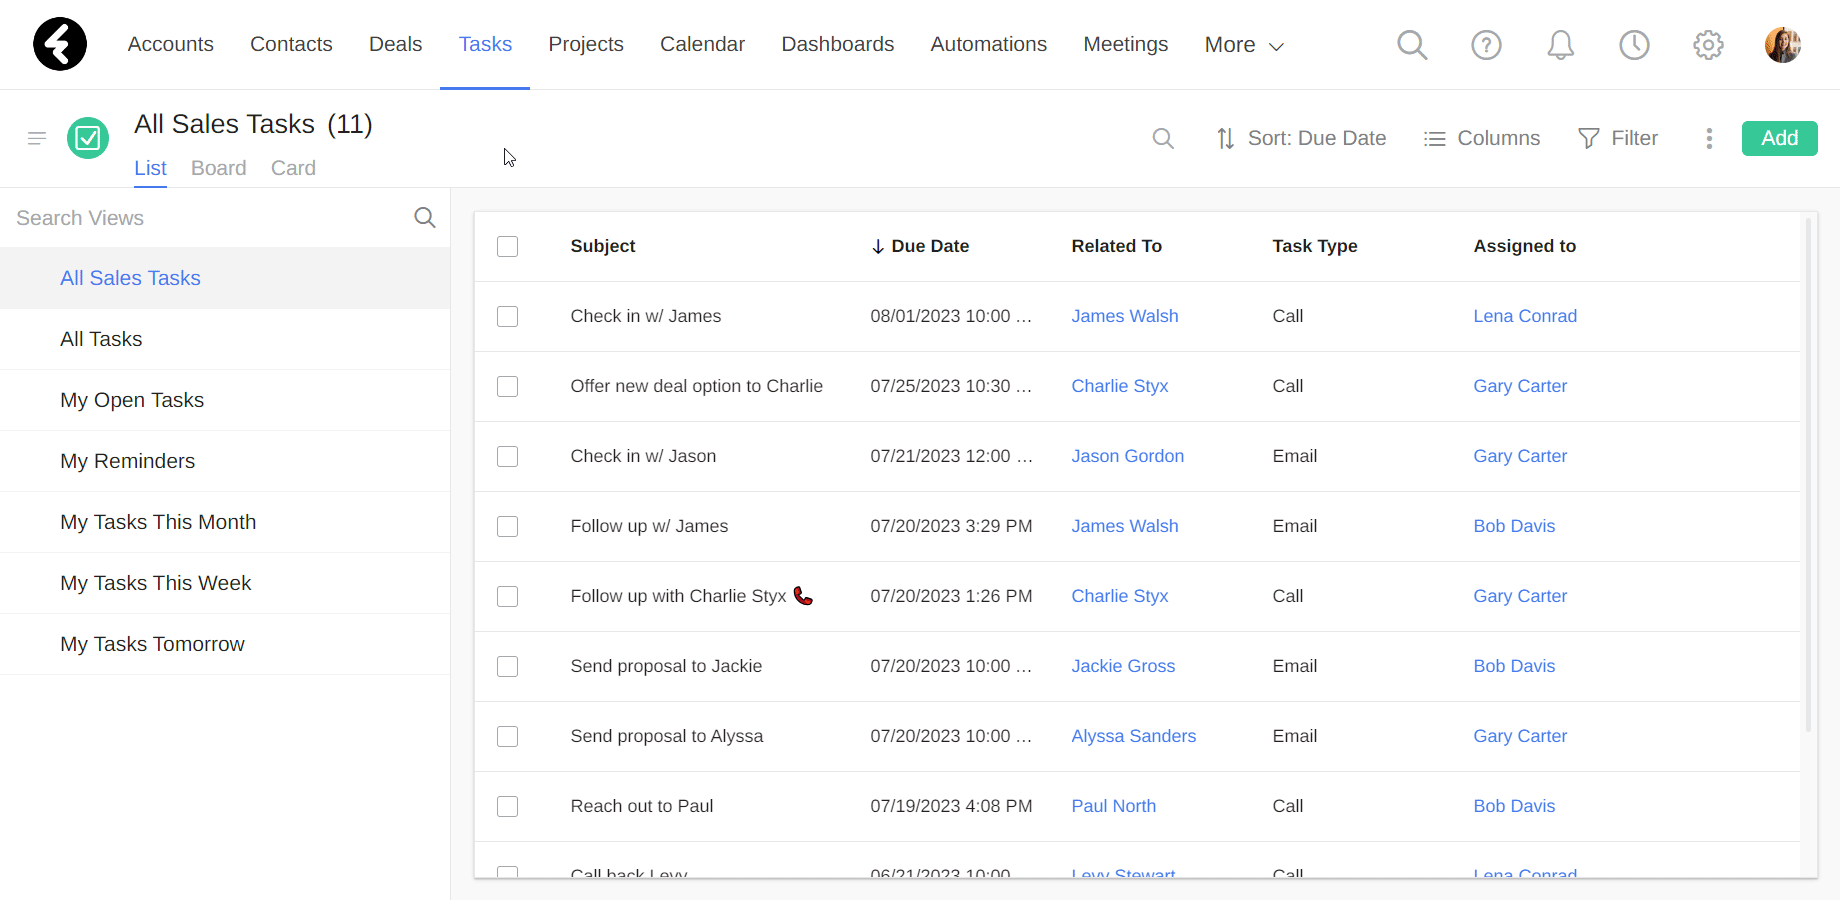
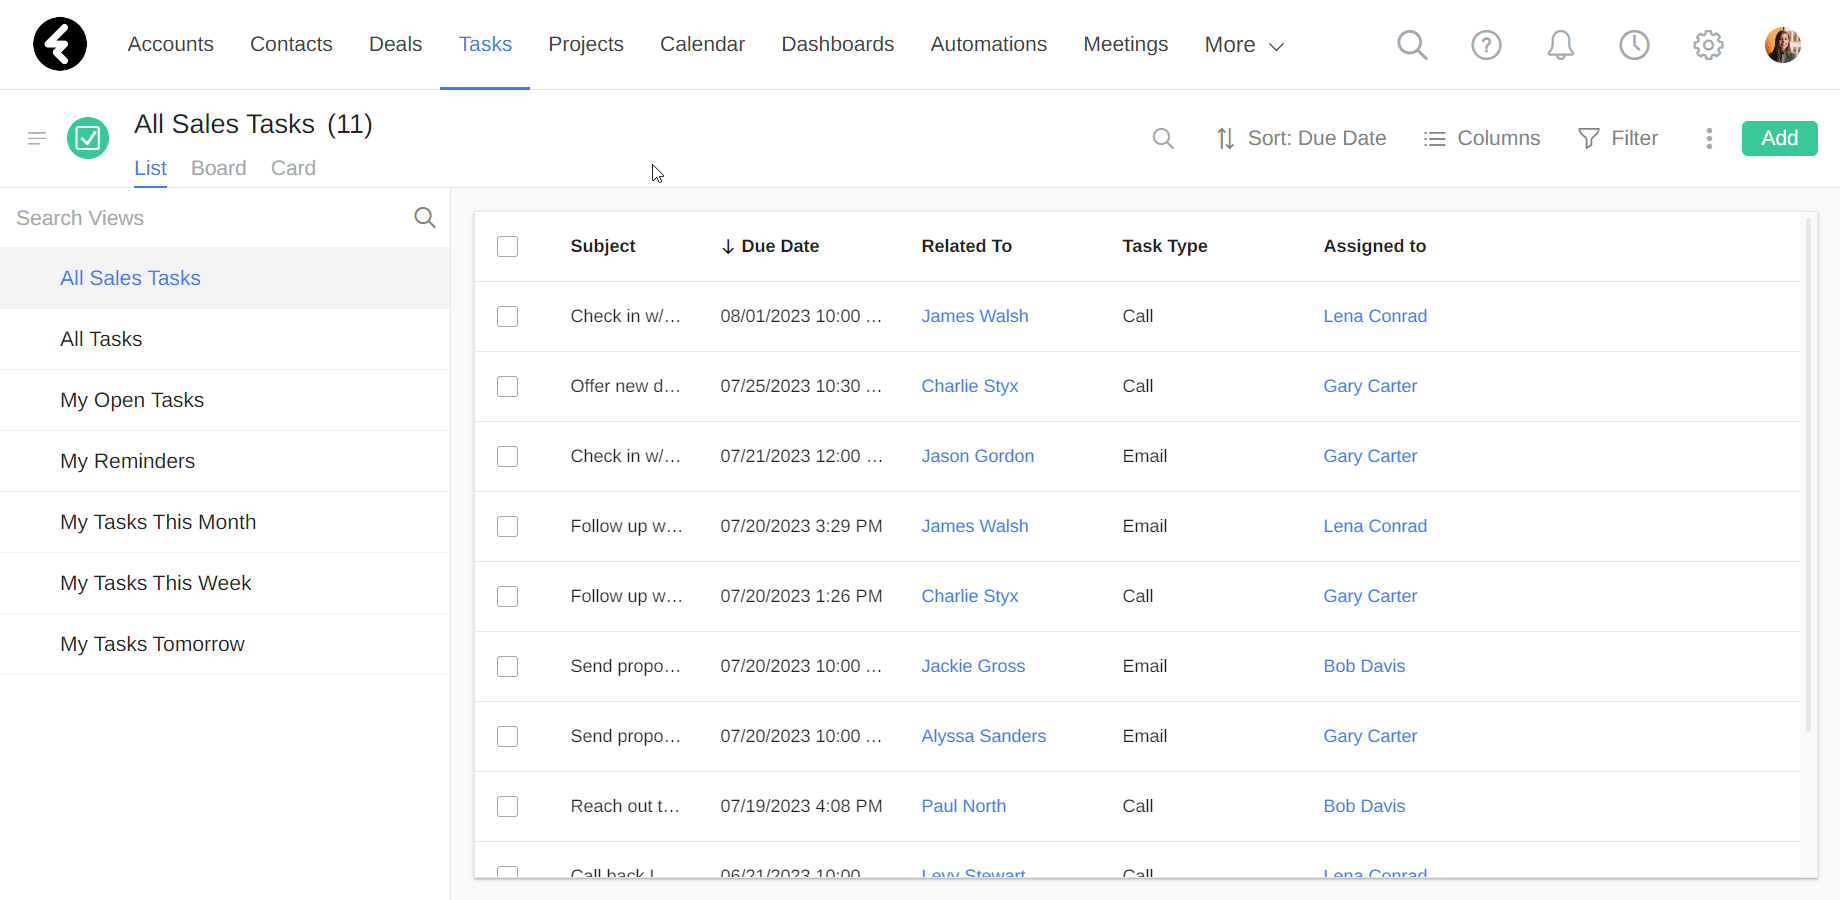
You can change the width of any column in a list view. In this way, each column’s size can match the data displayed within it. To change a column’s width, simply hover over the right edge of the column, click and hold the blue line, and then drag it to the desired size. Your column size will save to your browser, so that the column widths will match the size of your monitor. In this way, your home and office computers may have different sized columns, even though you are using the same account.
You can also temporarily sort any column in a list view by clicking on the heading. Ascending order will be marked by an up arrow, while down will signify descending order. To switch the direction, simply click on the heading again. For a detailed explanation on sorting, click here.
Updating records directly
You can choose to update a record directly from any list view. To do so, simply hover over the field of a specific record, and then click on the pencil icon to its right. You can now set a new value for this field, and save it by clicking the green Save button. If you decide you don’t want to save your changes, simply click Cancel.
You will not be able to edit any of the following field types directly from a view: HTML, Formula, Summary, Read Only, Picklist fields which have a controlling field, Lookup fields which have a filter by field, and related fields.
Working with multiple records
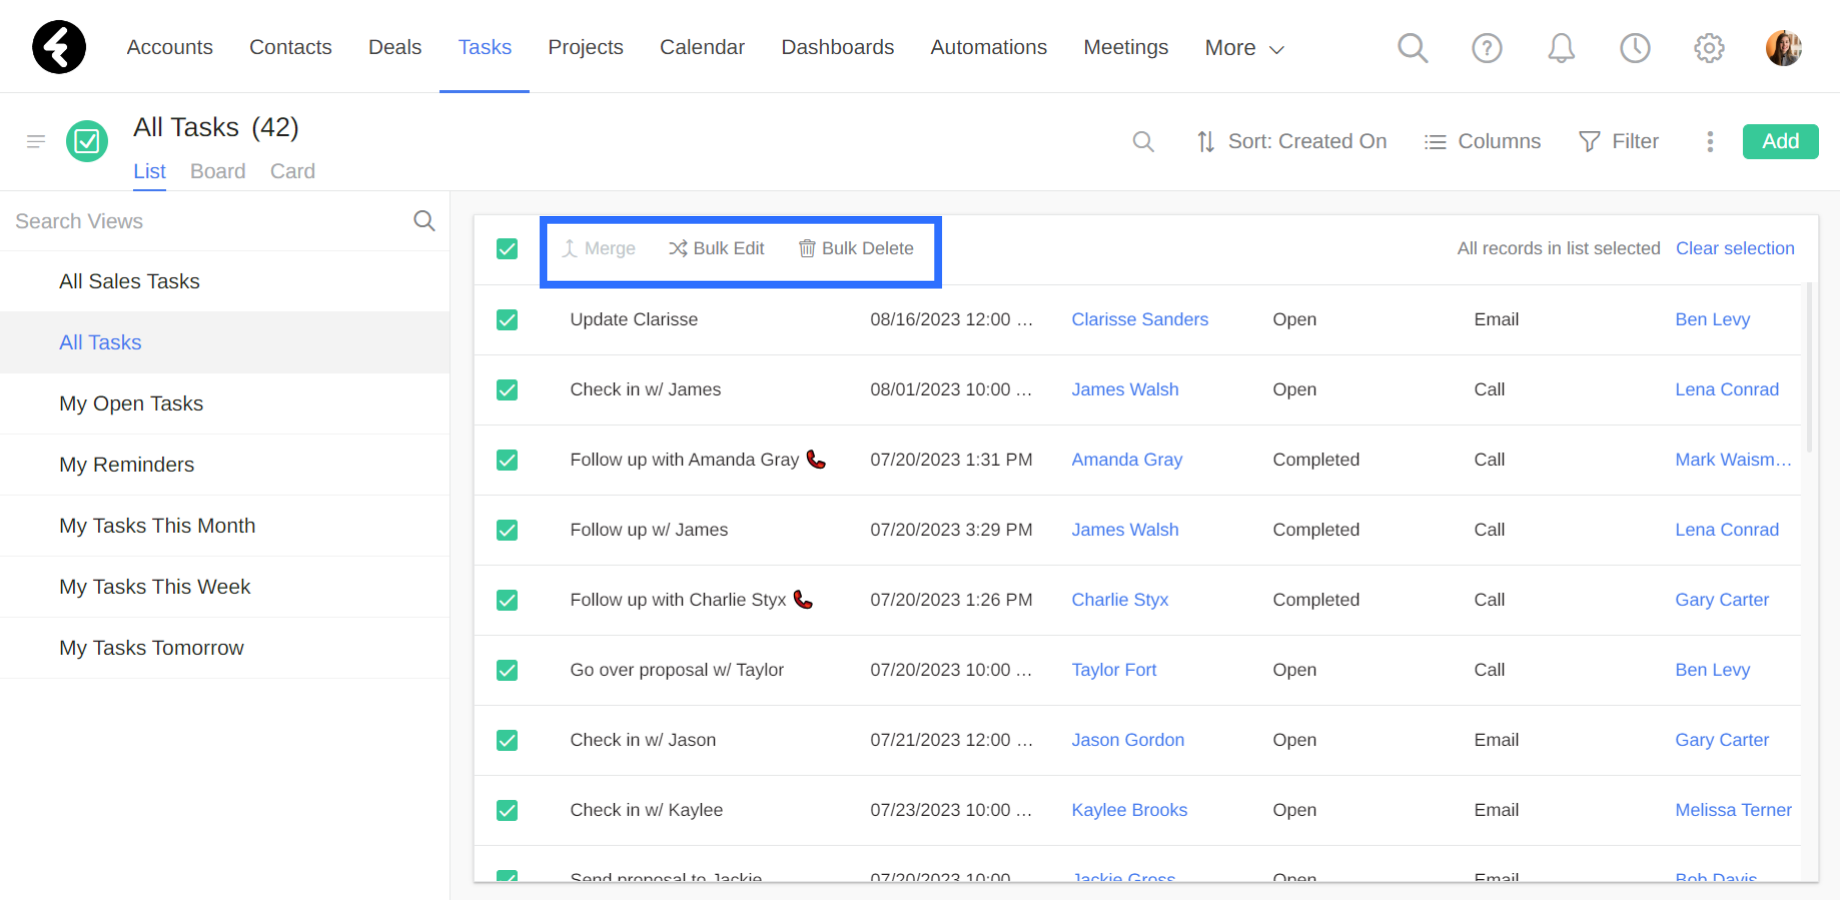
Using the list view you can easily select multiple records to work with. Simply click on the box on the left of each record to select it. If you’d like to select all the records which are currently displayed, click the box on the left of the header row. This will select all the records which are currently displayed on your page. A message will appear on the right of the header row which displays the amount of records selected, as well as the total number of records. Next to this message will be a blue Select all button, which you can click to select all the records in the current view. Remember, you can always check the total number of records in your view by looking at the number in parenthesis found next to the views name.
Once you select multiple records, you can perform bulk actions on them.
If you selected two records, you can choose the Merge option from the header row, which is explained here. You can also edit or delete the selected records in bulk. To do so, simply select the relevant option in the header row. For in depth explanations, click here.