Send email automations
Automation set up
By sending emails automatically you can stay in touch with your clients, maintain brand recognition and loyalty, send important information to employees, and so much more.
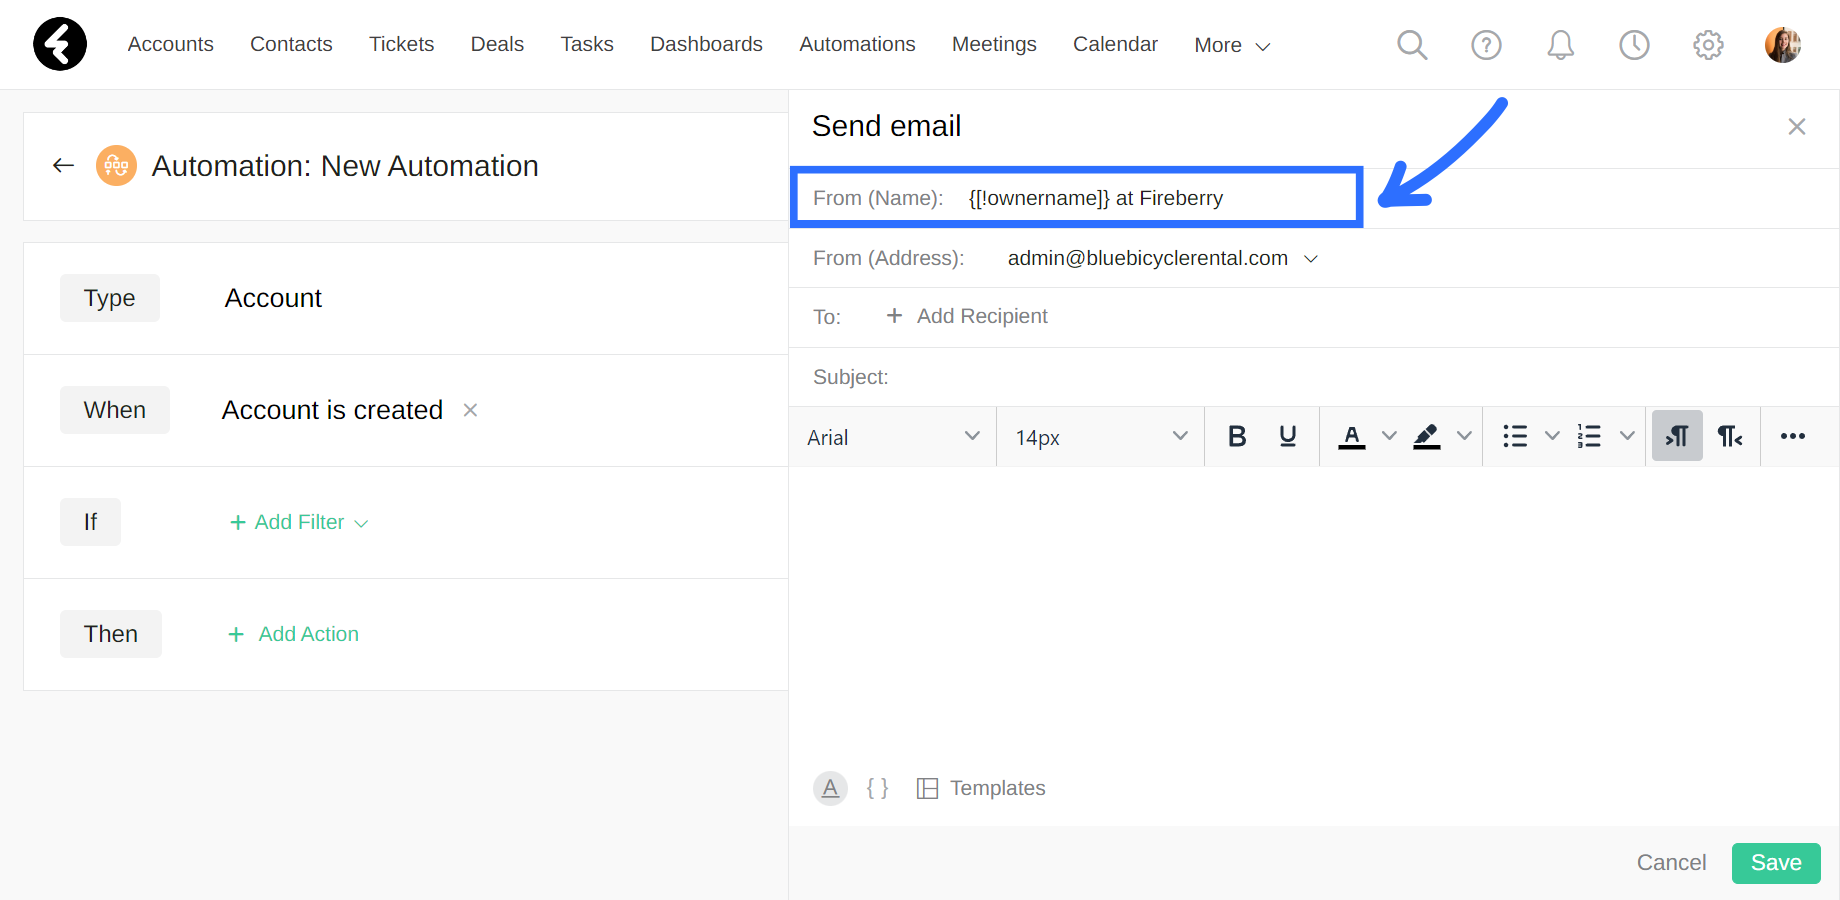
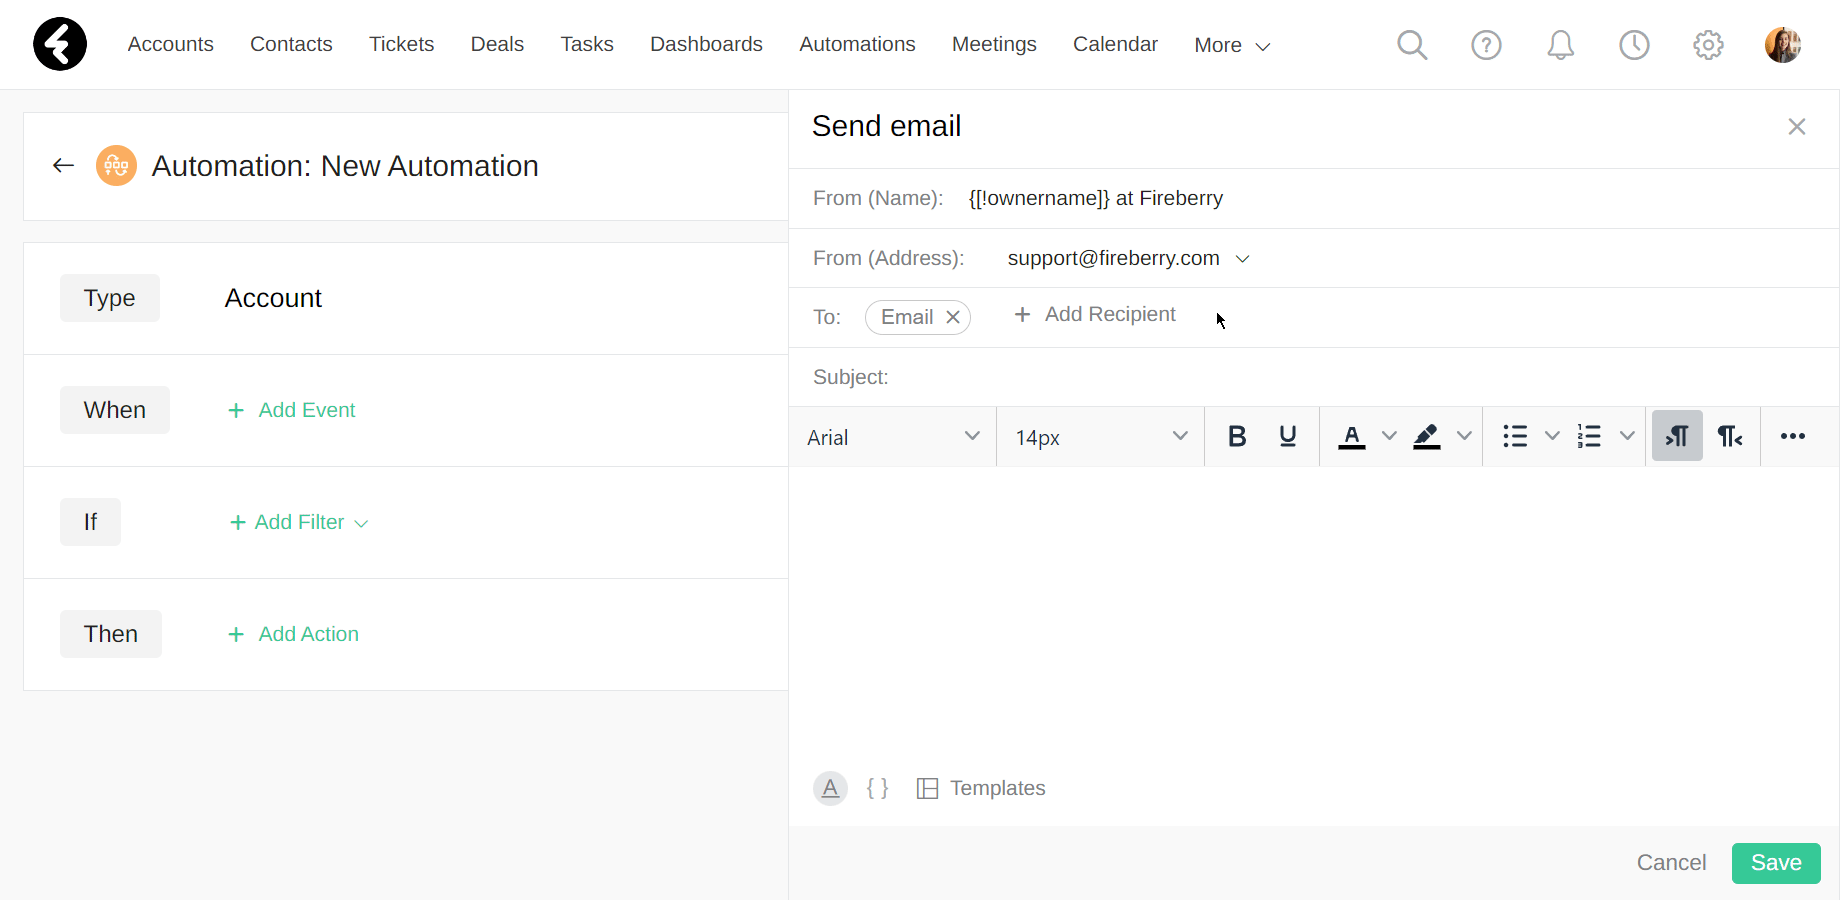
For example, you can create an automation where new accounts receive a welcome email as soon as they’re added to the system. First, set up an automation where the Type is set to Account, the When is set to Account is created, click on + Add Action under Then and select Send email. This will open a pop up on the right with a base email where you can set each email field.

From (Name)
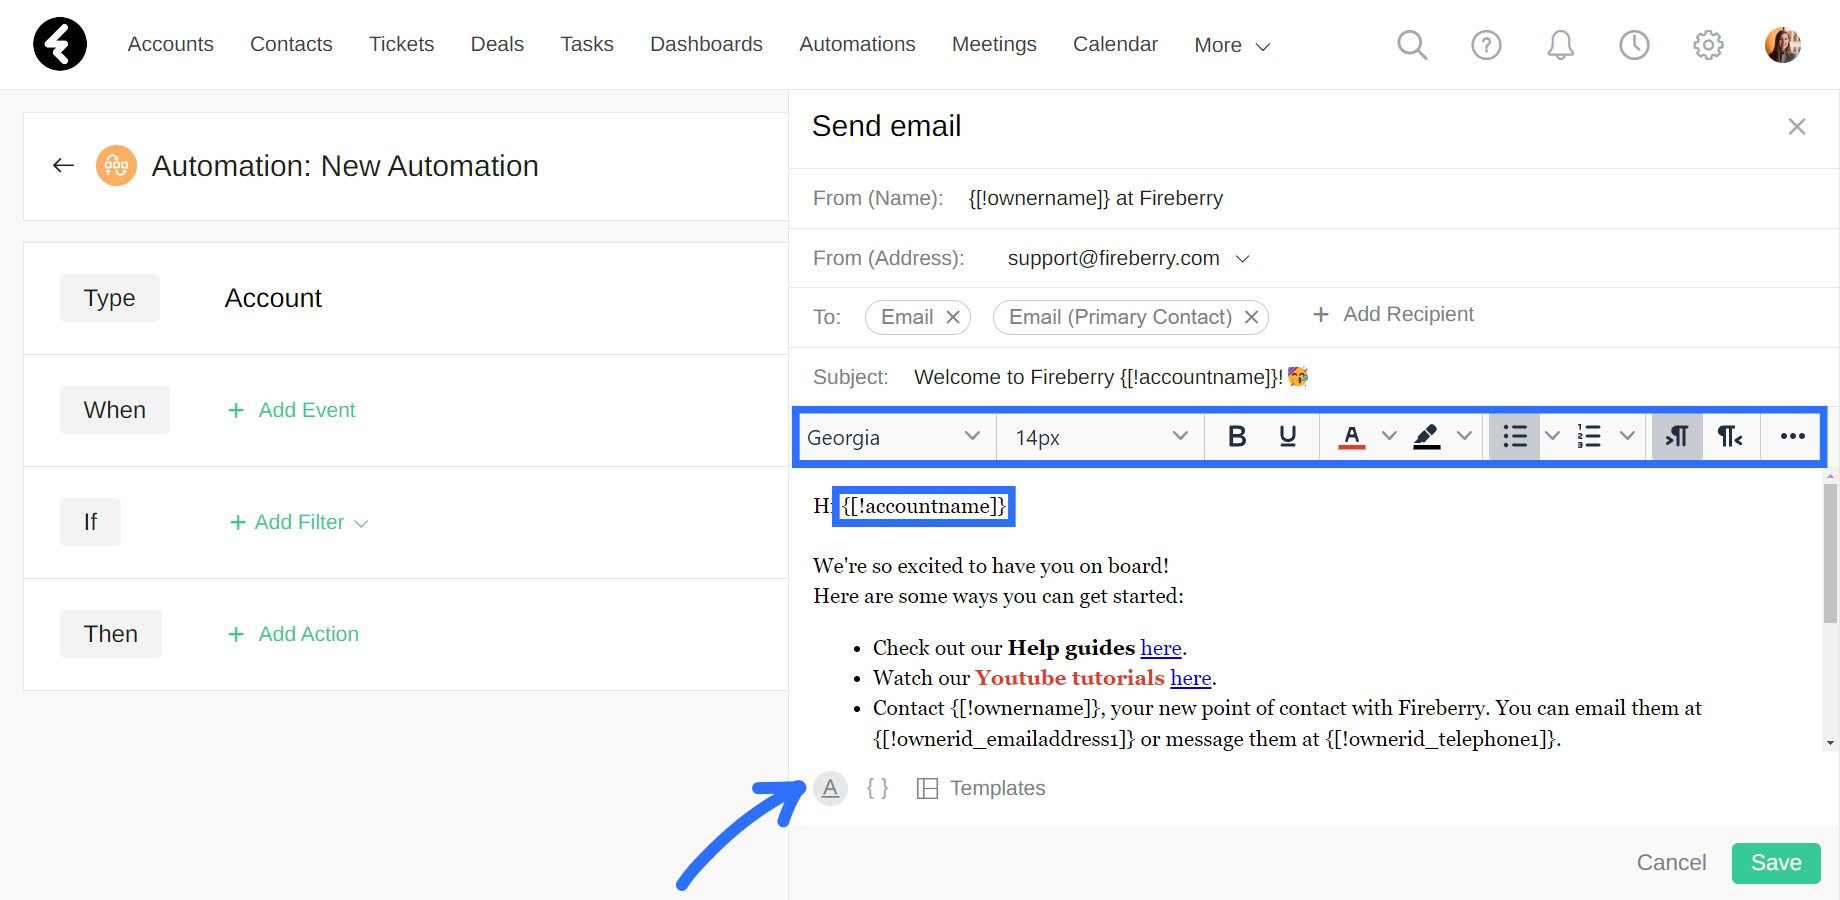
You can set which name will be displayed as the sender of the email by writing it in the From (Name) field. This field is required, and must be filled out in order to save the email. You can choose whether to set a static text, such as “The Fireberry Team”, or you can use a field reference to dynamically set the name to the relevant system user. For example, you can use the field reference Account Owner to always set the name to the relevant owner. You can even combine a field reference with regular text, such as using the account owner field reference followed by “at Fireberry”. To learn how to add field references, click here.
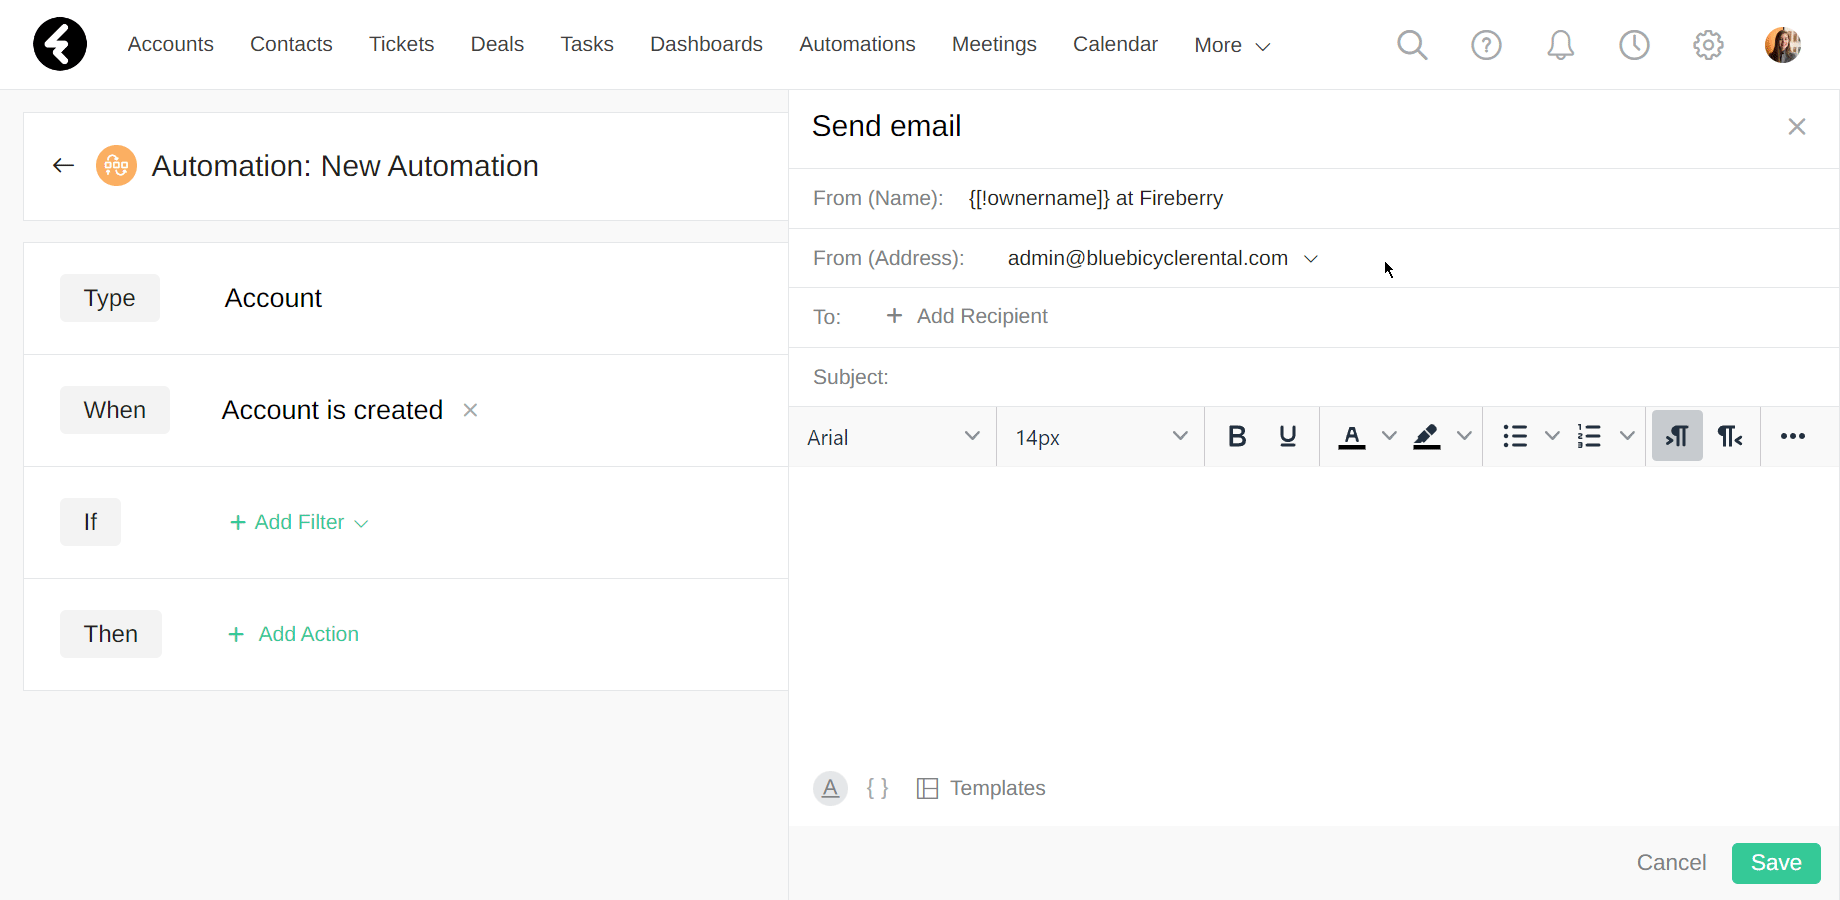
From (Address)
The email address selected in the From (Address) will be the sender of the email. This field is required and must contain a valid email address. You can use a previously connected email address or add a new one.
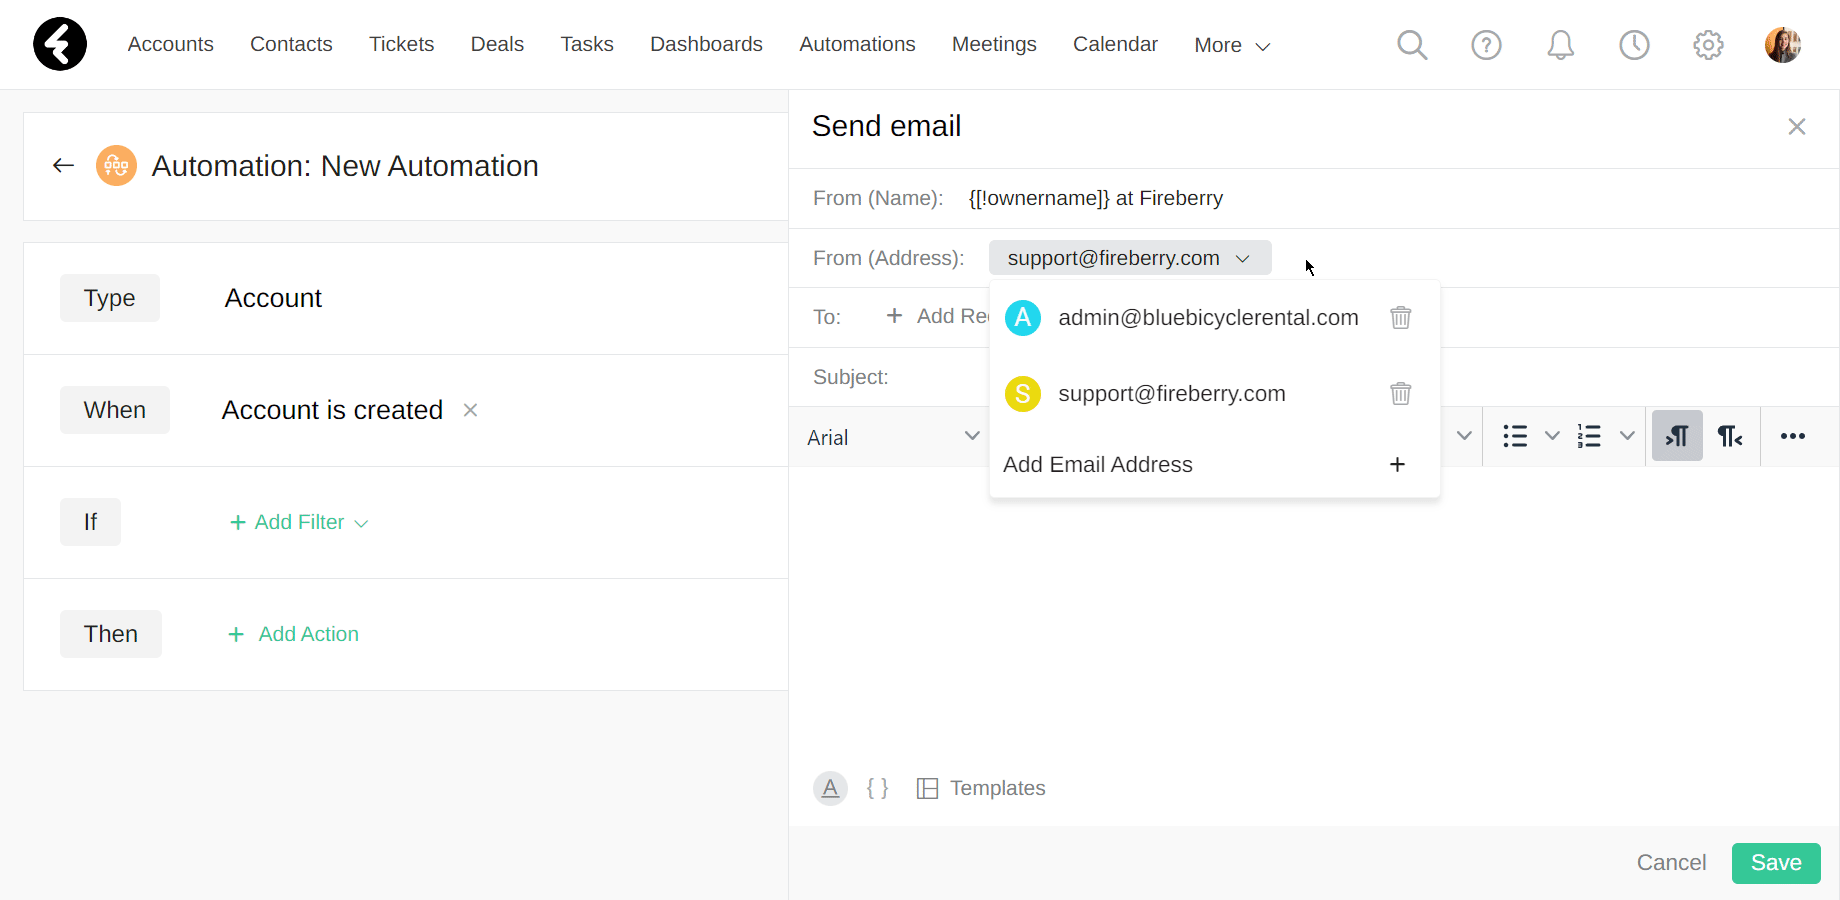
Use a connected email address
If you’ve already verified an email address in the system, it will automatically be set in the From (Address) field. To switch the email address, first click the one which is currently displayed. This will open a drop down list of all the verified email addresses. You can then click on any of them to set one as the sender of the email. If you’d like to remove any of the listed email addresses, simply click the garbage icon and then type in DELETE. Once you remove an email address, you will need to reverify it to add it again.
Connect a new email address
If you’d like to add a new email address, select + Add Email Address at the bottom of the list of email addresses. If you’ve never verified an email address, click the gray + Add Email button. Either of these options will open a pop up where you can type in the email address you’d like to add. Enter a valid email address which is not already in the list of verified email addresses, and then click the green Send button. This will send a verification code to the email address, which you’ll have to type into the popup. If you haven’t received the email, make sure that the email displayed on the screen is the correct email, and then click the Resend option. Once you’ve entered the code, click Verify to add the new email address to the list of sender options and set it as the sender of the current email.
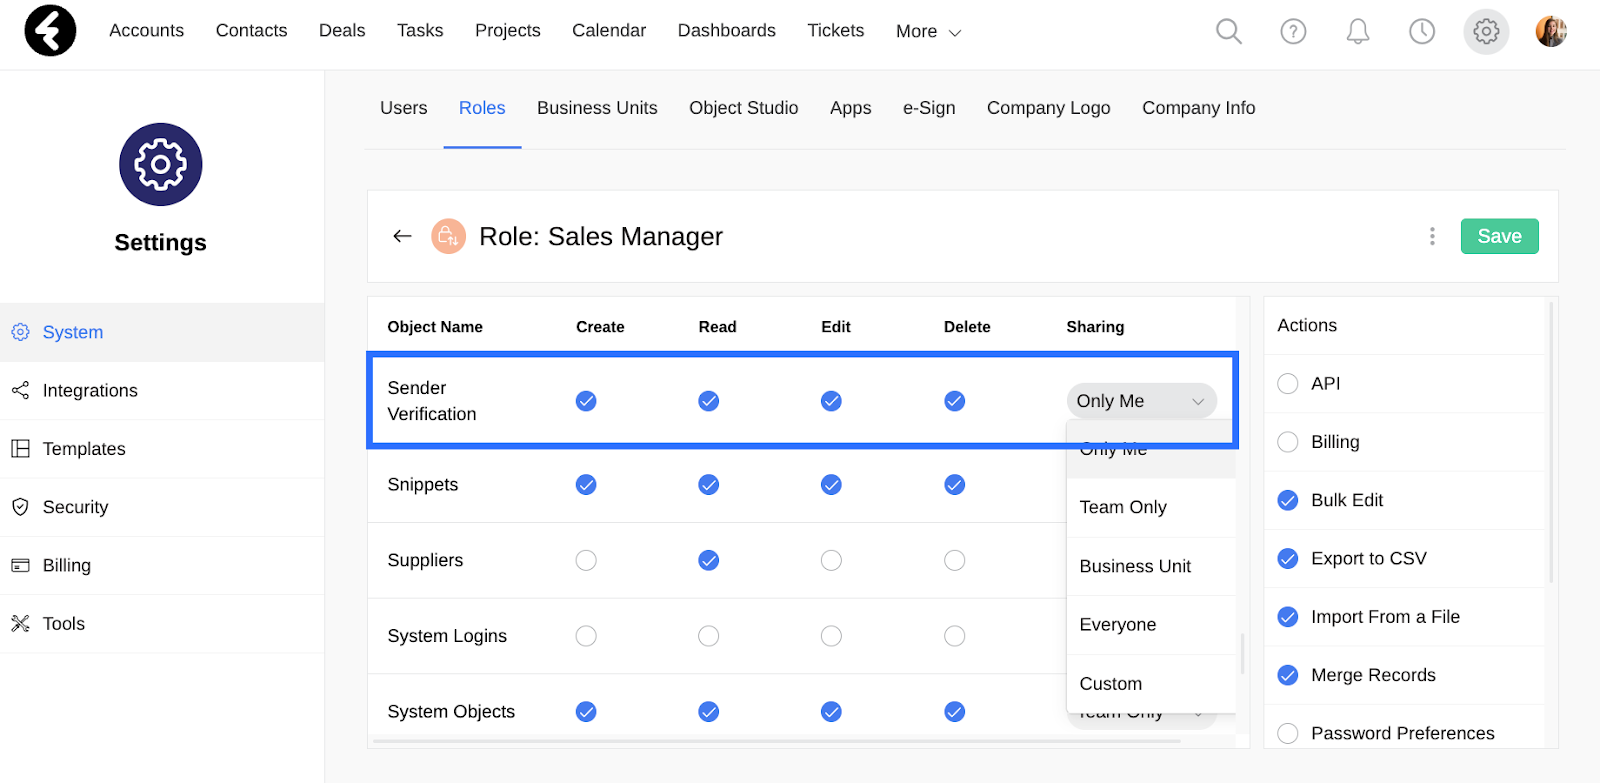
Email address permissions
The permissions for the options within the From (Address) section will be based on the options selected in the Sender Verification object within the current user’s role permissions. The effects of each option are detailed below. For an in depth explanation of how to manage role permissions, click here.
- Create: Allows users to add and verify new email addresses.
- Read: Allows users to see and select from saved email addresses.
- Edit: As there is no option to edit existing email addresses, this option does not add or remove permissions.
- Delete: Allows users to remove email addresses from the system. If an email address is removed, it will need to be reverified in order to be added.
- Sharing: Sets the email addresses which the user has access to. The owner of each email address will be the user who added it to the system. For example, by selecting Only Me, users will only see the email addresses which they added to the system.
To
Under To, you can select one or more recipients of the email. You can choose to use the email address fields, type in a custom address, or use related fields.
Email address fields
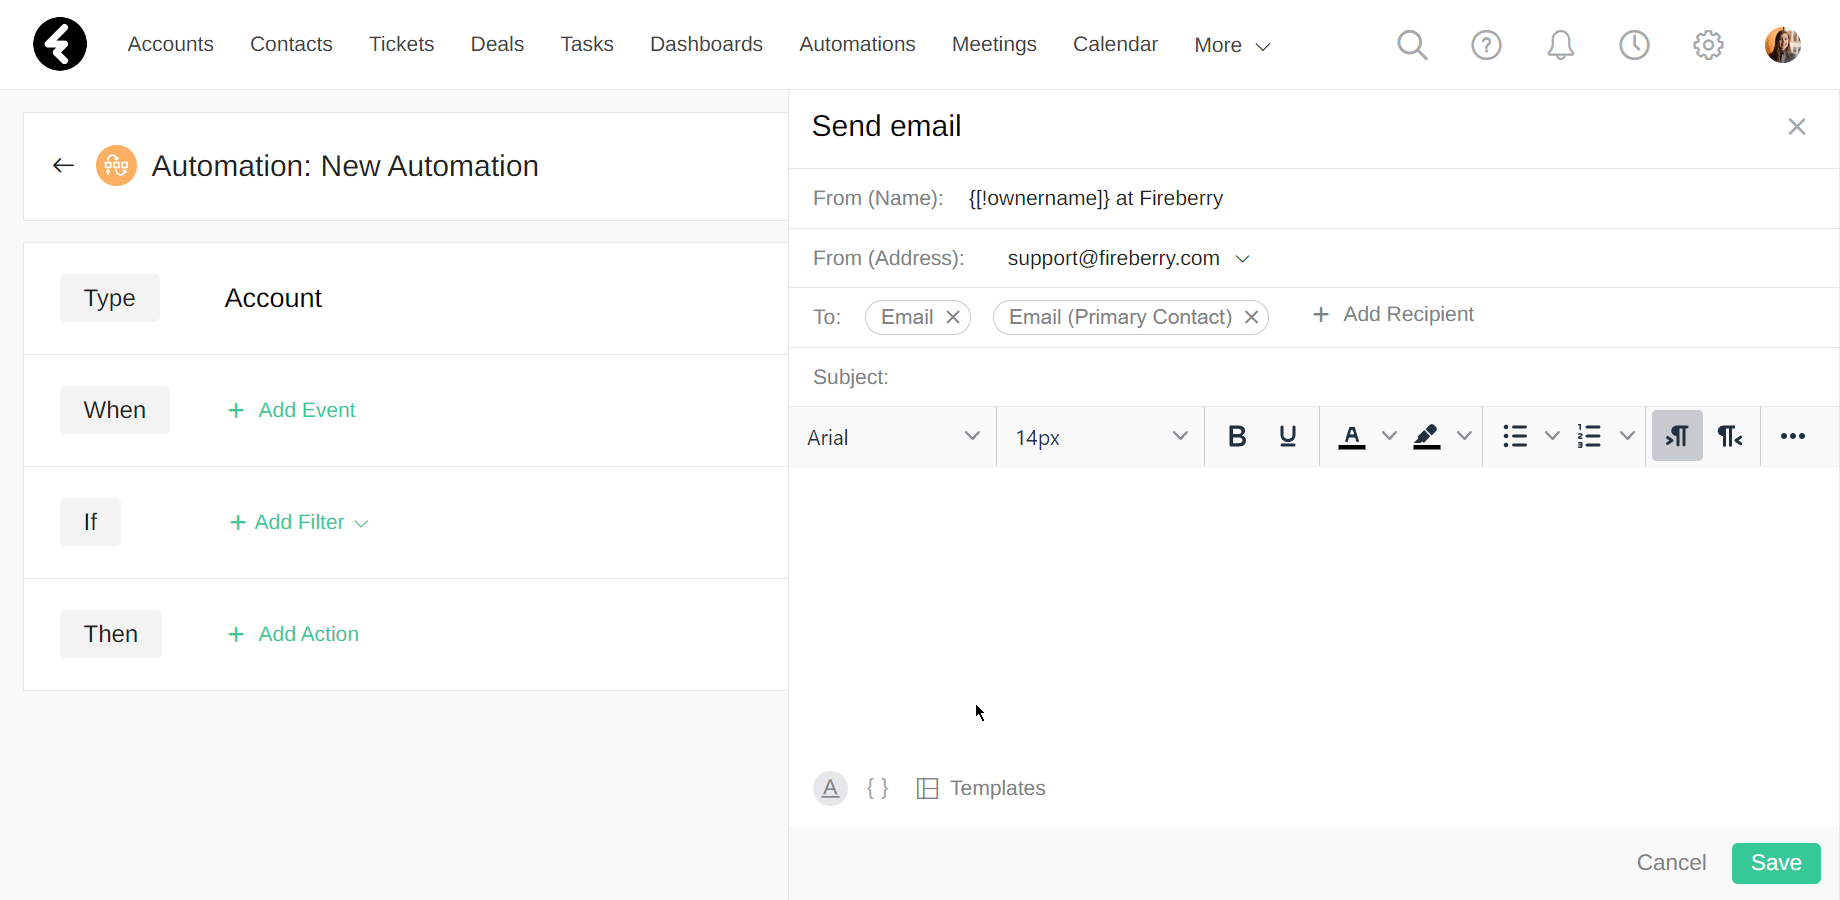
Start by clicking + Add Recipient. This will open a searchable list with all of the email fields within or related to the object set in the Type field on the left. Click on a field to set it as the recipient. To send the email to multiple email addresses, simply click the + Add Recipient button again.
Custom email addresses
You can also add in email addresses manually by clicking Add Custom Email, found at the bottom of the + Add Recipient dropdown. Then simply type in the desired email address and click Enter. Any email address you type in will need to be valid in order to save the email. Non valid email addresses will be displayed in red. If you’d like to remove an email you’ve already added, click the X on its right.

Related email address fields
The lookup fields will be displayed in the + Add Recipient dropdown to allow you to access their related fields. By clicking on the arrow to the right of a lookup field, you’ll open a list of all the email fields in the related object. For example, if you’re using the Account type you can click the arrow next to the Primary Contact lookup field. You can then choose to send the email to any of the email fields in the related Contact object. Once you add a related field, the name of the field will be displayed in the To box, followed by parentheses with the lookup field, such as Email (Primary Contact). To learn more about related fields, click here.
Subject and body
Now you can write the message's subject and body, which are both required sections of the email. At the bottom of the body you’ll find three icons which help you set up the content of your email. The first is the A editor, which you can click on to choose whether to hide or display the customization option found on the top of the email body. These options include font, size, color, and so much more. You can find detailed explanations on the different customization options in our HTML fields article. Note that there may be certain options which exist for HTML fields but do not exist for email customization.
The second option is the { } curly brackets, which allows you to add field references to your email. You can use them to personalize emails by using different fields within the system, such as a customer’s name. To learn more about field references, click here.
The last option is the Templates button. This allows you to insert pre-built templates, so that you don’t need to write the entire email from scratch. By clicking on Templates, you’ll open a searchable list of all the templates in the system, also known as snippets. You can then click on one of the templates to insert it into your email. This will change the Subject line to the name of the template, and insert the content of the template into the top of your email’s body. You can then adjust the text however you’d like, which will change the content in this email but not in the template. To add or edit templates, click the Manage Templates option at the bottom of the Templates list. You can learn more about setting up templates here.
Once you’ve finished setting your email’s subject and body, be sure to click Save at the bottom of your email. You can then finish editing your automation, activate it, and save it to start automatically sending out emails.