Preliminary steps for a successful import
You can easily import data into Fireberry using Excel or CSV files. Use the sections below to set up your excel file, enable the necessary permissions, and follow the next steps to backup your data throughout every step of the import process.
Basic file setup
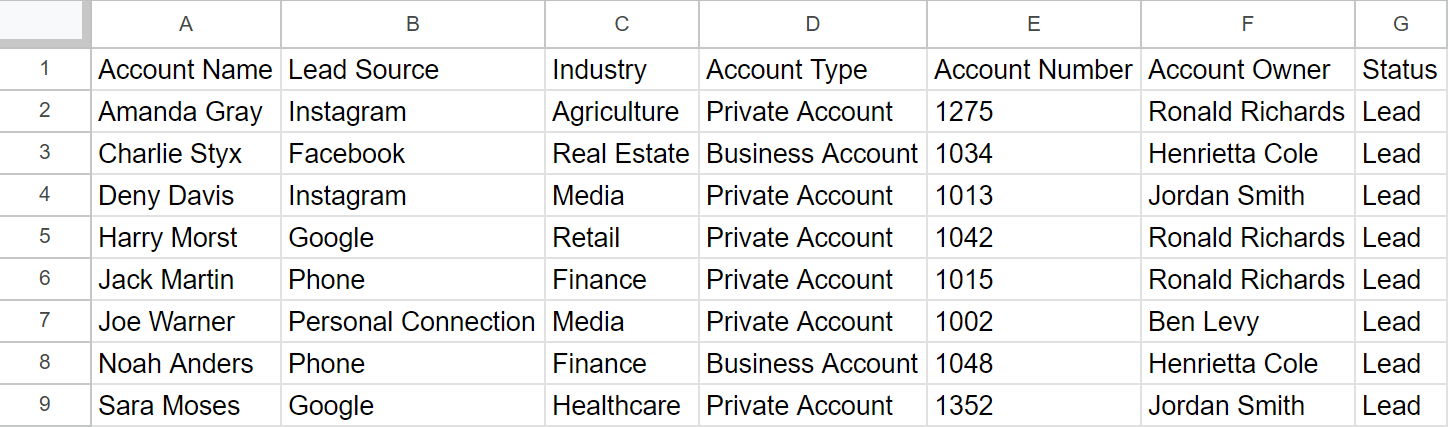
The first step when importing data to Fireberry is creating an Excel or CSV file which holds all your data. Each import will import into one object in your system. For example, you can import new or updated account records into your system. If you’d like to also import contact records, you’ll need to use a separate file and import them separately. For this reason, each imported excel file can only have one sheet, and the sheet can only have one type of records. If you try to import a record with more than one sheet, the import will fail.
Every column in your sheet will represent a field in the system, while each row will represent a single record. For example, you may have the First Name, Last Name, Email, Phone, Account Type, and Status columns, and five rows which represent five different accounts. Make sure that all your rows are consecutive; If there are five or more blank rows, the import will stop.
Data types in your file
The data of each column in your table must match the field type and settings of the system field you’re importing to.
Below you’ll find a table with specifications for the different field types, and the character limits for each field type. If a value does not match the field type or character limit, the cell will not be imported and the field will remain in its default state in the system. You can learn more about each system field type here.
Fields set to Read Only
You will not be able to input data into fields which are set as Read Only on the field level, such as the built in Created On and Created By fields. If you try to import data into these fields, they will simply keep their previous value, whether the value was blank or an actual value. You can input data into fields which are set as Read Only on the page level. To learn about the different read only settings, click here.
Text formatting
To make sure all your cells are properly formatted, set your entire table to text format.
Excel
First select all the cells in your excel sheet by clicking the box on the top left or using CTRL+A/⌘+A. Then, while your whole table is selected, open the Home tab from the top bar menu and find the dropdown list in the Number section. Click on the dropdown and select the Text option. Now all your cells are formatted as text, and are ready to be imported.

Google Sheets
If you’re using Google Sheets, follow the directions above but instead of using the Home tab click Format, then scroll over the Number option to open the dropdown list and click Plain text. A check will appear next to the Plain text label to let you know your data has been formatted as plain text.
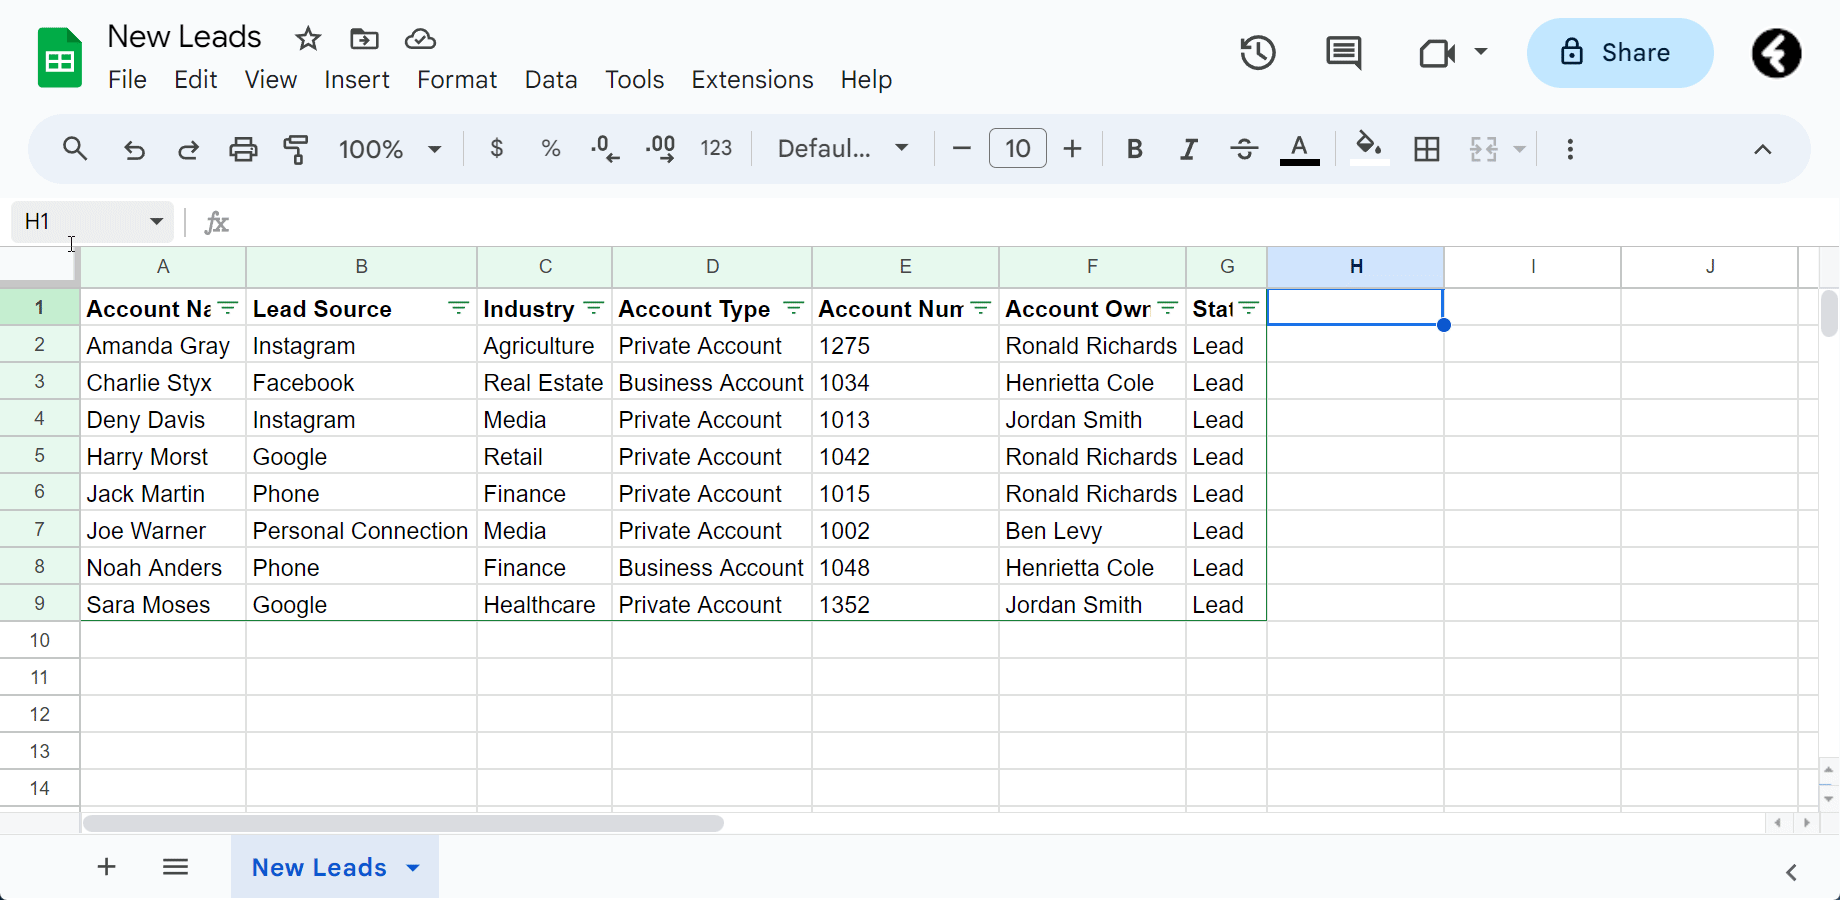
Remove filters
If your table has filters applied, it could interfere with the import process. To prevent this, make sure to disable all filters before importing your file.
Excel
Start by selecting all the cells in your table by clicking on the cell in the top right or using CTRL+A/⌘+A. Next, open the Data tab from the top bar menu and find the Sort & Filter section. Click on the Clear option, which is represented by a filter with a red X, and then click the Filter icon as well. This will clear any filters which are being applied to your data, and remove the filter option. The clear option may be whited out if you don’t currently have any filters applied to your data.
Google Sheets
If you’re using Google Sheets, follow the process above but after selecting the Data heading click the Remove filter option. This option will only appear if you have filters applied to your data, otherwise the option will say Create a filter and you don’t currently have any filters applied. You can also check that there are no filter views on your sheet; simply select all, open the Data heading, scroll over the Filter views option, and click Delete all filter views. This option will be whited out if you don’t have any filter views on your sheet.
Import permissions
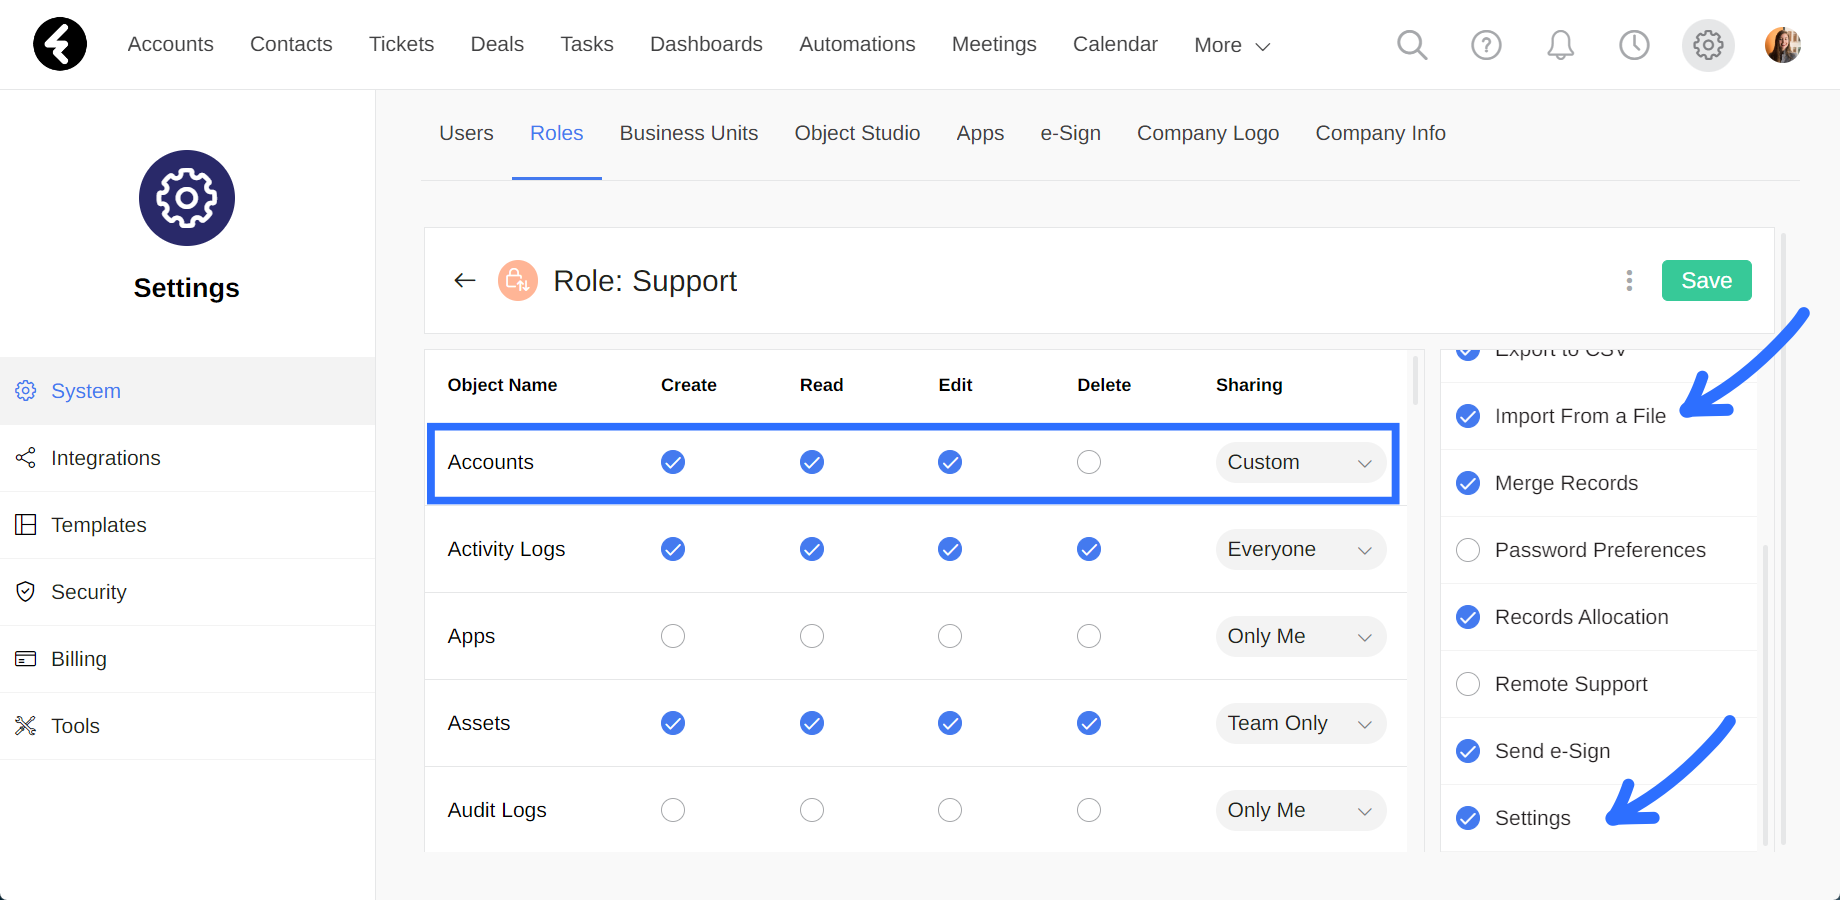
To start importing data into the system, you’ll need the permissions listed below. To learn how to grant each permission, check out our managing role permissions article.
- The Settings action permission, so you can access the import tool.
- The Import From a File action permission, so you can use the import tool.
- Read permission for the object you're importing to, as well as the Create permission if you’re importing new records or the Edit permission if you’re updating existing ones. The object here is the one you’ll select in the data type step explained here.
- Read permission in the Users object, in order to set users besides yourself in the default Owner field, which you can learn about here. The sharing settings set here will control which users you can access.
Next steps
Once you’ve set up your Excel or CSV file and ensured you have the relevant permissions according to the steps above, you can begin the import process.
Trial run for new records
If you’re importing new records into the system, start by importing a file with five records first. This way, you can make sure the file imports smoothly and all the fields import correctly. As long as the import process was successful, revert your imported records using the process explained here and then import your full data file. You cannot revert imports which used the update function.
Backups for record updates
As the revert option does not exist when updating existing records, it’s recommended that you backup any records you plan on updating before starting your import process. For example, If you’re updating leads in your system, first export a view with the leads you’re updating. You can learn how to export data here. In this way, if your import does not go as planned, you can simply use your exported backup file. Additionally, be sure the ID field, which you can learn about here, is a field where each value only appears once per record. Any row in your file which does not have a value in the selected ID field will not import any data into the system.
For detailed instructions on how to import data into the system, click here.
Failed import
Your import could have failed for multiple reasons. If it has, first ensure you’ve uploaded the correct file and that it is in .csv, .xls, or .xlsx format. Next, make sure you’ve set up your excel file according to the instructions above, and that there is only one sheet in the file. If your import still doesn’t work, try saving your file in CSV format, or in XLS format if it was in CSV format. If this still doesn’t work, try copying all your data from your file and pasting it into a new file. If your file has only been partially imported, make sure your rows are consecutive and there are not blank rows. If the system encounters five or more blank rows, the import will stop. Additionally, sometimes outside plugins can cause issues when importing files. Try deactivating any plugins on your browser and then importing your file.